The Struggle is Real
I’ll be honest, the idea of making my own sourdough starter seemed like a daunting challenge at first. But as a naturally very competitive person I love diving head first into these kinds of challenges. It wasn’t just about the desire to bake bread from scratch—it was about giving my family a healthier, more natural alternative to store-bought bread. You see, over time, I had started to become more aware of the additives and preservatives in many packaged foods. Have you ever looked at the ingredients list on the back of a grocery store loaf of bread? I’m not sure I can even pronounce half of the things they put in it. In my opinion, if you can’t find the product in your kitchen, aka salt, butter, flour, egg… We shouldn’t be eating it! I wanted to provide my loved ones with food that was not only nourishing but also as pure and wholesome as possible. Not something manufactured in a lab.

The health benefits of sourdough were exactly what drew me in. The natural fermentation process makes it easier to digest, improves gut health, and can even lower the glycemic index, making it a great choice for those managing blood sugar levels. With my family in mind, I figured, “What better way to ensure we’re eating bread that’s good for us than to make it myself?”
What I didn’t expect though, was the struggle. Despite my enthusiasm, my attempts at starting a sourdough starter were nothing short of disastrous. Each try seemed to bring more failure than success. But I was determined, convinced, that this journey was worth it—for both my family’s health and my own personal satisfaction.
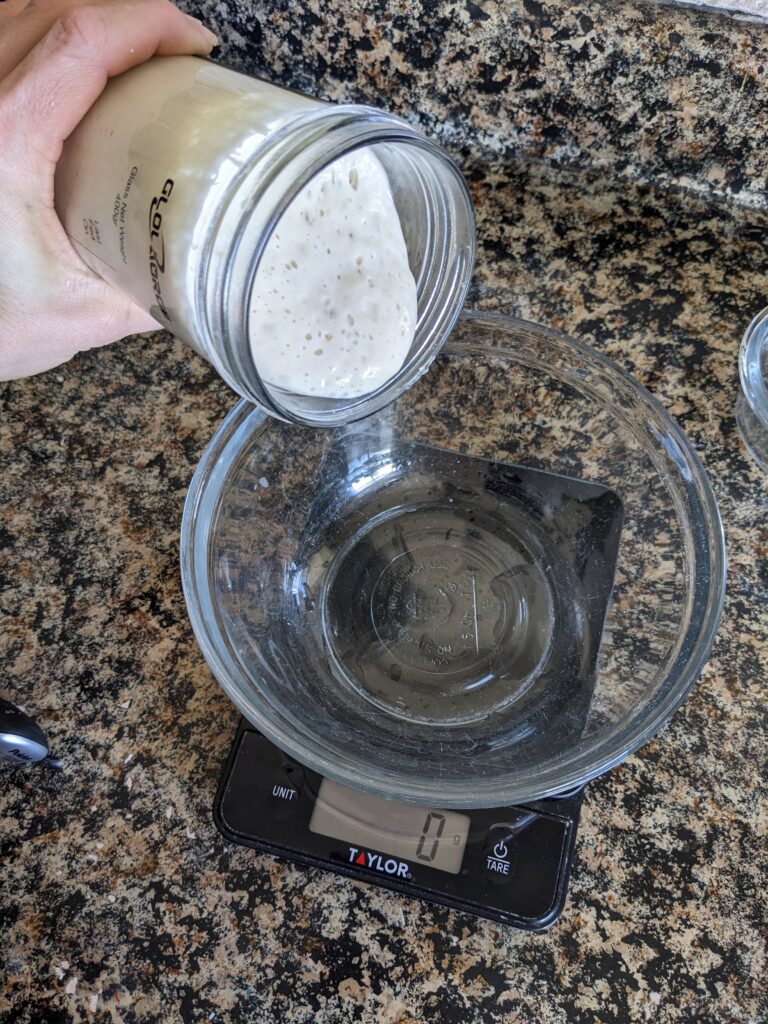
Over the course of about two years I attempted several starters. In most cases they seemed to never ferment. Just a goo in the bottom of the jar. On another occasion I must have had a “bad” bacteria bloom rather than a yeast. The smell was offensive and the color was off. I tossed out the whole thing feeling very defeated. Why is it that everyone says this is, “SO easy!”? On another attempt I had some success, but the starter never seemed to really double in size. It would rise with a few small bubbles then fall back to its gooey state. All the tutorials and recipes I followed seemed to say the same thing, the flour type really didn’t matter, just the ratio. I was following the recipes to the T. So what in the world was I doing wrong? I was ready to give up and stick to my simple bread machine honey oat wheat loaf.
The Importance of a Good Recipe
As I mentioned, I tried several different tutorials and recipes with little to no luck until I finally stumbled upon a simple yet foolproof recipe. I’d like to think that my struggle was because the “wild yeast” in my home is very particular and a picky eater… Ha! but really changing the flour is what finally did it for me. I found a recipe that called for rye flour as opposed to all purpose or bread flour. But why would rye flour work when others didn’t?
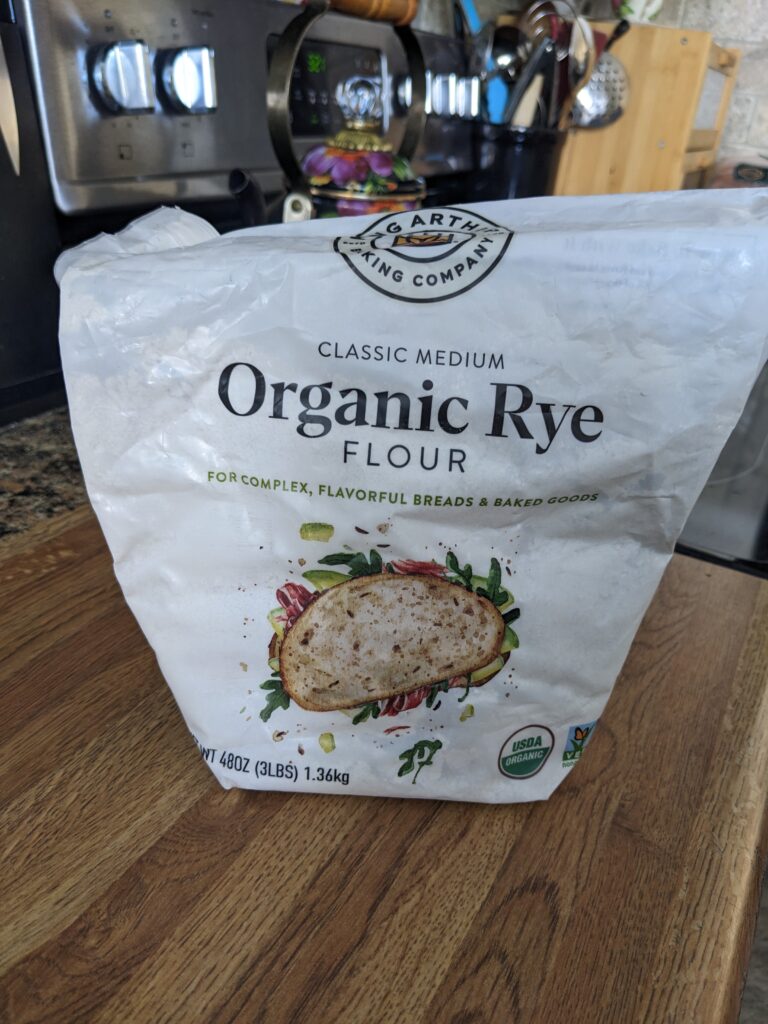
Rye flour has a higher level of amylases, nutrients, enzymes and microbes. This higher level of nutrients allow it to quickly convert sugars into readily available food for the wild yeast, promoting faster fermentation and thus a successful sourdough starter!
“This post contains affiliate links to Amazon. If you click on a link and make a purchase, I may earn a small commission at no extra cost to you. This helps support the work I do in creating and sharing recipes. Thank you for your support!”
The Breakthrough: Finding the Right Recipe
Day one: Add to a small jar or sourdough starter jar like this one, one tablespoon of rye flour and mix in two tablespoons of lukewarm chlorine free water. (If you don’t have a water filter you allow a glass of water to sit out overnight and use it the next day). Mix thoroughly. I love using this spurtle to mix my starter. It’s the perfect length and sturdy enough to reach the bottom and mix the ingredients really well. Next, set a lid or cloth on top loosely to allow ventilation. Set the jar somewhere warm (about 75 degrees) where it can be left undisturbed.
Day two: Leave it alone
Day three: Add one tablespoon rye flour and mix thoroughly. Place lid back on and return to a place where it can be warm and undisturbed
Day four: Add two tablespoons of warm water and two tablespoons of rye flour. Mix thoroughly. Place the lid back on and return to a place where it can be warm and undisturbed for another 8-12 hours.
After this last extended time, you should see that the starter has bubbled up and is rockin and rollin ready to be used.
If you have ever had rye bread before, you know it has a very distinct smell and flavor. The bread made with rye flour also tends to be a bit more dense as well. So at this point I began to slowly switch the feedings from the rye flour to my bread flour. The more feedings the stronger my starter became.
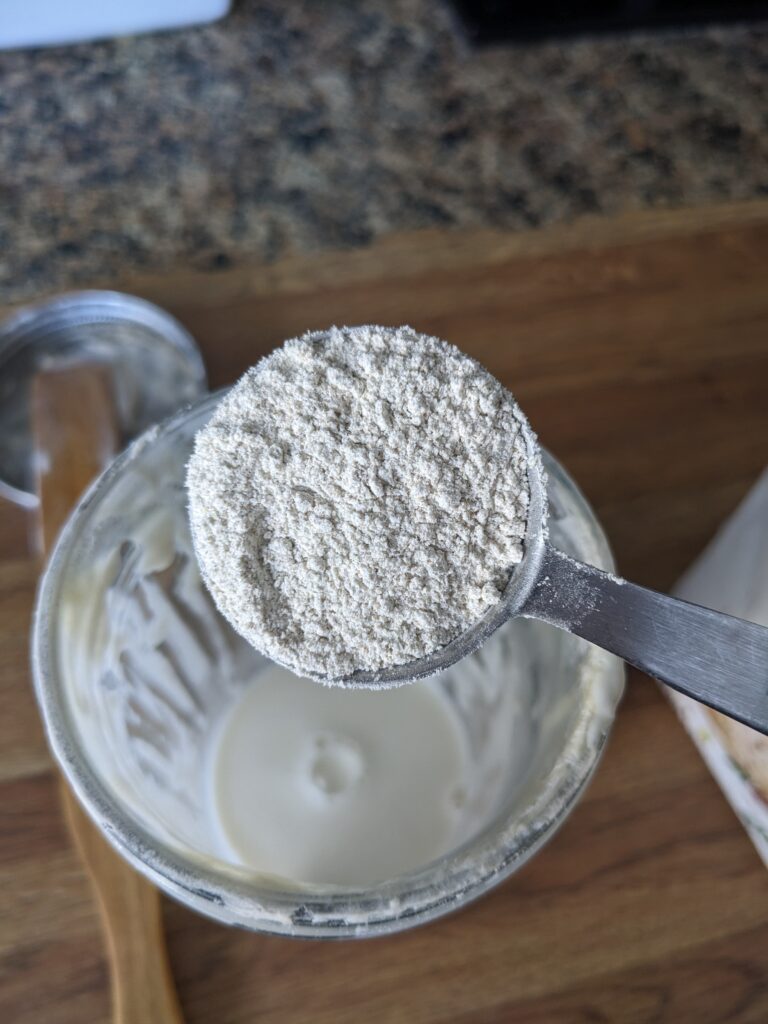
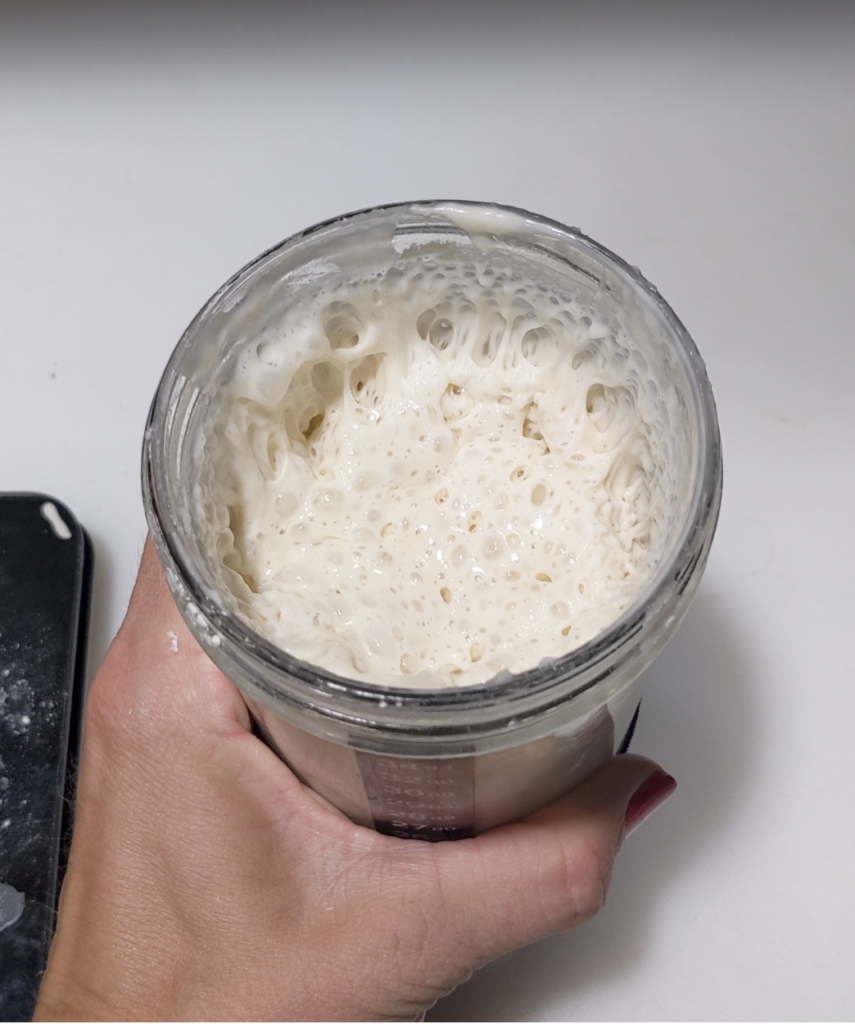
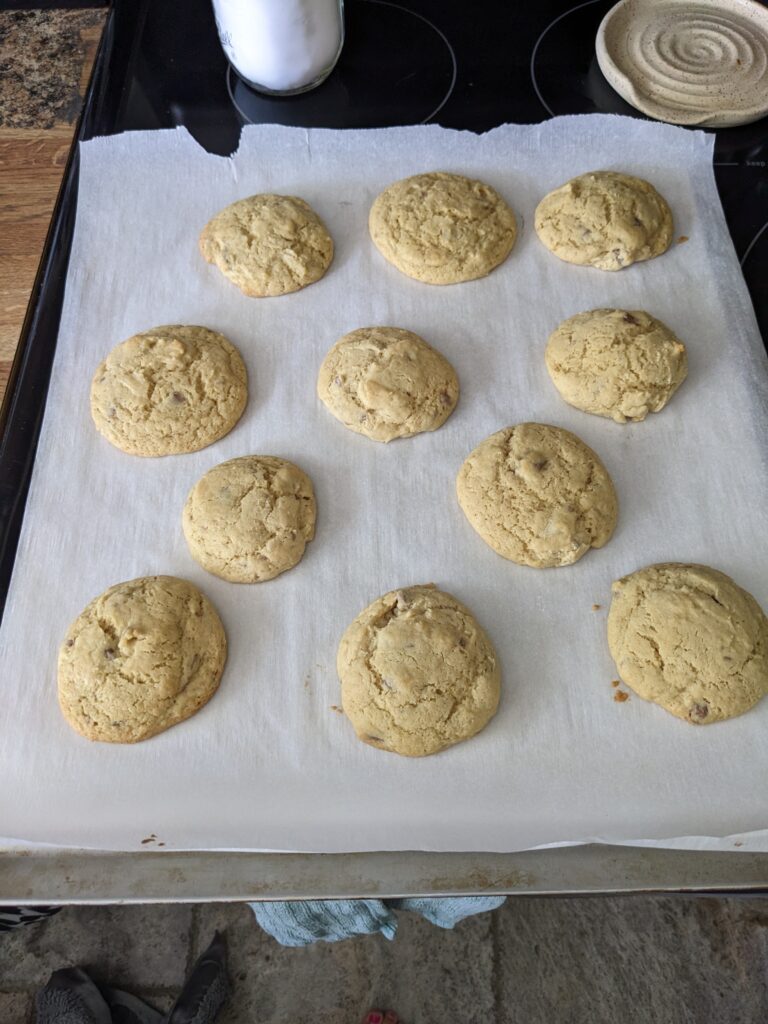
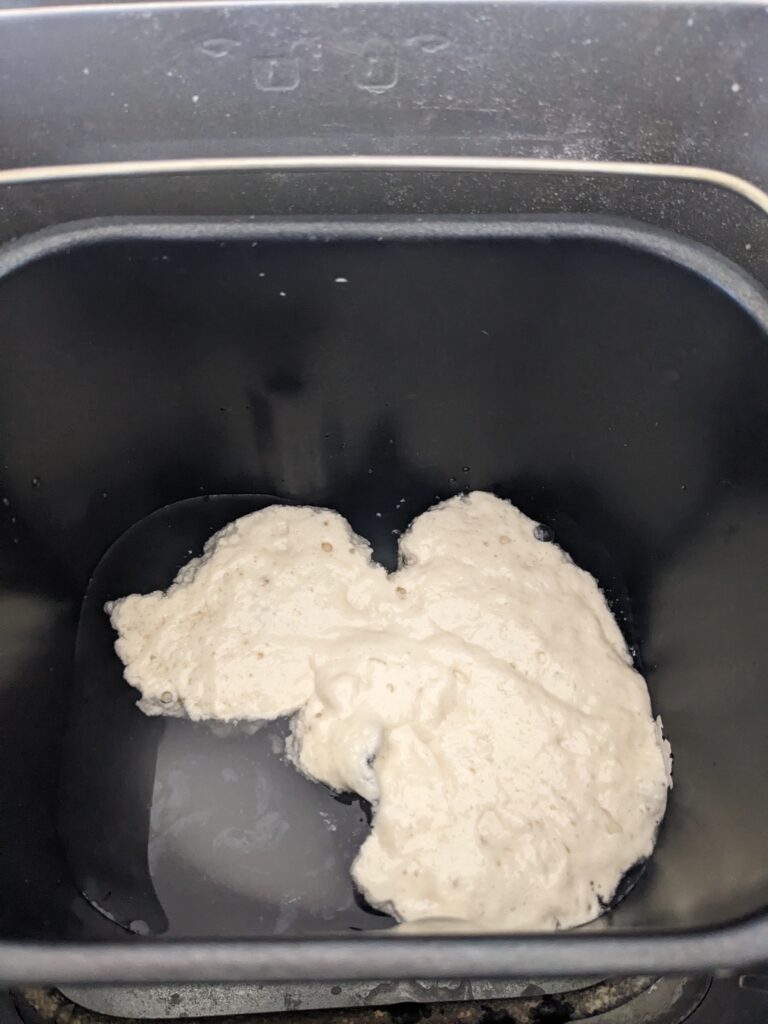
Once the starter has been established following the directions above, you can either use the active bubbly starter, or you can put it in the fridge until you are ready to make bread. To keep the starter active you will then begin regular maintenance by discarding (take out) half the starter and then feed the starter at a 1-1-1 ratio. This means 1 part starter (after discarding half) one part water, and one part flour. Some people throw away their discards. Do not throw the discard down your drain it will clog it! However, I highly recommend having another container in your fridge to keep your discard in. It’s still a starter, just not active. If you ever need extra starter for a project all you simply need to do is feed it. Plus there are SO many great recipes that use the starter including pizza crust, cookies, pancakes, muffins…

A Few Tips
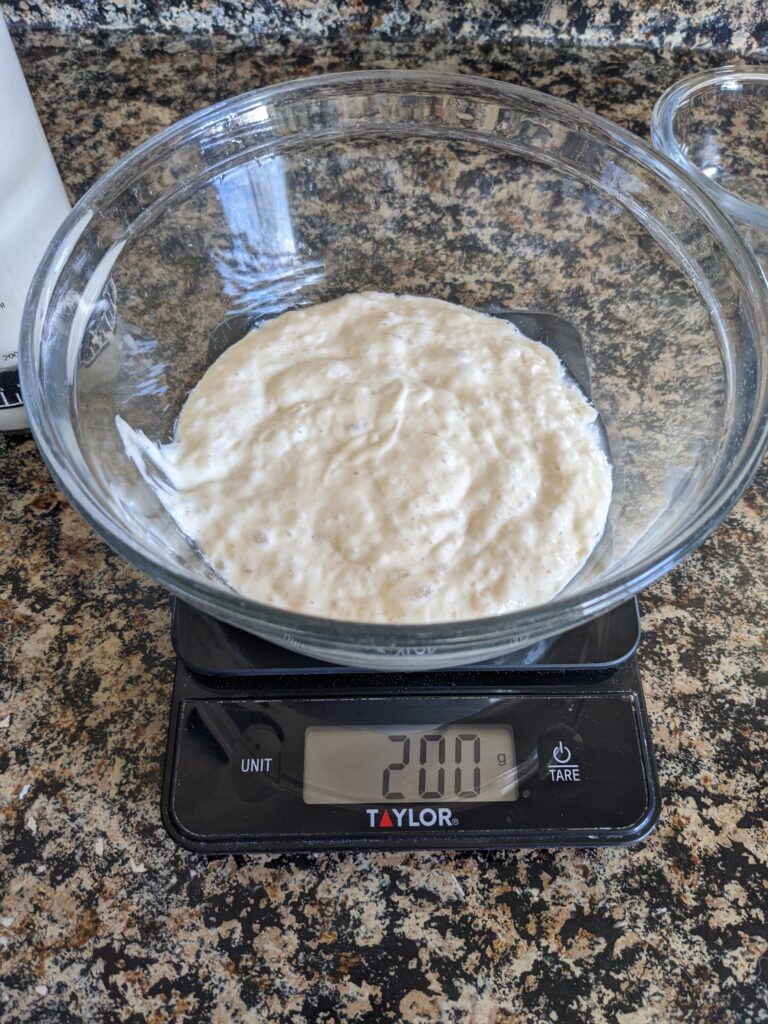
My first tip is to actually pull out the kitchen scale and measure everything out exactly. For example, If you have 200 grams of starter, discard half (100 grams) then to your remaining 100 grams of starter add 100 grams of warm filtered water, and 100 grams of a high protein flour. Until you are comfortable with eyeballing it and know exactly what it should look like, you will have best success in taking the time to measure it all out.
Another tip I discovered is that a feeding ratio is an important part to pay attention to. Initially I used a 1-1-1 ratio. That means all parts are equal and my starter is 100% hydration. This ratio is what most people use. This is also a minimum feeding ratio.
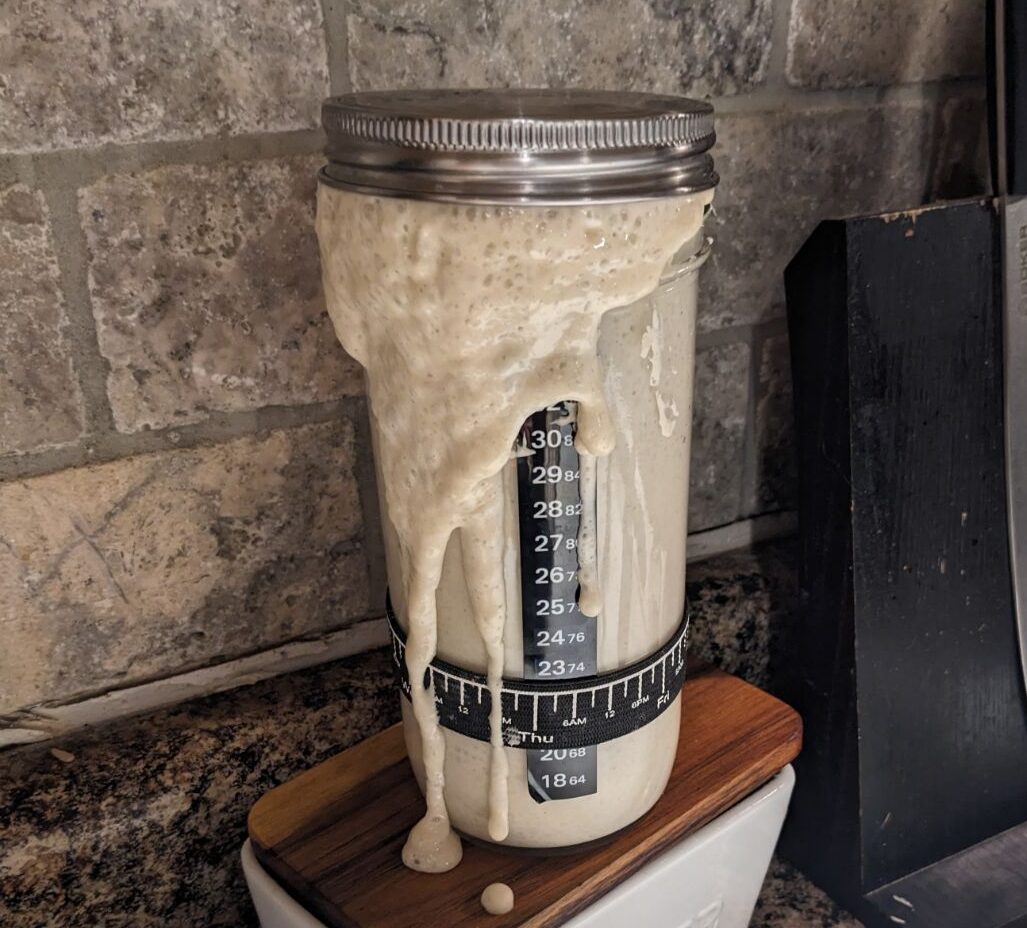
Now, remember the wild yeast in my home is very particular and while I was getting an active starter with this ratio, I wasn’t getting the big bubbling over the top of the jar, beautiful Instagram worthy starter I was looking for. I found it would ferment and drop incredibly fast. So I began to play with ratios and I found that a lower hydration and higher feeding is what did it for me. Without over complicating for the sake of this post, the more you feed the starter the longer it takes to ferment and therefore a stronger starter.
Keep Going, It’s Worth It
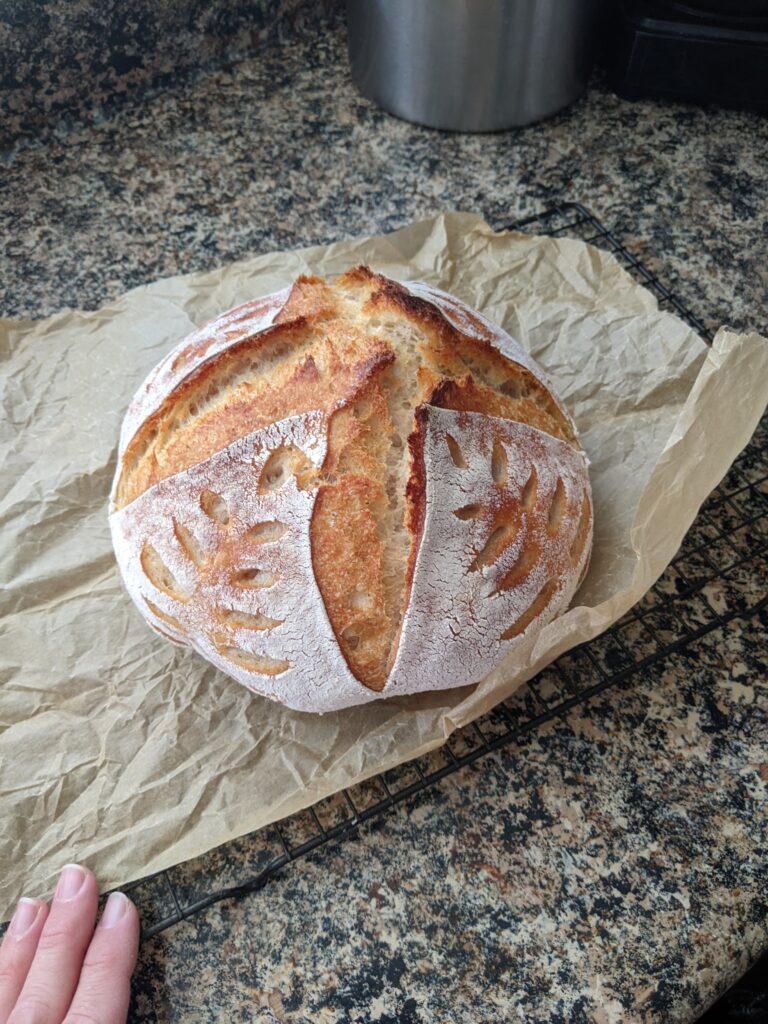
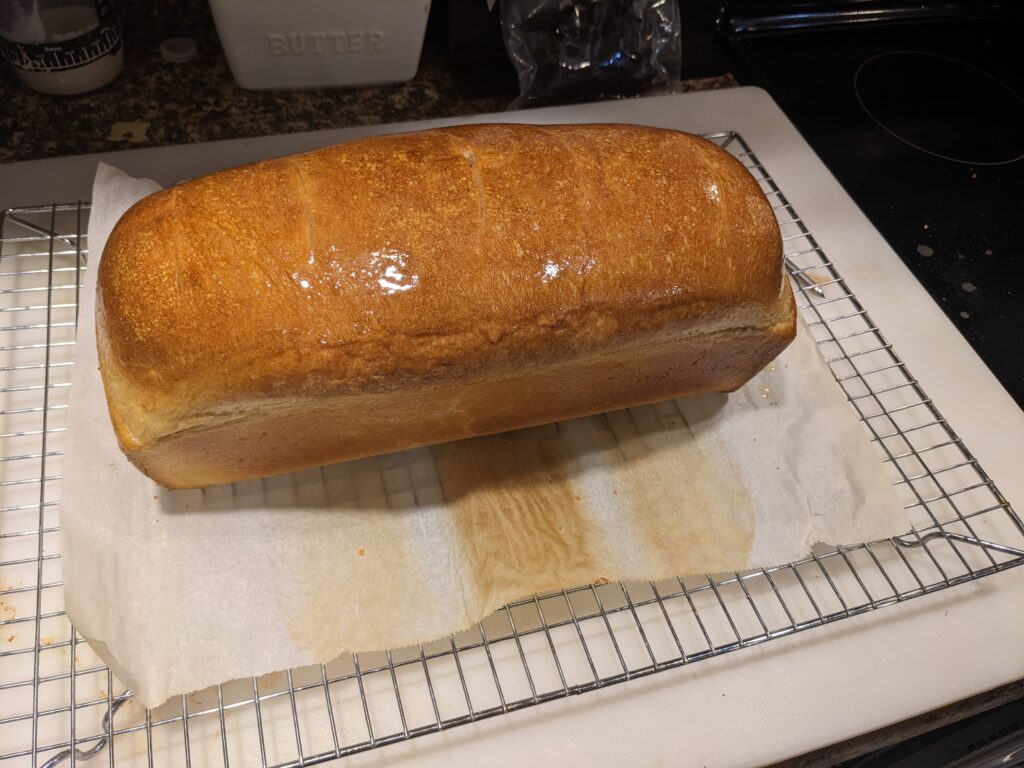
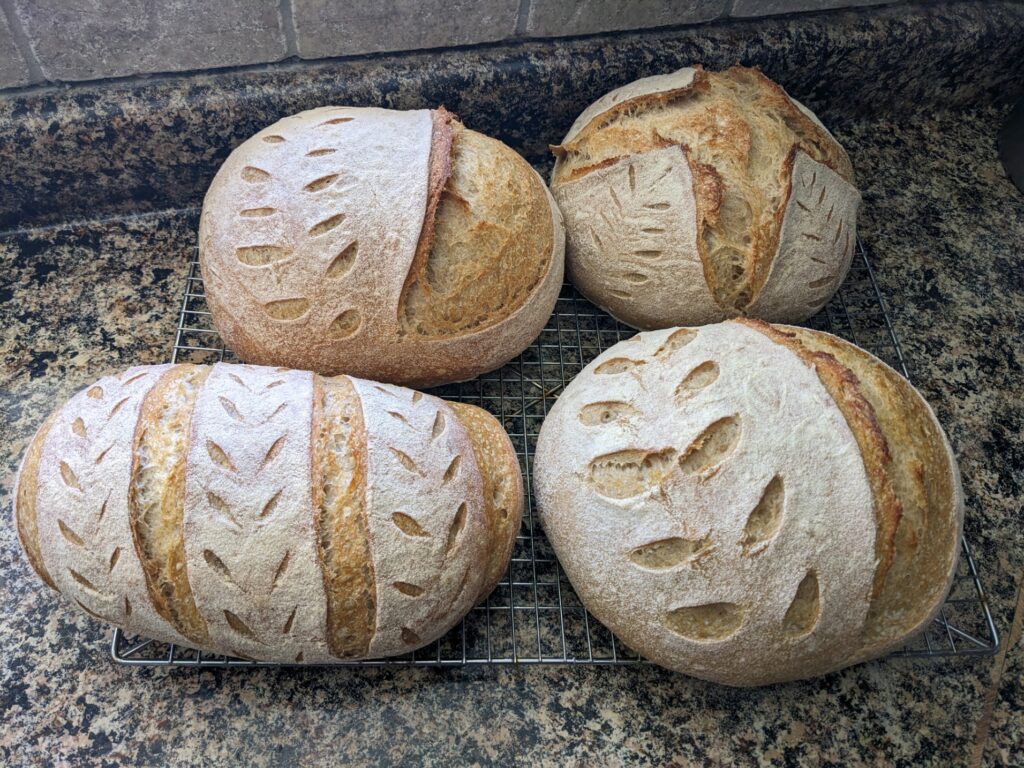
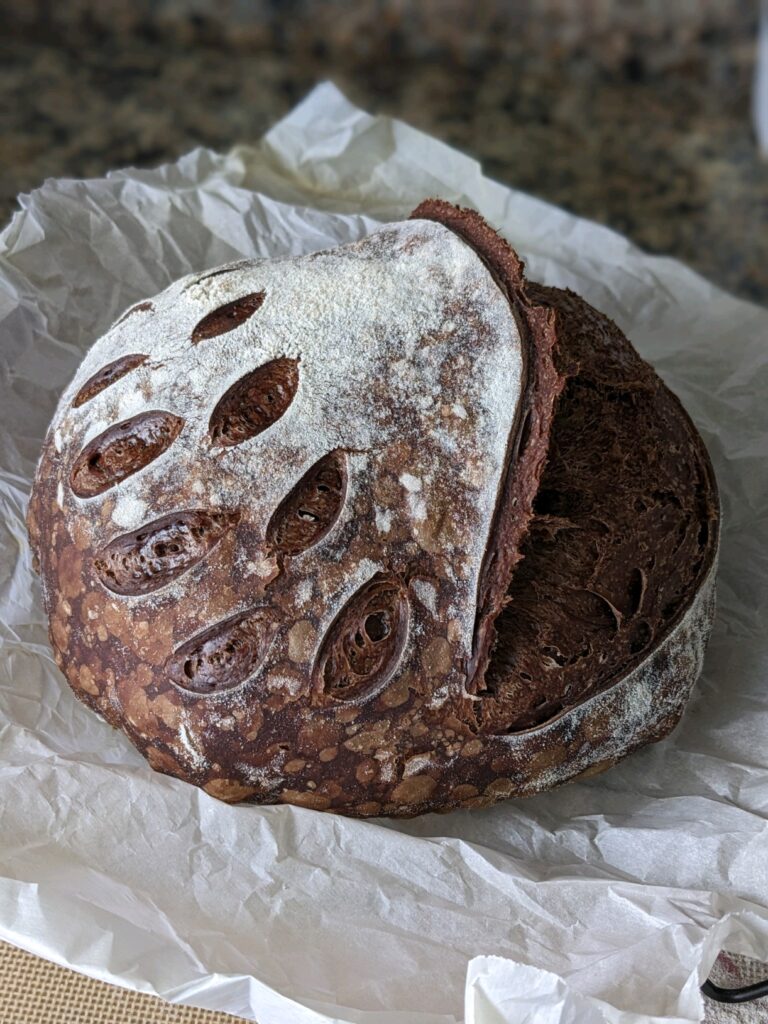
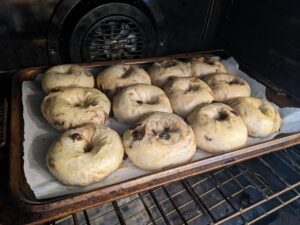
Sourdough is a journey, and even if things go wrong at first, you can always try again. But the starter was just the first challenge in this journey. The next is learning how to make bread with the starter. I love experimenting with different recipes. Since getting my sourdough starter going I have learned to make several different kinds of bread, bagels, cinnamon rolls, dinner rolls, and even hamburger buns. Today, I bake loaves of sourdough bread on a weekly basis–and each loaf feels like a personal victory. My journey in this sourdough world has really just begun and I am so eager to keep learning and honing my skills as a baker. I encourage you all to just give it a try! With a bit of patience and the right recipe, you’ll get there too.
