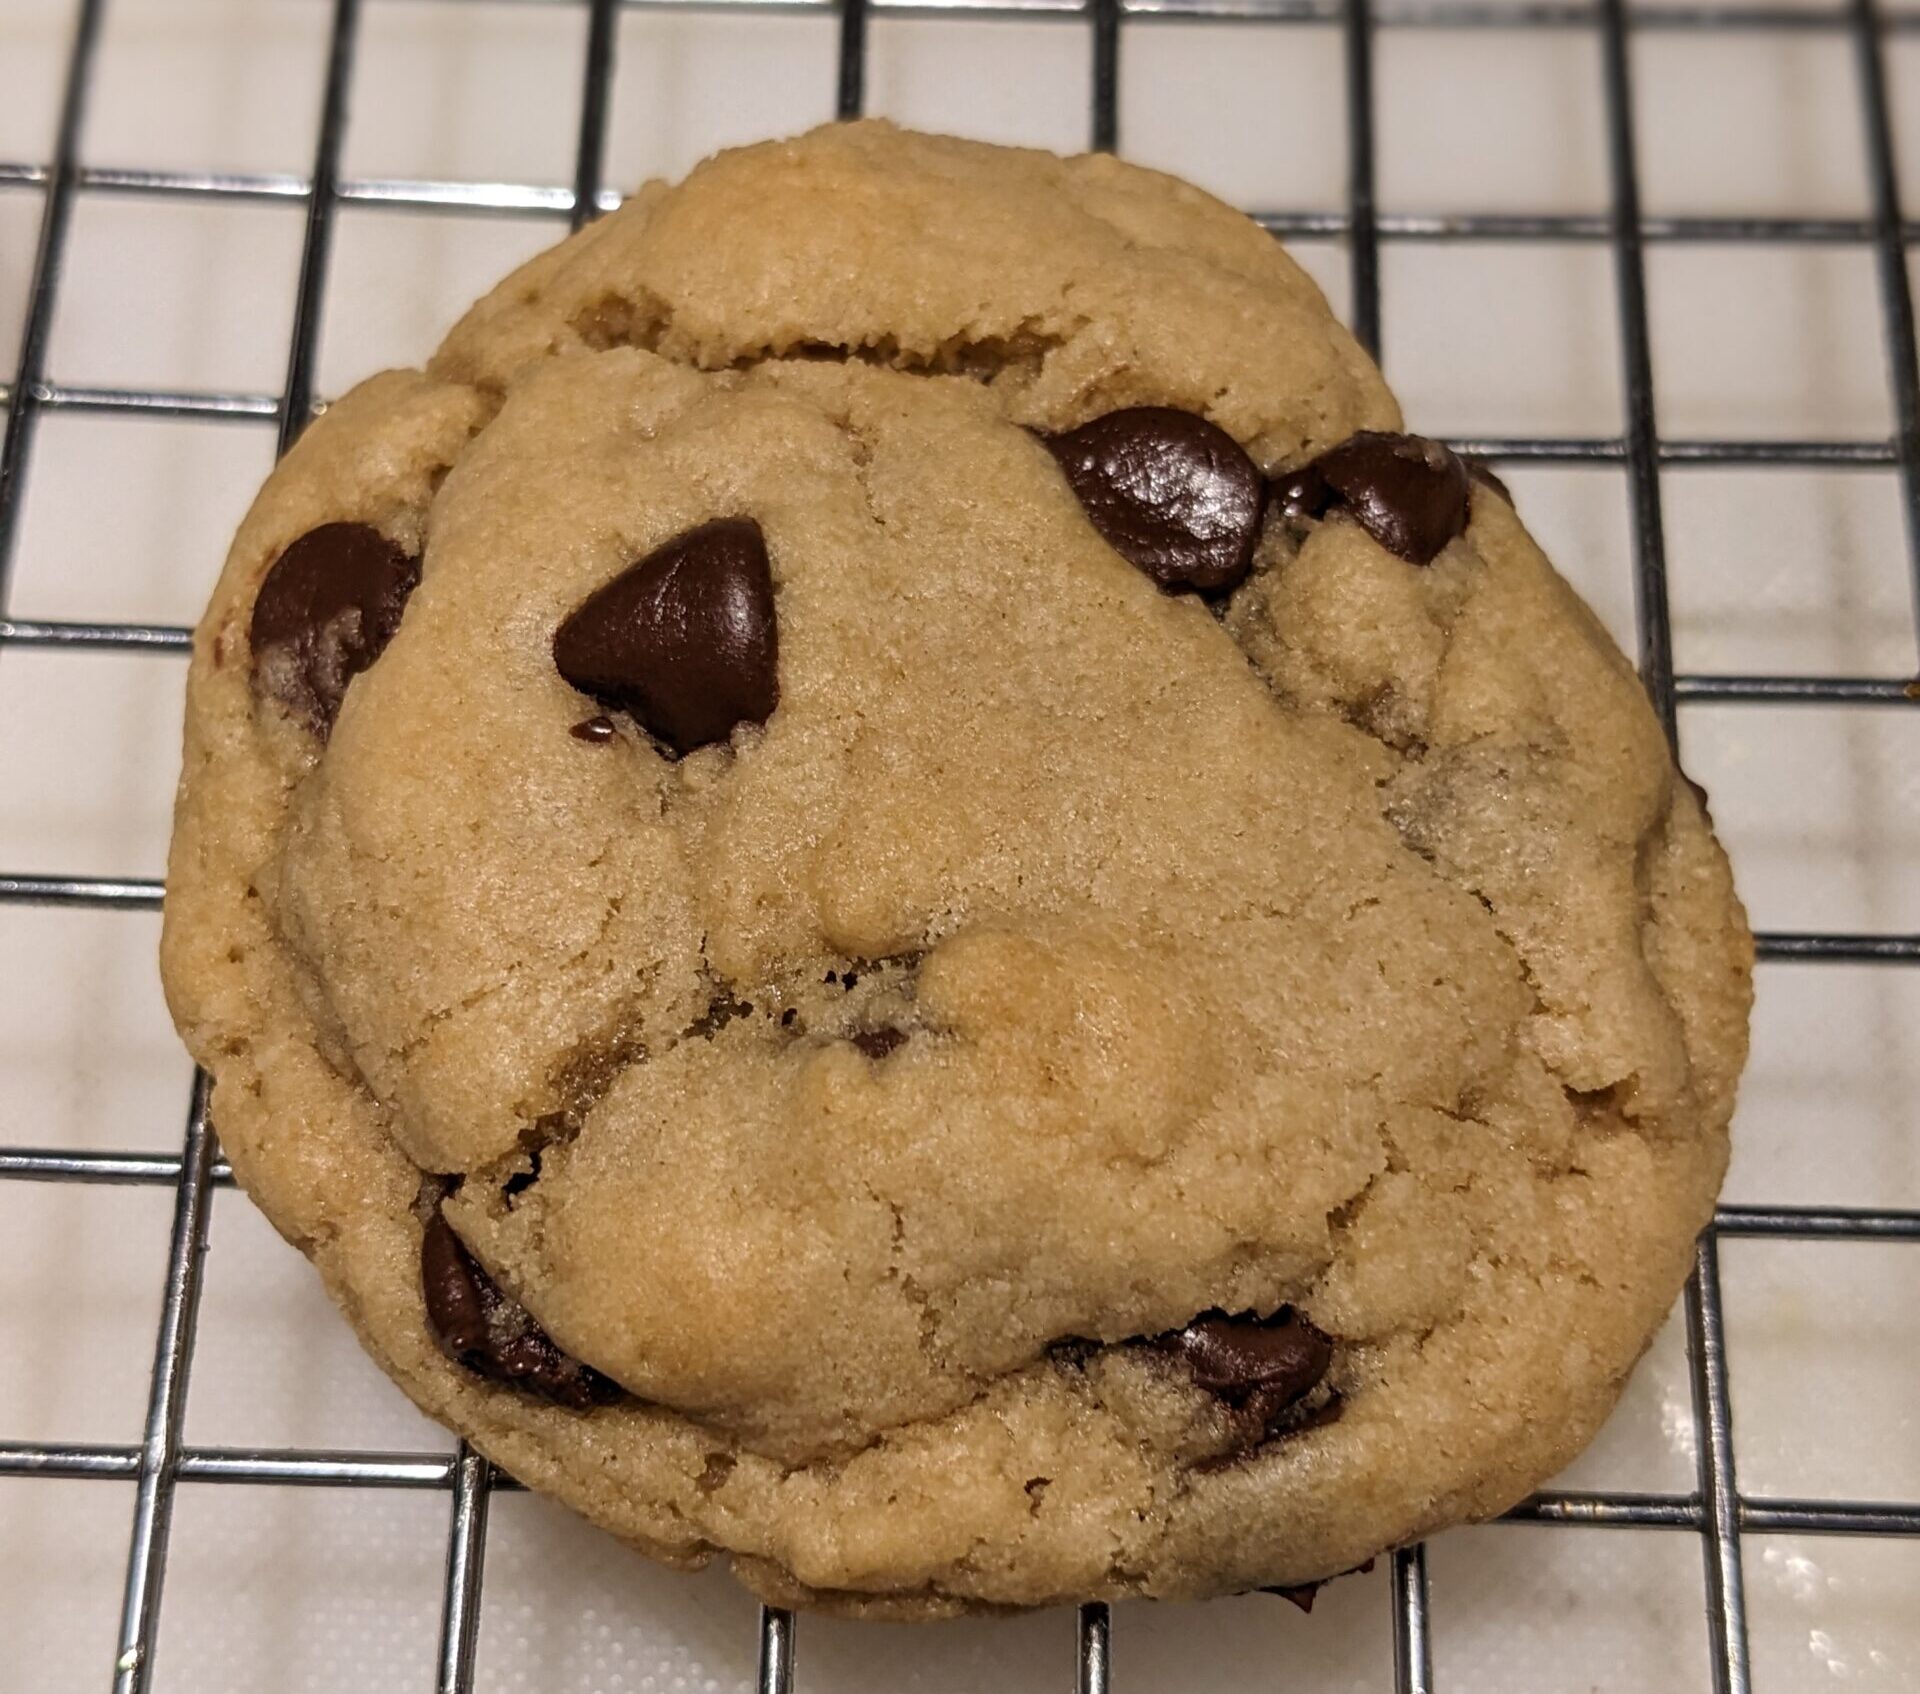
If you’re a sourdough baker, you’ve probably encountered the dilemma of having leftover sourdough starter—commonly known as “sourdough discard.” While it’s tempting to toss that extra starter, especially when you’re knee-deep in baking bread, there’s actually a much tastier way to put it to good use. Enter: sourdough discard chocolate chip cookies. These delicious treats are not only a clever way to reduce food waste, but they also offer a unique twist on the classic chocolate chip cookie.
For those who may not be familiar, sourdough discard is the portion of your sourdough starter that you remove before feeding it with more flour and water. Instead of letting it go to waste, this flavorful 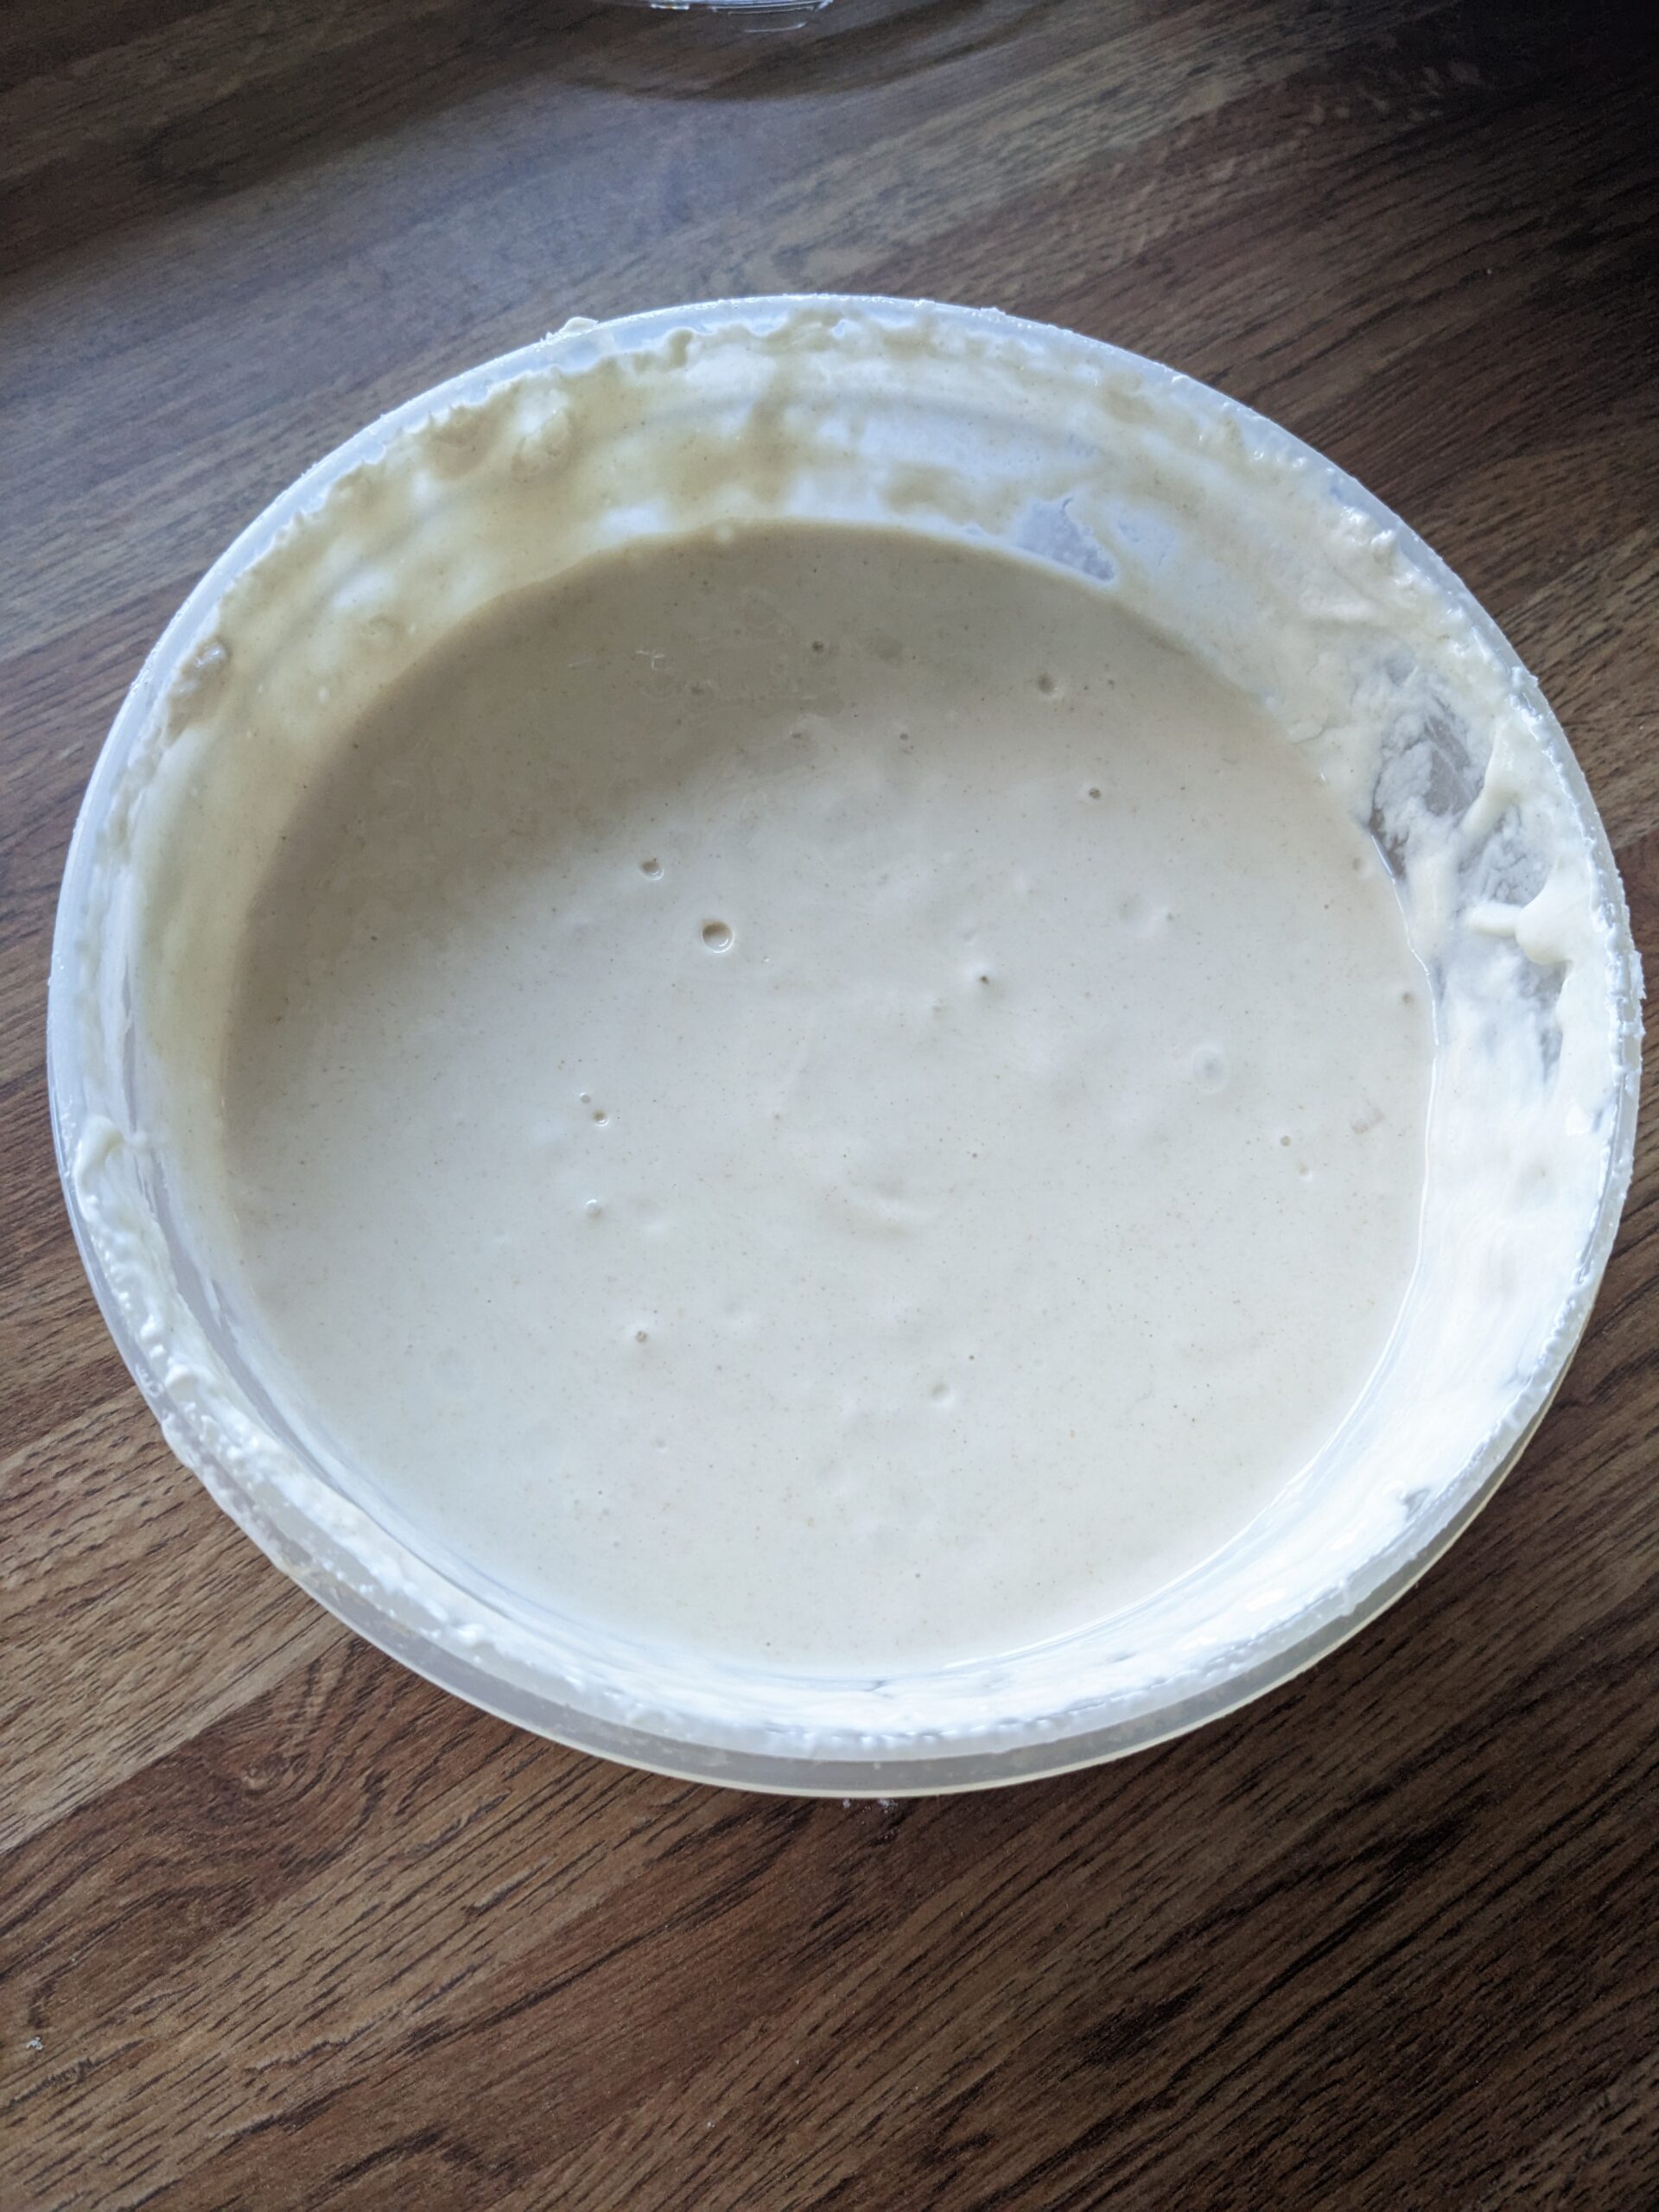 discard can be used to enhance everything from pancakes and waffles to crackers—and yes, even cookies! While it doesn’t undergo the long fermentation process like traditional sourdough bread, the discard still retains some of that signature tangy flavor, which brings a whole new depth to your favorite cookie recipe.
The best part? These sourdough discard chocolate chip cookies are just as easy to make as your standard cookie dough, with the added bonus of a subtle, complex flavor profile. The slight sourness from the discard balances beautifully with the sweetness of the chocolate chips, creating the perfect combination of chewy, gooey goodness. Whether you’re an experienced sourdough baker or a newcomer to the world of fermentation, this recipe is a great way to use up leftover starter and elevate your baking game.
But, beyond the flavor, using sourdough discard in your cookies is also a simple way to make your baking more sustainable. Instead of throwing away a valuable ingredient that took time to cultivate, you’re reimagining it in a new form, transforming something that might have been discarded into a batch of irresistible cookies. It’s a small yet satisfying way to reduce food waste while indulging in a homemade treat.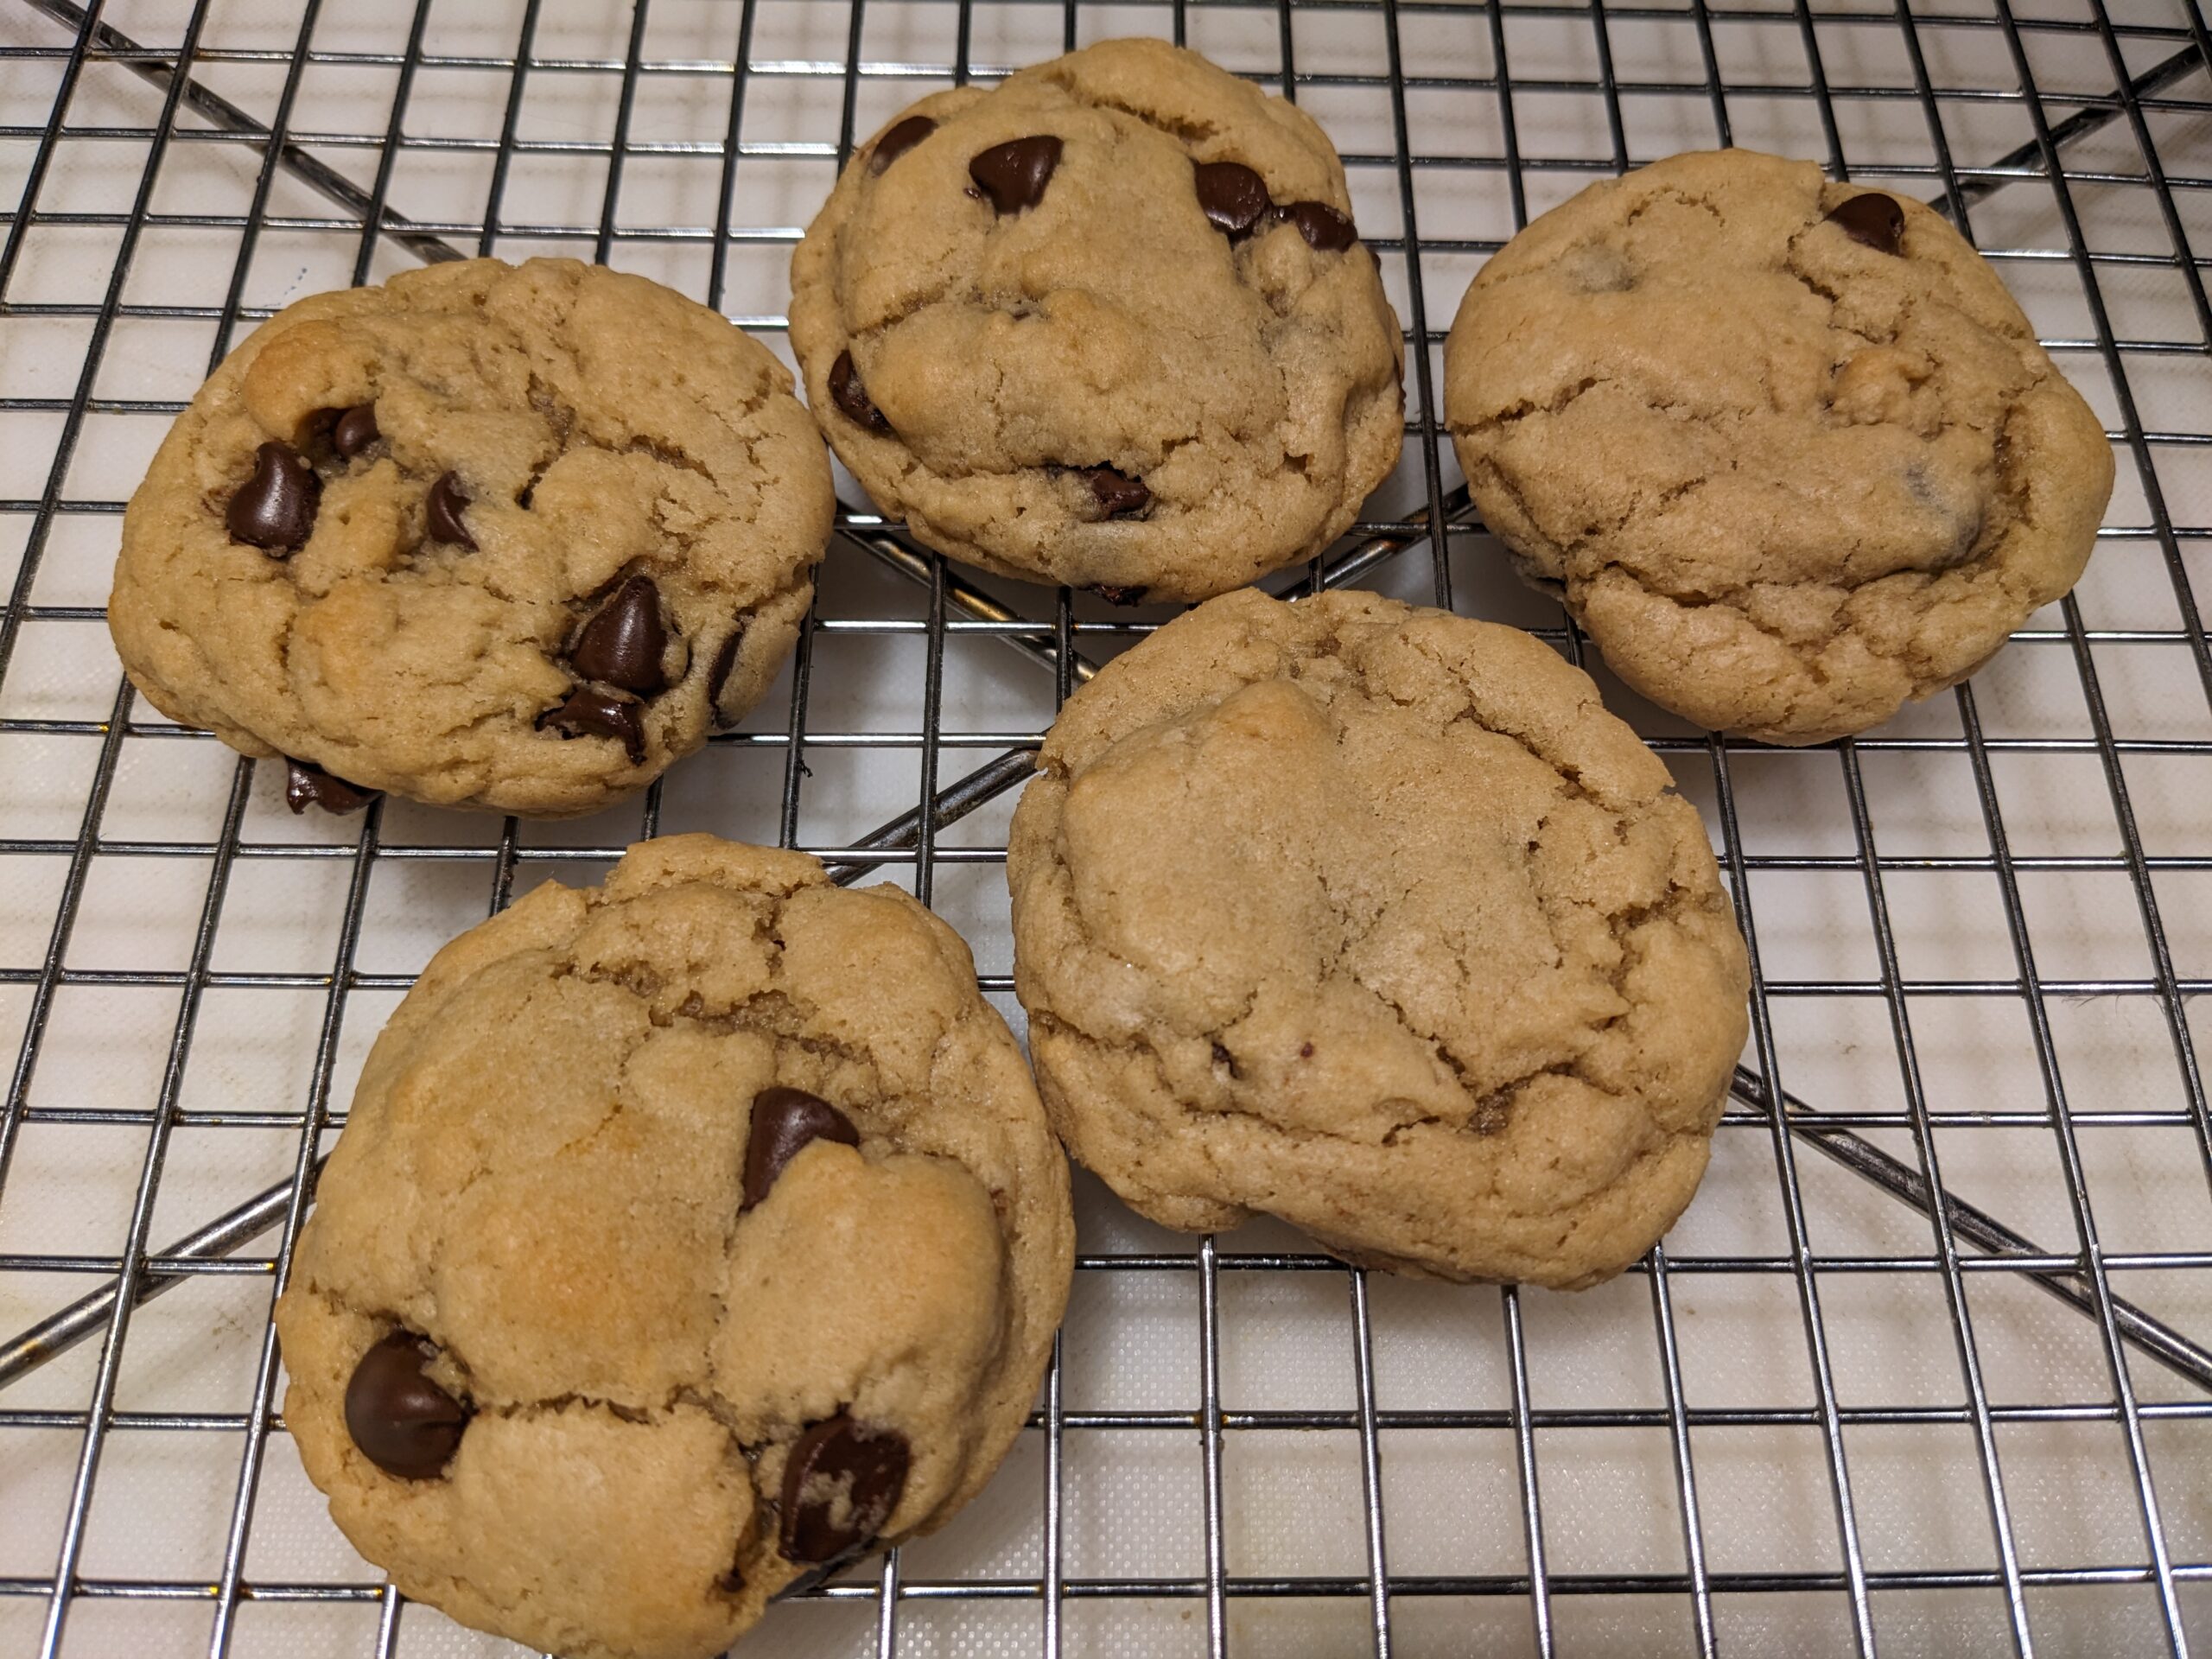
So, if you’ve been looking for a creative way to use your sourdough discard, or simply want to try a cookie with a little extra zing, these sourdough discard chocolate chip cookies are for you. Let’s get baking!
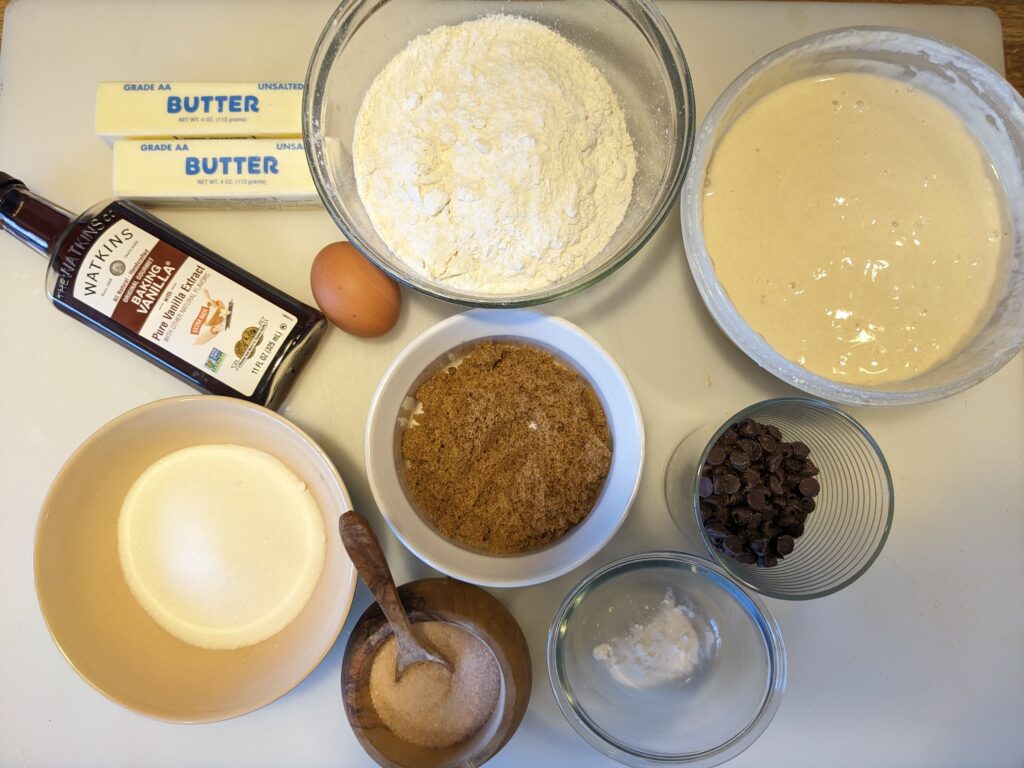
Instructions
Step 1: Cream the Butter and Sugars
This first step may seem simple, but don’t be tempted to rush through it! Creaming together the butter and sugars until light and fluffy is one of the most important parts of making the perfect chocolate chip cookie. Do not melt the butter for this part. Use butter that is softened or at room temperature. This process creates the base structure for your cookies, and skipping it could result in a denser, less tender texture. 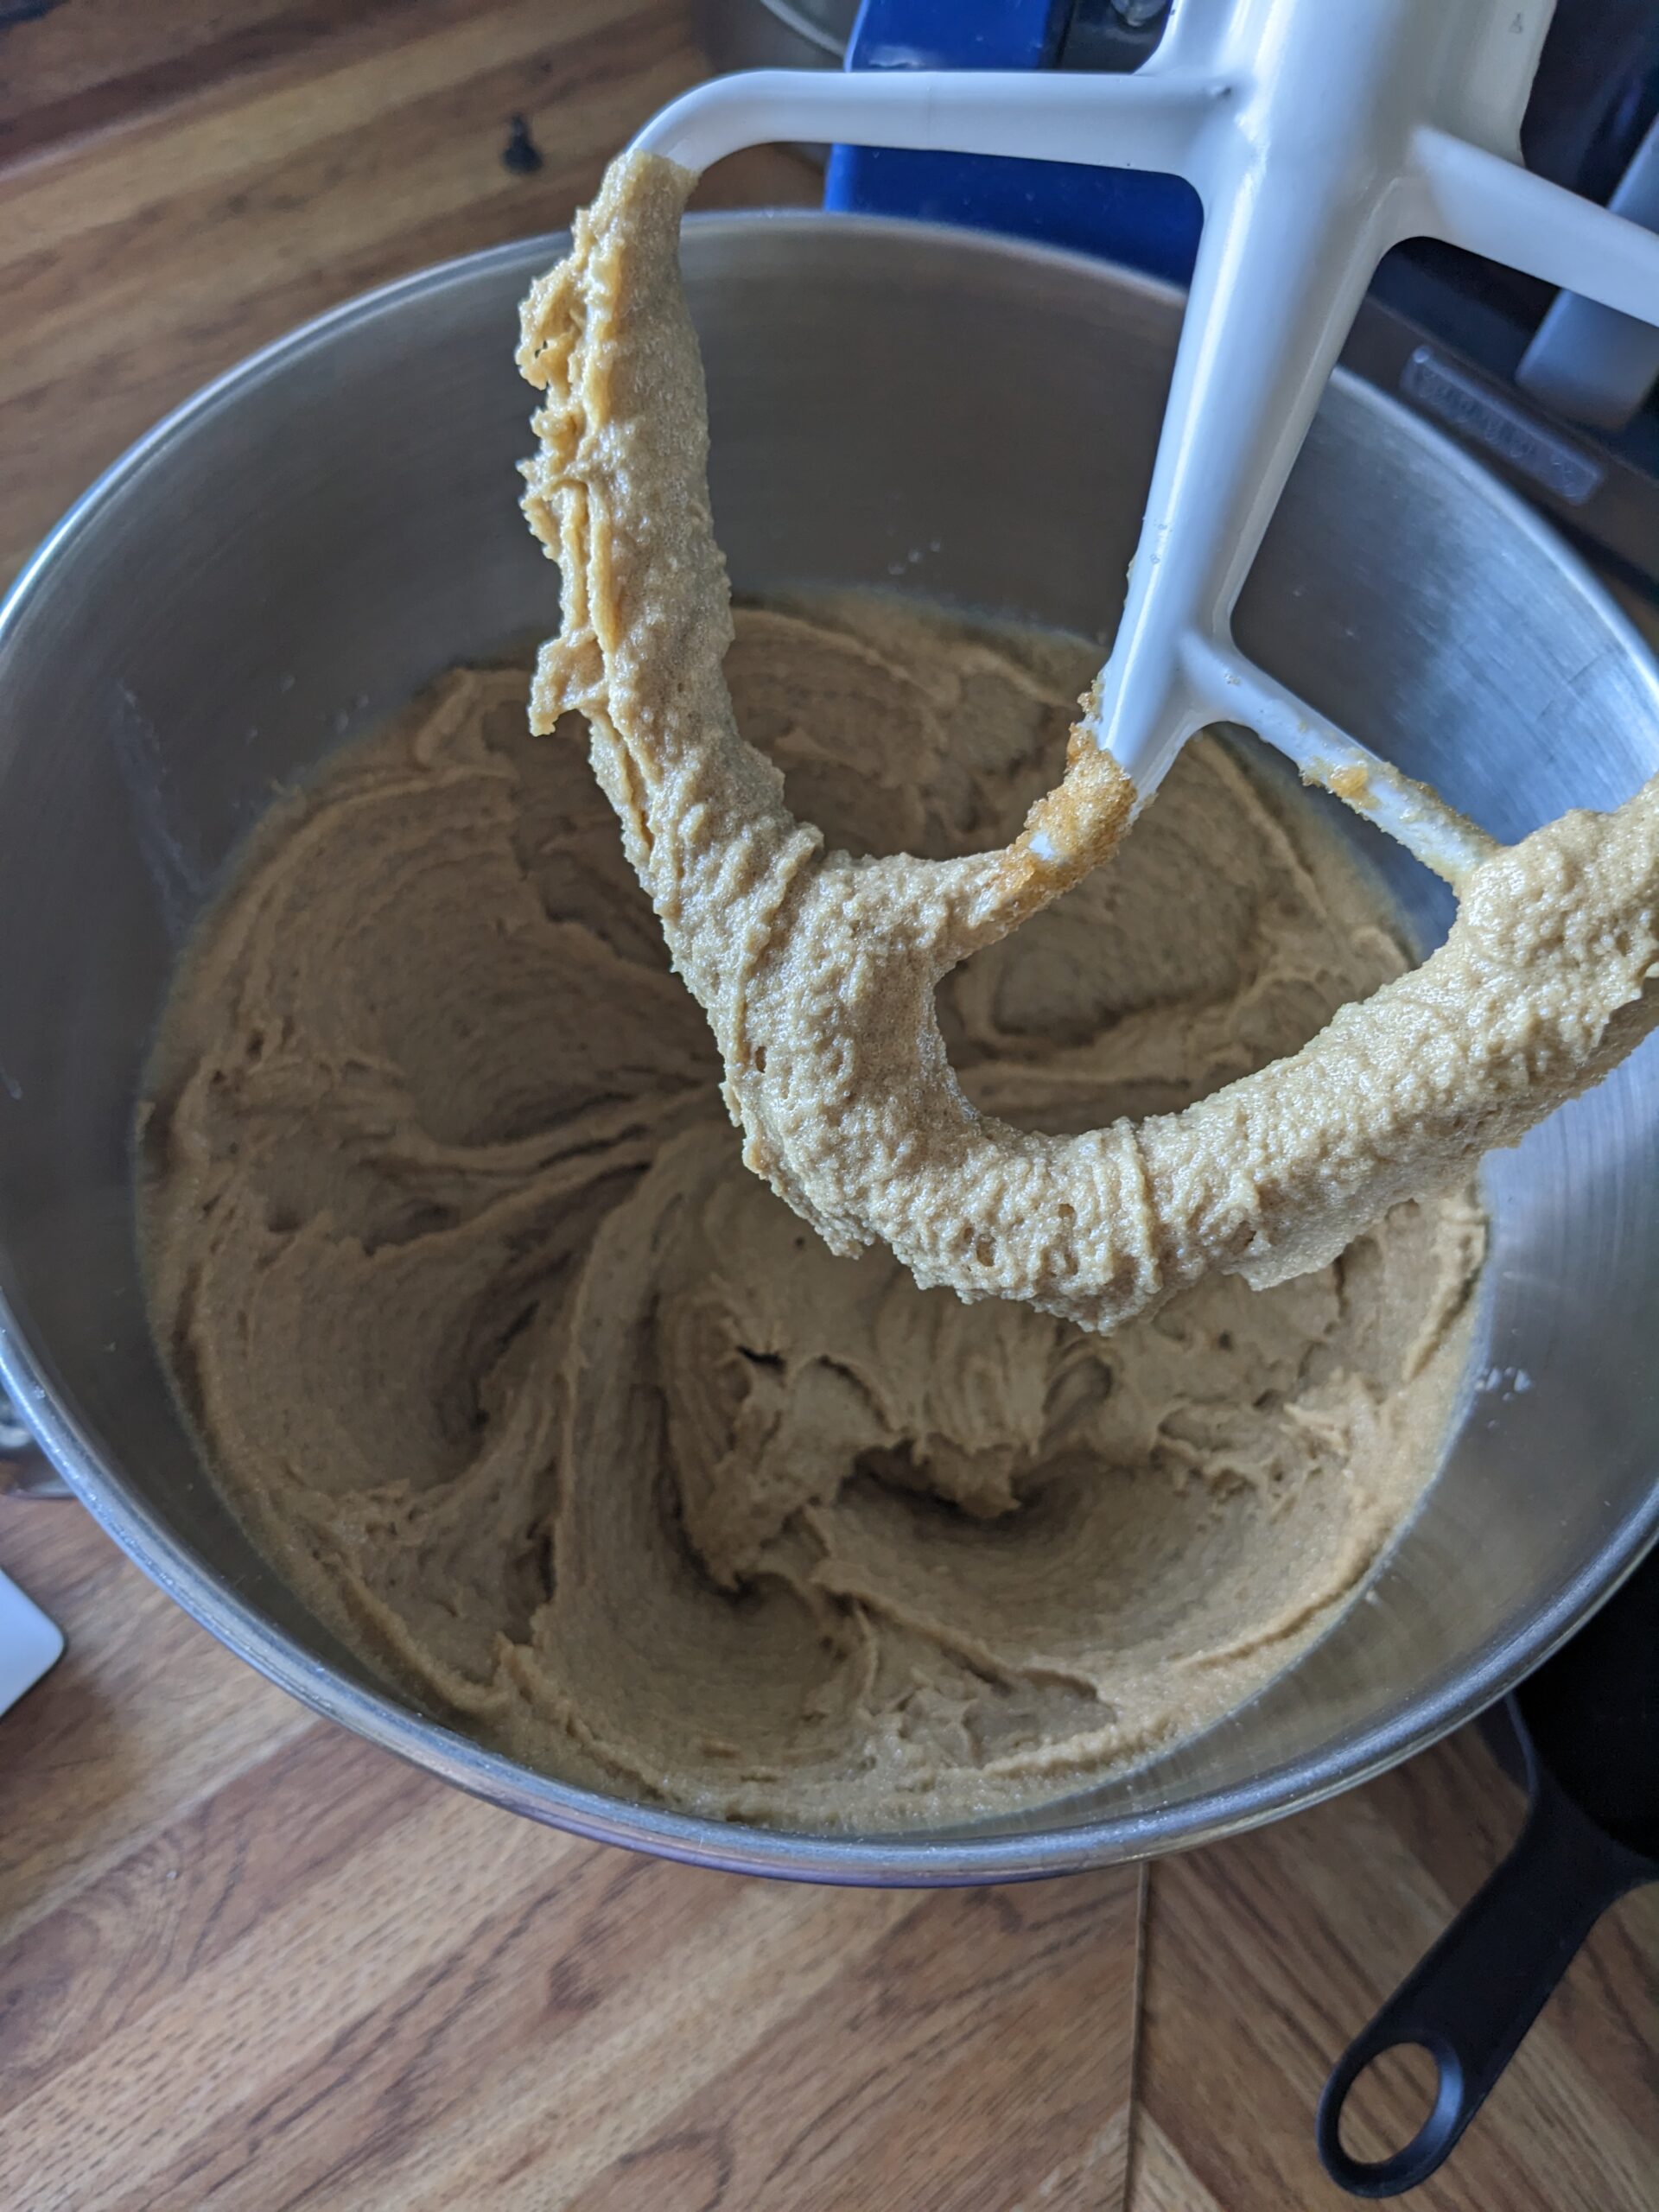
When you cream butter and sugar, you’re essentially incorporating air into the dough. Using a hand mixer with the beater attachments or a KitchenAid works the bet for this step. The small air pockets created by this step help the cookies rise and spread evenly while baking, giving them that soft, chewy texture we all love. The granulated sugar helps to break up the butter, while the brown sugar contributes moisture and a touch of caramel-like flavor. Together, they give the cookies a light, tender crumb and contribute to the perfect balance of sweetness.
Don’t Rush It!
To achieve the ideal texture, make sure you beat the butter and sugars together for at least 3-4 minutes, until the mixture is pale and fluffy. If you’re using an electric mixer, start on low speed to avoid sugar flying everywhere, then gradually increase to medium speed. The butter should look light and slightly expanded, and you’ll notice a change in texture as it becomes smooth and airy. If you don’t take the time to properly cream the butter and sugars, the cookies may not spread properly in the oven, and you might end up with cookies that are flat or too dense.
So, while it might be tempting to skip this step or rush through it, trust me—taking the extra time to cream the butter and sugars thoroughly will be worth it. This step sets the stage for cookies that are soft, chewy, and full of flavor!
Step 2: Beat in the Egg, Vanilla, and Sourdough Discard
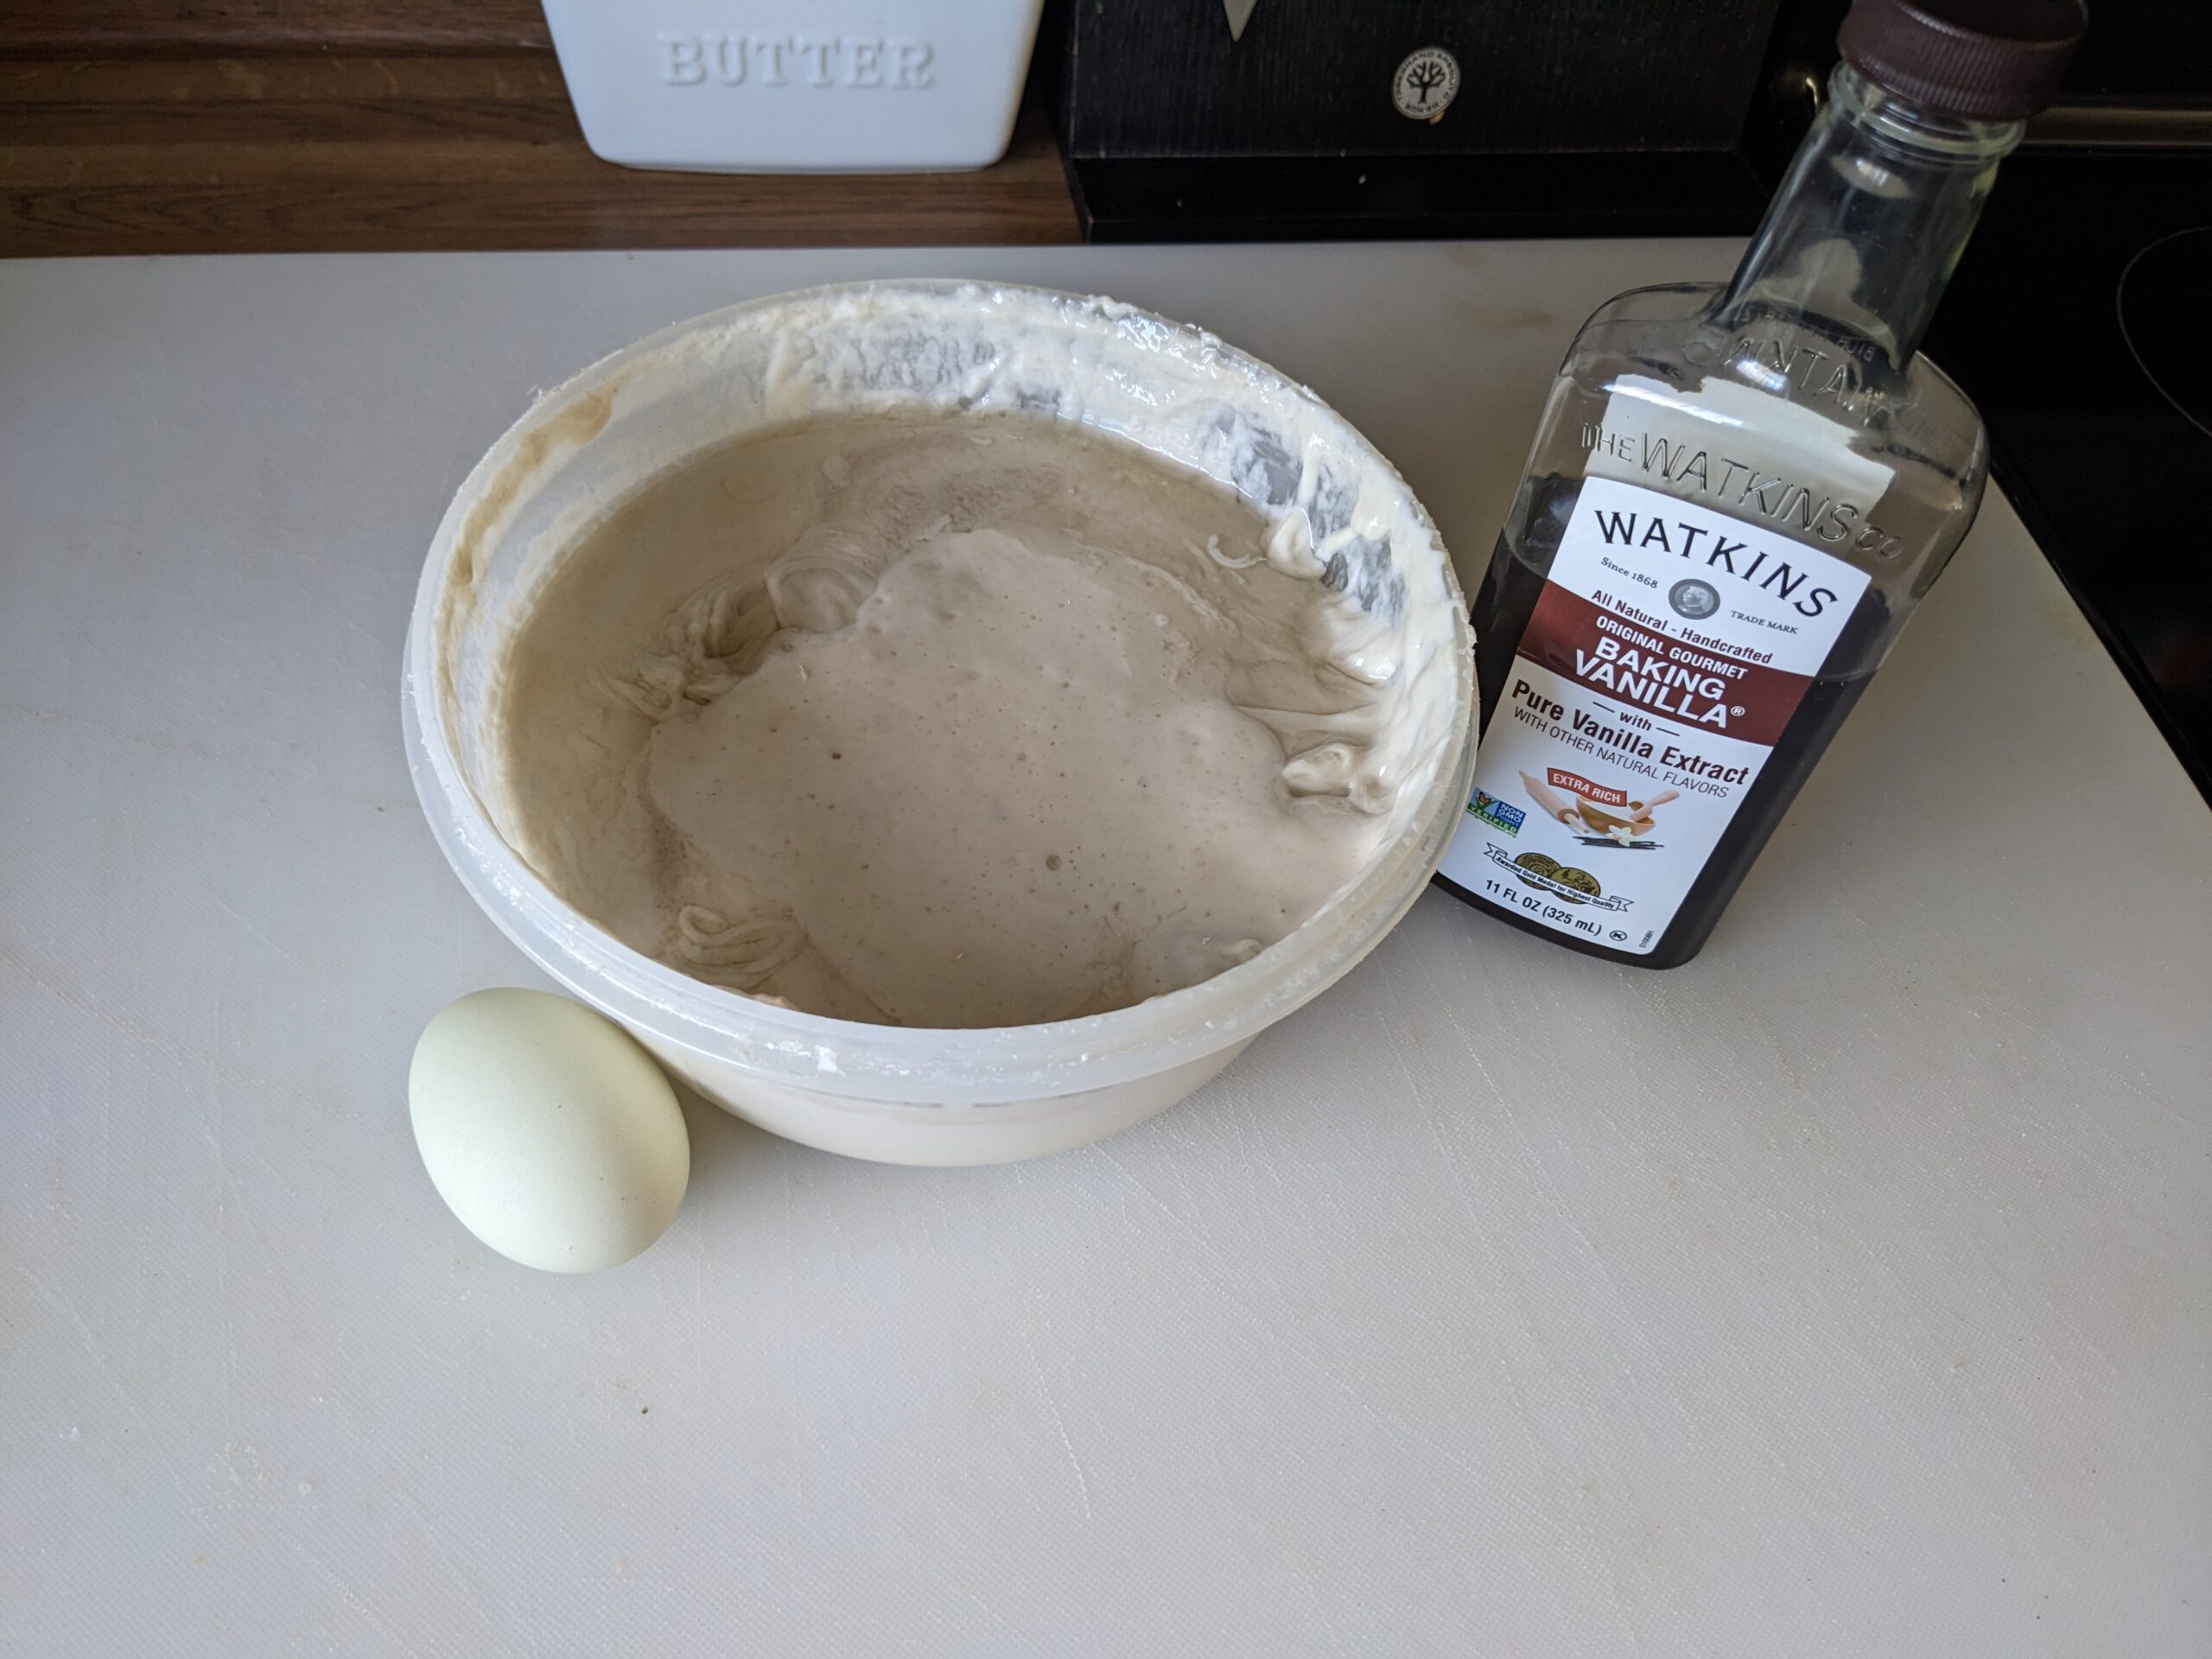 Now that you’ve creamed the butter and sugars, it’s time to add in the wet ingredients: the egg, vanilla extract, and your sourdough discard. This step is all about bringing everything together and ensuring the dough has the right consistency and flavor.
Egg
The egg acts as a binder, helping to hold the dough together. It also contributes to the structure and texture of the cookies, ensuring they hold their shape without being too crumbly. The egg helps create that perfect balance between a chewy interior and slightly crisp edges.
Vanilla
The vanilla extract is a classic flavor booster in chocolate chip cookies. It adds depth and warmth, rounding out the sweetness of the sugars and the richness of the butter. Even though the sourdough discard will bring its own unique flavor, the vanilla will help harmonize the overall taste of the cookies.
Sourdough Discard
And now, the star of the show—the sourdough discard! While it might seem like an unconventional ingredient, sourdough discard brings a subtle tanginess that helps balance the sweetness of the cookies. The natural acidity from the starter also enhances the flavor profile, giving the cookies a slight depth and complexity you wouldn’t get with traditional chocolate chip cookies. It’s the perfect way to use up that extra starter, all while creating a unique cookie with a mild, pleasantly sour note.
When adding these wet ingredients, make sure to beat everything together until well combined. The sourdough discard should fully incorporate into the butter and sugar mixture without leaving any visible clumps. This ensures the cookies have a smooth, consistent texture. If the dough looks a little thicker than usual, don’t worry—this is normal due to the sourdough discard, and it will result in a wonderful chewy texture once baked.
Remember, this is the stage where the flavor of the dough starts to take shape. So take your time and make sure all the ingredients are well mixed. You want a uniform dough that’s ready to welcome in the dry ingredients next!
Step 3: Mix in the Flour, Baking Soda, and Salt Until Just Incorporated
Now it’s time to add the dry ingredients—flour, baking soda, and salt. This is where you begin to form the dough, but be careful not to over-mix. Overworking the dough at this point can develop the gluten in the flour, resulting in cookies that are more dense and chewy than you want. The goal here is to mix the dough just enough so that everything is evenly combined, without overdoing it.
Baking Soda
The baking soda is your leavening agent, and it helps the cookies rise slightly and spread evenly in the oven. As you mix it in, be sure to incorporate it thoroughly so your cookies bake evenly. This also helps ensure that the baking soda doesn’t leave a bitter taste or uneven texture.
Salt
The salt in your dough balances out the sweetness of the sugars and enhances the overall flavor of the cookies. Don’t skip this step, as it’s essential to bringing out the depth of the chocolate and the slight tang from the sourdough discard.
Flour
Start by gradually adding in the flour—this helps ensure that you don’t dump it all in at once, which can lead to uneven mixing. 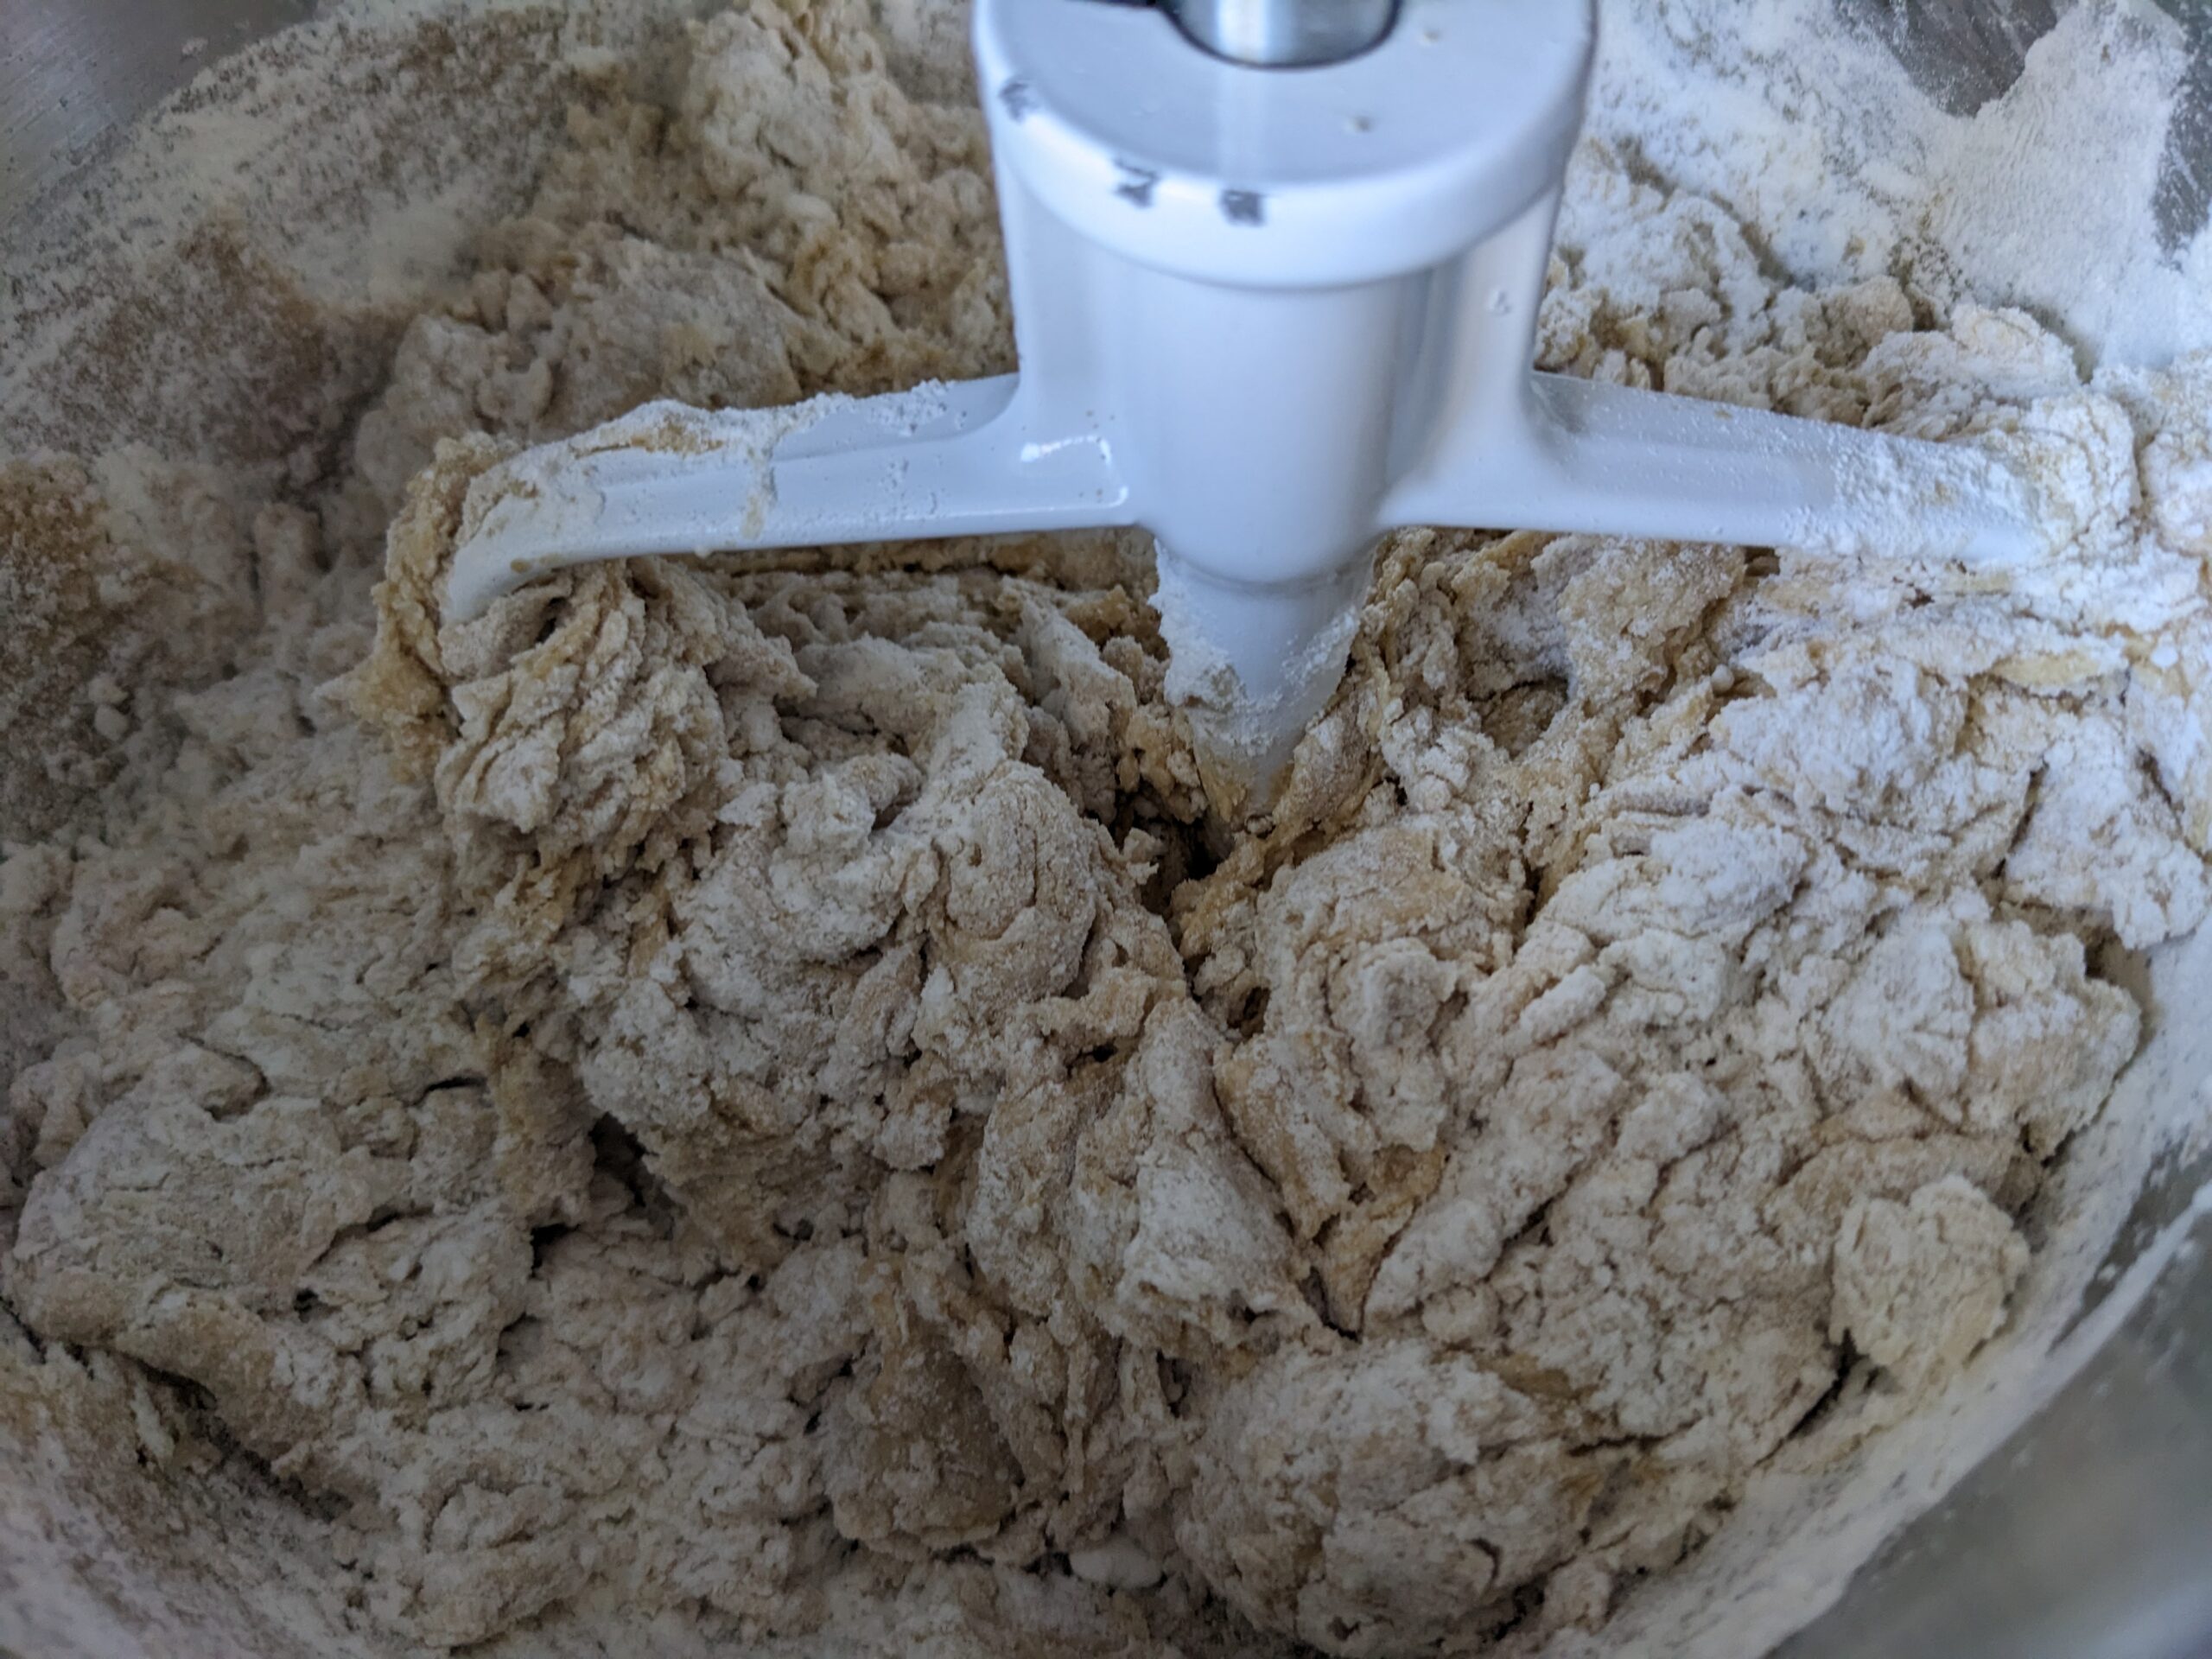 Add the flour in small increments, stirring gently after each addition until the flour is almost fully incorporated before adding more. This method helps you avoid over-mixing and ensures that the dough remains light and tender.
The Key to Tender Cookies
Once you’ve added the dry ingredients, stir gently until they are just incorporated. The dough will still feel a little soft, but it shouldn’t be sticky to the touch. If the dough feels sticky, add a small amount of flour—about a tablespoon at a time—until the dough becomes smooth and pliable, but not too firm. The goal is to have a dough that’s easy to handle without sticking to your fingers.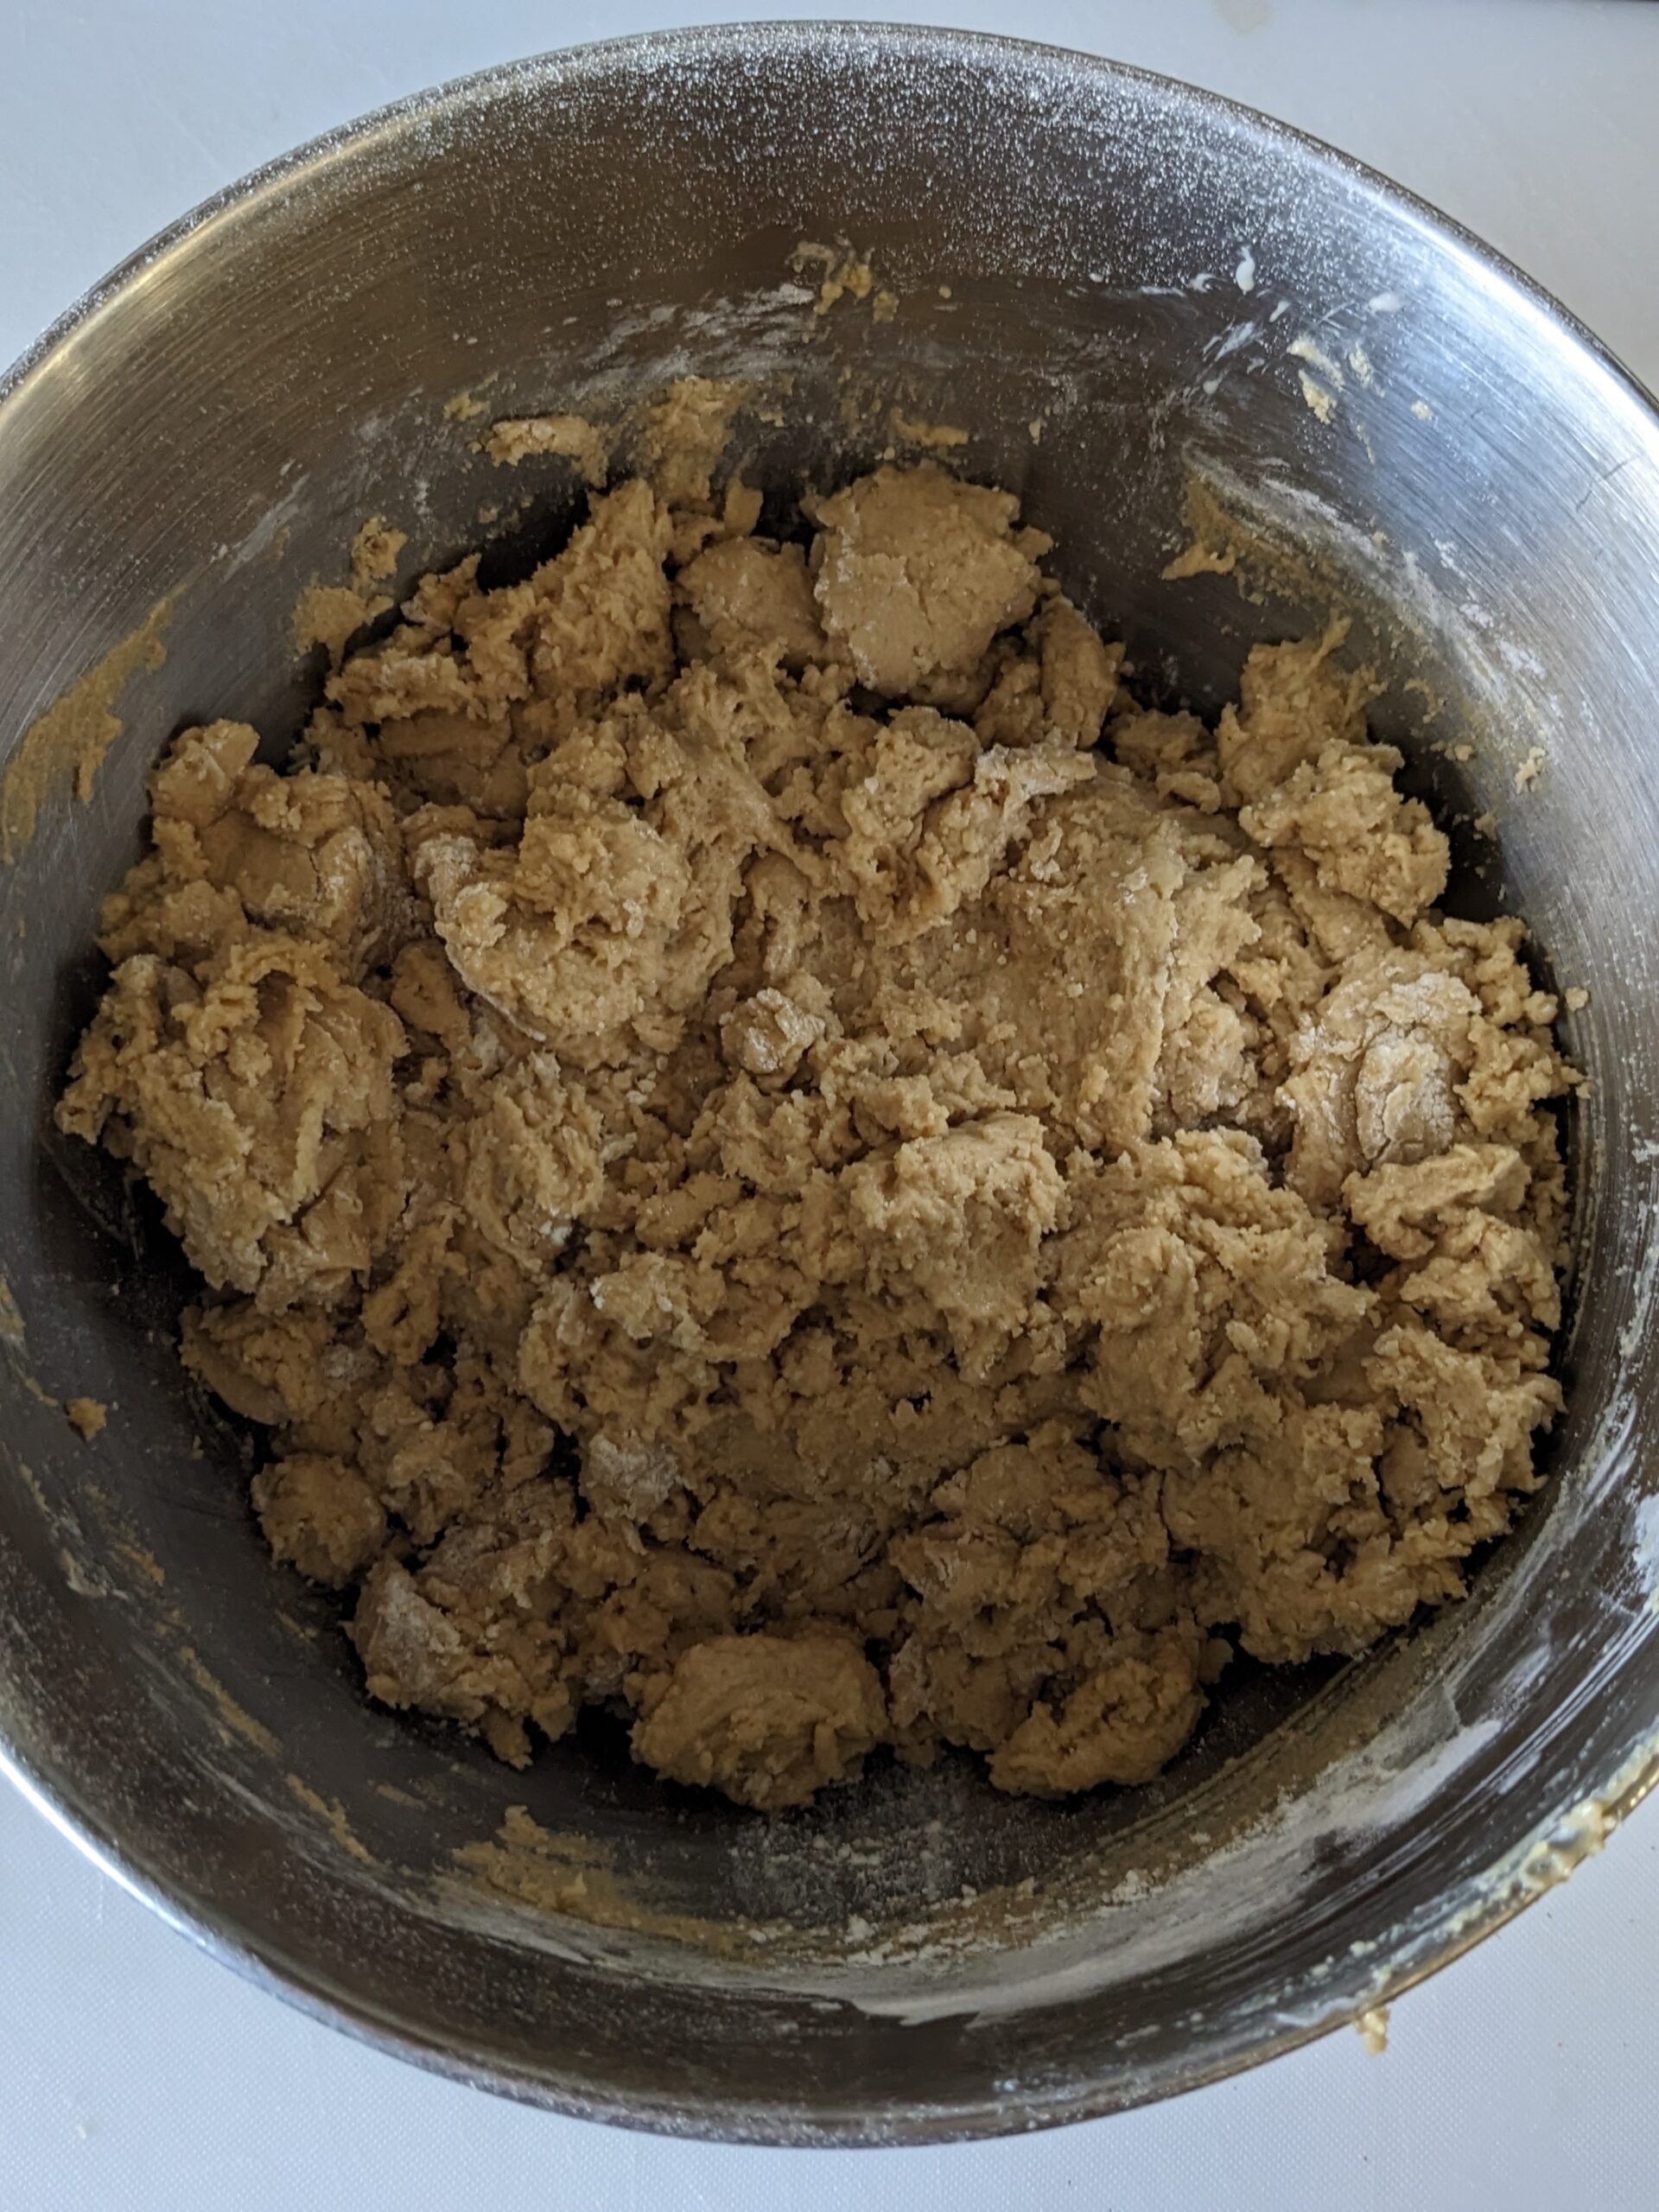
Avoid the temptation to keep mixing once the dry ingredients are incorporated. The less you mix, the more tender your cookies will be. Over-mixing can result in dense, tough cookies that lack that light, chewy texture we all crave.
Step 4: Fold in the Chocolate Chips (or Other Mix-Ins)
Now comes the moment we’ve all been waiting for—adding the chocolate chips! You can go with classic semi-sweet chocolate chips, or if you’re feeling adventurous, feel free to mix things up with other fun ingredients. Think white chocolate chips, milk chocolate chunks, peanut butter chips, or even a handful of chopped nuts for a bit of crunch. The possibilities are endless!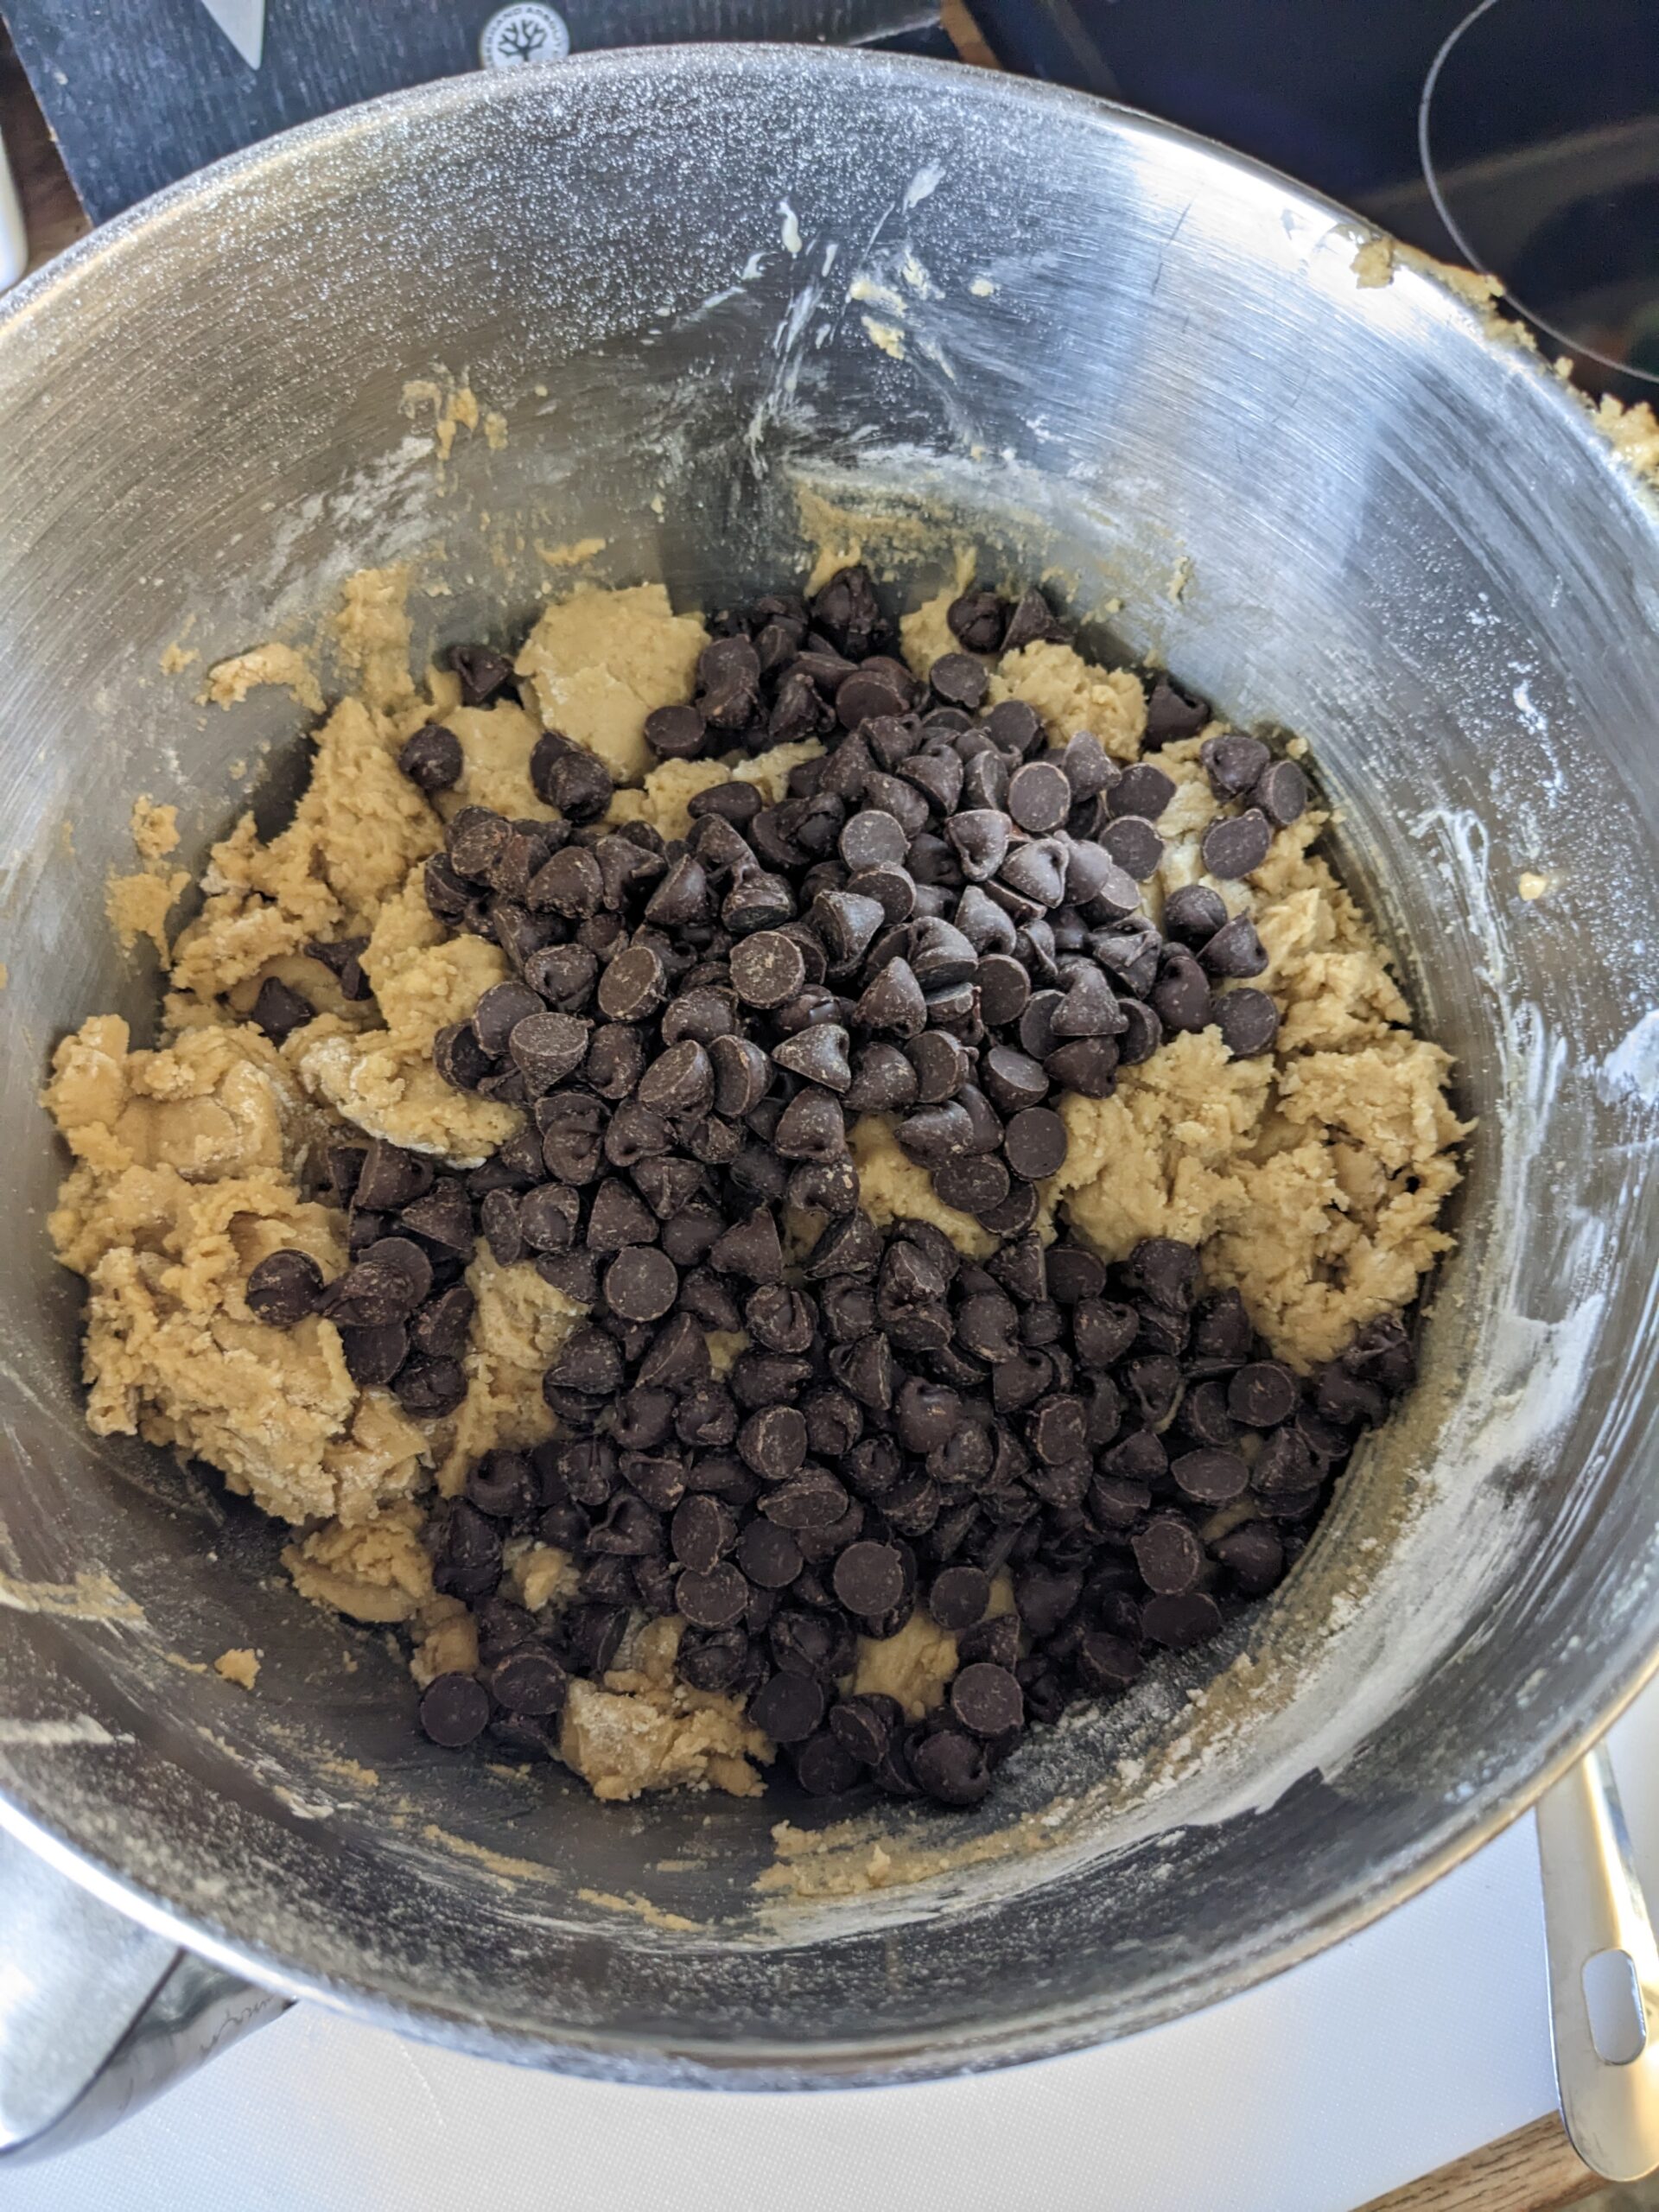
Folding vs. Stirring
When it comes to mixing in your chocolate chips (or any other mix-ins), you want to fold them into the dough rather than stirring vigorously. Folding is a gentler motion that helps prevent over-mixing the dough, keeping the cookies tender and airy. Simply use a spatula or wooden spoon to gently lift and turn the dough until the chocolate chips are evenly distributed throughout.
The reason folding is so important is that it ensures the mix-ins are evenly spread without overworking the dough. Over-stirring can develop the gluten in the flour, making your cookies less tender, so take care to just incorporate everything until it’s well-distributed.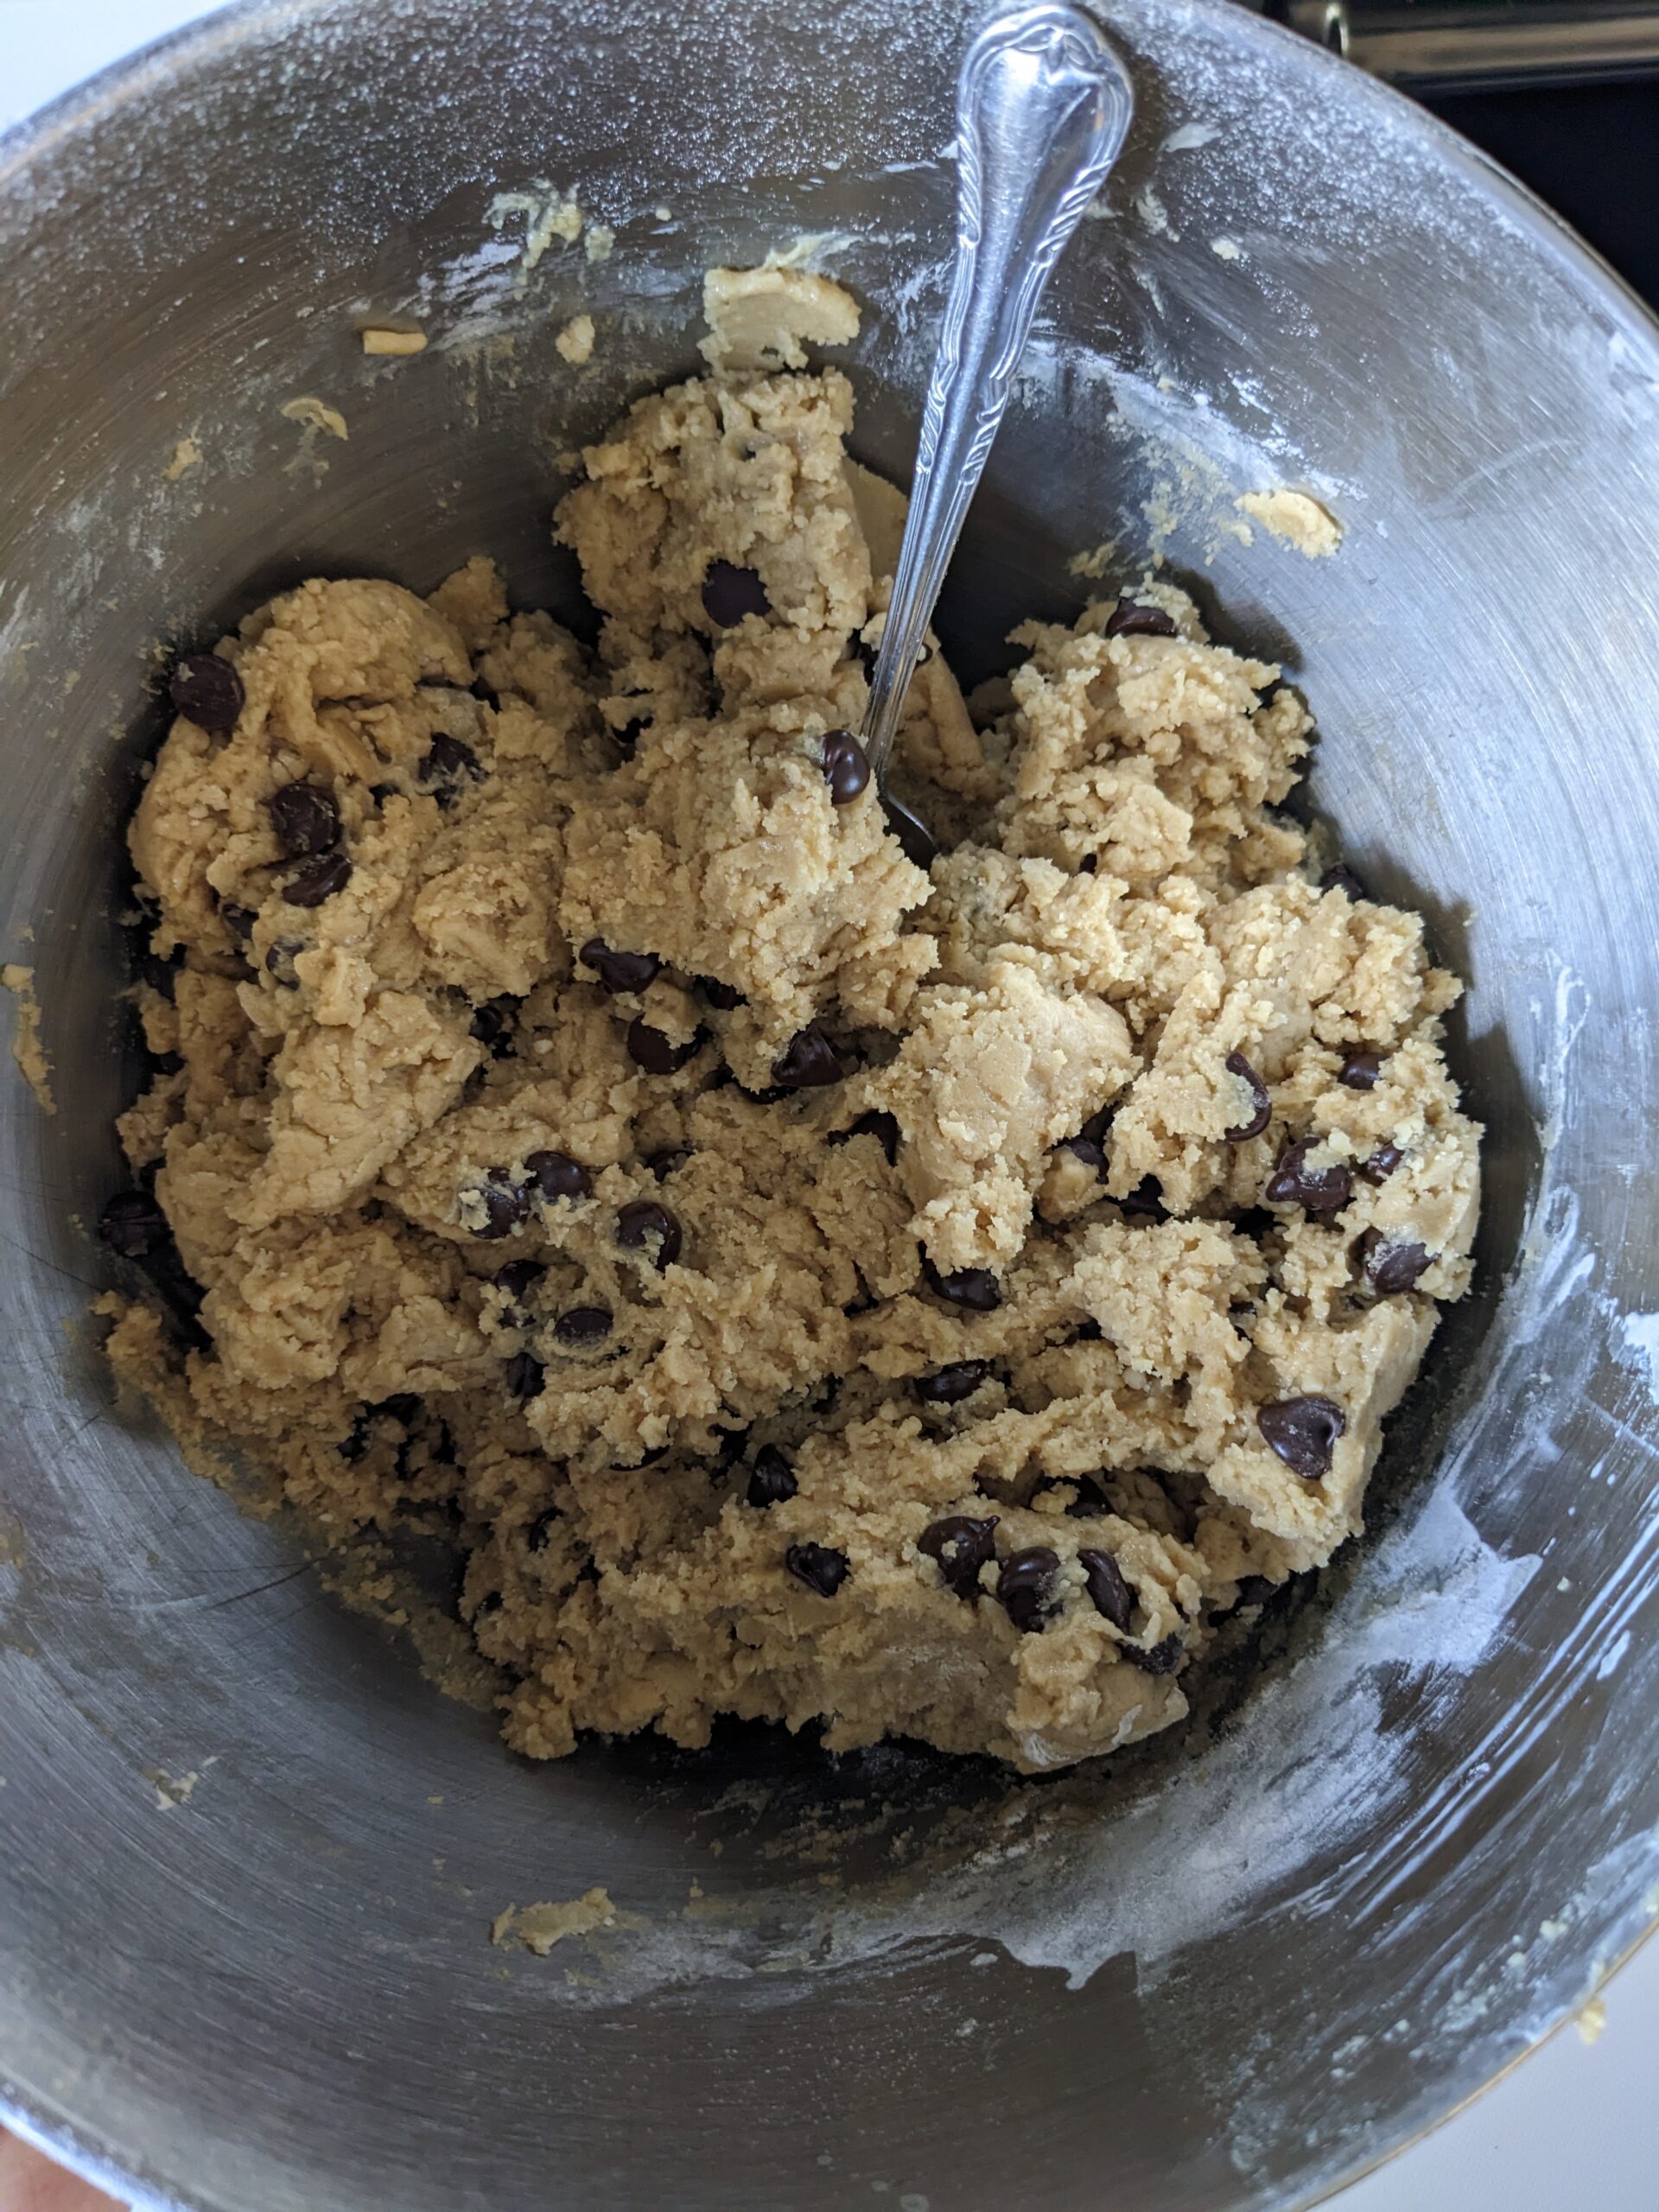
Customizing Your Cookies
Feel free to get creative with your mix-ins! If you love a little extra texture or flavor, add in some chopped walnuts, pecans, or even a sprinkle of sea salt for a savory contrast to the sweet chocolate. You could also toss in a handful of dried fruit, like cranberries or cherries, or even some toffee bits or crushed pretzels for a salty-sweet combo.
Just be mindful not to overload your dough with too many additions—about 1 1/2 cups of chocolate chips (or a combination of chips and other mix-ins) is usually the sweet spot. Too many mix-ins can affect the dough’s consistency and result in unevenly baked cookies.
Step 5: Refrigerate the Dough (At Least 30 Minutes, or Better Yet, Overnight)
While it might be tempting to bake the cookies right away, refrigerating the dough is an important step that should not be skipped. Chilling the dough for at least 30 minutes, or even better, overnight, allows the flavors to develop and results in thicker, chewier cookies. Here’s why it makes such a big difference:
Improved Flavor
Allowing the dough to chill gives the flour and sourdough discard time to fully absorb the moisture, which enhances the overall flavor. This resting period also allows the sugar crystals to dissolve more thoroughly, which helps create a smoother texture and a more pronounced, balanced sweetness. With the sourdough discard, chilling helps the tangy flavor mellow and blend with the other ingredients, giving your cookies that perfect balance of sweet and slightly tangy.
Better Texture
Chilling the dough helps the fat (butter) solidify, making the dough firmer and reducing the spread when the cookies bake. This means you’ll end up with thicker, chewier cookies instead of flat, crispy ones. If you’re someone who loves a good cookie with a soft center and slightly crispy edges, chilling the dough is key to achieving that texture.
What Happens If You Don’t Chill the Dough?
If you skip this step, your cookies may spread too much during baking, becoming thinner and more crisp than you’d like. While still delicious, they won’t have that perfect chewy texture that makes homemade cookies so irresistible.
A Longer Chill = Even Better Results
If you have the time, chilling the dough overnight is even better. This longer resting period allows the flavors to deepen further and results in a richer, more complex cookie. Plus, it gives you a head start for cookie-baking day—just scoop and bake the next day, and you’re good to go!
Pro Tip
If you’re in a rush and don’t have time for a long chill, you can still refrigerate the dough for at least 30 minutes, but for the best results, aim for the overnight option.
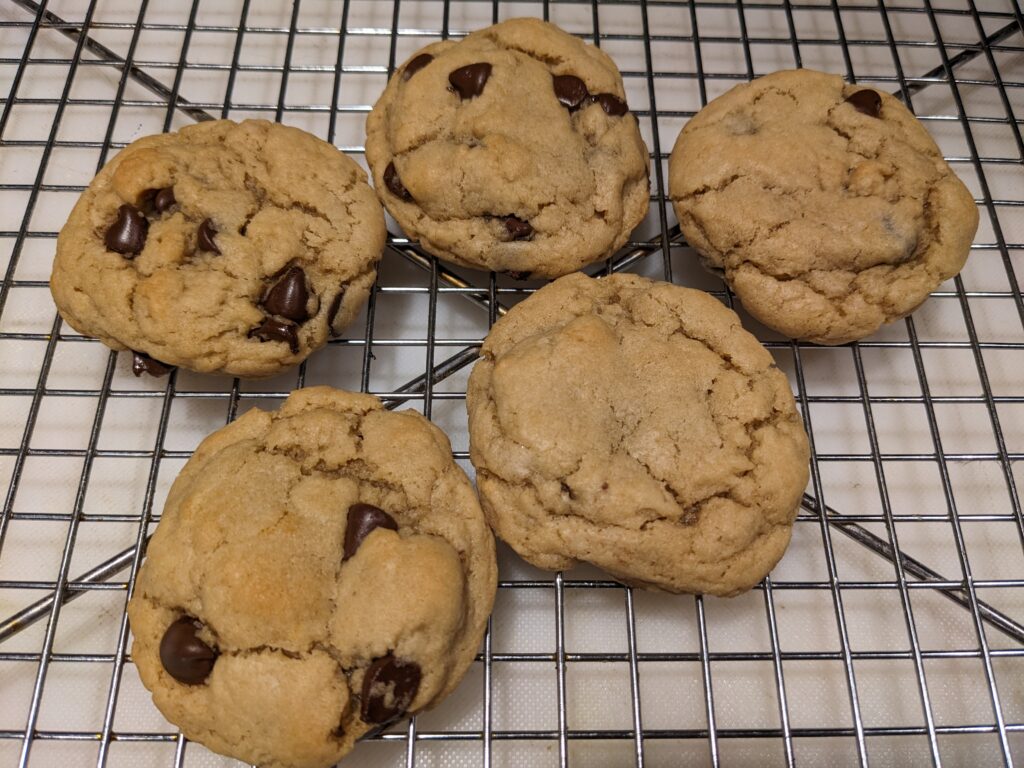
Step 6: Bake the Cookies
Now that your dough has chilled, it’s time to bake these beauties! Baking the cookies at the right temperature and for the right amount of time is crucial for getting the perfect texture. Here’s how I like to bake mine:
Scoop and Roll the Dough
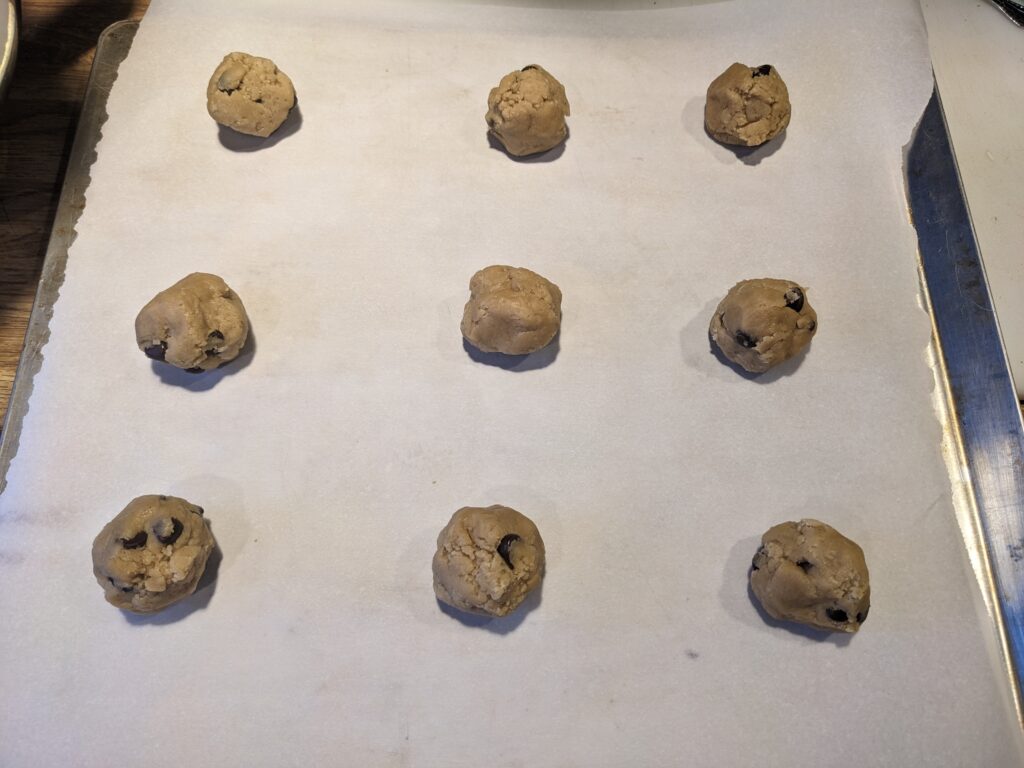
Using a spoon or cookie scoop, scoop out the dough and roll it into even balls, about 2 inches in diameter. This size is perfect for getting cookies that are chewy on the inside, with slightly crisp edges. If you want to ensure that all your cookies bake evenly, it’s helpful to make the dough balls uniform in size. This also prevents some cookies from being overcooked while others are undercooked.
Prepare the Cookie Sheet
To prevent the cookies from sticking to the baking sheet and to make cleanup a breeze, line your cookie sheet with parchment paper. This also helps ensure even baking and gives the cookies the perfect amount of spread as they cook.
Space the Dough Evenly
Place the cookie dough balls on the prepared cookie sheet, spacing them about 2 inches apart. This gives the cookies room to spread and ensures they don’t end up touching during baking. If you prefer your cookies to spread a little more, you can gently press down on the dough balls with your fingers, but be careful not to flatten them too much— you want them to keep some height for that chewy center.
Baking Temperature and Time
Bake your cookies at 375°F (190°C) for 10-13 minutes. The exact time will depend on your oven, but I like to check for golden edges and a slightly soft center. The cookies will continue to firm up as they cool, so don’t worry if the center seems a little soft when you pull them out of the oven. I usually go for the 11-minute mark, but keep an eye on them to get your preferred level of crispness.
Tip
If you want a little extra indulgence, you can press a few additional chocolate chips on top of each cookie right before baking. This makes them look even more decadent and gives an extra chocolatey bite in every bite!
Sourdough Discard Chocolate Chip Cookies
15
minutes10-13
minutes30
minutesIngredients
1 cup softened butter unstalted
1 cup brown sugar
1 cup sugar
1 egg
1/2 cup sourdough discard
1 Tbsp vanilla
1 tsp baking soda
1 tsp salt
3 cups all-purpose flour
1 and 1/2 cups chocolate chips
Directions
Cream together butter and sugars until light and fluffy.
Beat in egg, vanilla, and sourdough discard until combined.
Mix in four, baking soda, and salt until just incorporated. Do not over mix.
Fold in chocolate chips or other mix-ins.
Refrigerate for at least 30 minutes up to overnight.
Preheat oven to 370 degrees. Line cookie sheet with parchment paper and scoop dough into about 2 inch dough balls. Bake for 10-13 minutes.
NOTES
- Store baked cookies at room temperature in an air-tight container for up to 7 days. Place a small slice of white bread inside the container to help keep cookies fresh.
- Freeze unbaked dough for up to 3 months.
This post contains affiliate links to Amazon. If you click on a link and make a purchase, I may earn a small commission at no extra cost to you. This helps support the work I do in creating and sharing recipes. Thank you for your support!”

