You are currently viewing “From Seed to Sprout: My Seed-Starting Setup”

“From Seed to Sprout: My Seed-Starting Setup”

There’s something magical about watching a tiny seed transform into a flourishing plant. But let’s be honest—starting seeds is a bit like planting hope in a tiny container. I’ve been digging in the dirt for the past 15 years—whether it was a tiny garden at my parents’ place, a few pots on my apartment balcony, or my full-fledged suburban backyard oasis. But it wasn’t until about 10 years ago that I finally took the plunge into the world of starting plants from seeds. Let’s just say, my seed-starting game has come a long way since those early days of trial and error. Over the years, my setup has evolved right alongside my gardening skills, transforming from a humble operation to a well-oiled seed-starting machine. From a small shelf next to a window to a full greenhouse with grow lights and everywhere between. If you’ve ever wondered what it takes to kick off a garden season with nothing more than a packet of seeds and a dash of optimism, you’re in the right place! In this post, I’m pulling back the curtain on my entire seed-starting process: I’ll walk you through my personal seed-starting routine, from the equipment I swear by, to the varieties I’m growing this year, and everything in between. 

Why do I even bother starting seeds? I start seeds myself because there’s something incredibly rewarding about watching a tiny seed transform into a thriving plant. It gives me a sense of control over what I grow, allowing me to choose unique varieties that are not available at the garden center. Plus, it’s a cost-effective way to build my garden and get a head start on the season. There’s also a certain satisfaction in nurturing something from the very beginning—seeing the first signs of growth never gets old! Starting seeds lets me connect more deeply with my garden and gives me a front-row seat to God’s miracles unfolding. And if I’m being totally honest here, I’m totally addicted to it! If you’re more interested in learning why you should start your own seeds, check out my post, How to Start Seeds Indoors: Tips for a Successful Growing Season where I go in depth on all the benefits of starting your own seeds. Ready to see how it all comes together? Let’s dive in!

My Seed Starting Process

Starting seeds marks the beginning of a new growing season, and I love every step of it. To get things rolling, I first set up a portable greenhouse in my garage. This greenhouse gives me the perfect space to create the controlled environment my seedlings need to thrive before they can be moved outside. With the garage providing extra warmth, I know that my young plants will stay cozy as they begin their journey.

Step 1: Setting Up the Greenhouse

The greenhouse is portable, so it’s easy to move around or store when not in use, but it’s also sturdy enough to create the perfect microclimate for my seedlings. Inside, along the roof, I add two emergency mylar thermal blankets. I don’t have any scientific research for why I do this but, my theory is that it helps to retain the heat inside, but also helps to reflect the light back down onto the plants. This green house has two sets of shelves on two sides and a space in the back where I add a separate shelf along the top and add a shelf as my work bench.

Inside the greenhouse I arrange my heat mats underneath on the shelves to provide gentle warmth. This is critical because warmth helps speed up germination and supports the development of strong, healthy roots.

Next, I set up my grow lights. These lights simulate the full spectrum of sunlight, helping the seedlings grow strong and reach toward the light, just as they would in nature. I position the lights just above the trays, ensuring the plants get adequate light while keeping them warm. The grow lights will be adjusted periodically as the plants grow taller to ensure they don’t get too leggy or weak.

While the plants need to have light, they do not need them on all the time. So, I have this power strip with a built-in timer. This allows me to have the lights come on early in the morning and then shut off in the evening. 

Step 2: Organizing My Supplies

With my growing space set up, I now turn my attention to gathering all of the tools and materials I’ll need for planting. I start by bringing in my supplies and organizing them on my workbench.

I have a few essentials that I rely on for every round of seed starting:

  • 1020 trays and domes: These are the workhorses of my seed-starting setup. The trays hold the soil and the seeds, while the domes provide a little extra humidity, helping the seeds stay moist as they begin to germinate. Bootstrap Farmer trays are by far the best option. There are several other providers of these trays, but, while they are cheaper, they are floppy and crack very easily. I would not skimp on these trays. They last forever and are well worth the investment. These trays can fit 32 two inch pots, or 40 two” blocks. 
  • Soil Blocker: This tool helps me create compact blocks of soil, which I use to start some of my seeds. The soil blocker gives my plants a great foundation and ensures they have enough room to grow before they need to be transplanted. Allowing the roots to be exposed to the air and not tightly compacted in the pots allows them to grow stronger. This is my second season using a soil blocker. While the soil blocker is great in reducing the use of plastics, I have to be honest, that I’m not 100 percent sold on it. It actually requires you to compact the soil very tightly into the blocker in order for it to stay together in its block form. This requires me to use quite a bit more soil per two inch block than I would in a two inch pot. So, why even bother? Well, I am using it for varieties of plants that I over seeded and will need to separate seedlings and transplant up. This includes tomatoes, peppers, and some flowers. The soil block allows me to separate the seedlings much easier as the roots will not be as tangled together. 
  • 2″ Pots: For plants that are slower to grow as well as ones that I cannot over-seed, I use these pots. I found these pots a few years ago and they are by far my favorite. They are incredibly durable and the opening design at the bottom provides space for the roots to grow, allowing the soil to easily soak up water from the tray. 
  • Plant Markers & Painters Tape (and a pen!): It’s easy to forget which seed is which, especially when dealing with several different varieties. To keep track of everything, I use plant markers or painters tape with labels to write down the names of the seeds I’ve planted. This also helps me keep track of planting dates or other important notes. Since the soil blocks have nothing to hold a plant marker, I use painters tape on the side of the 1020 tray to mark what I have planted. 
  • Spray Bottle & Water Pitcher: I use the spray bottle to gently mist the soil to keep it moist without overwatering. The spray bottle ensures I can manage the moisture levels carefully, especially for delicate seedlings. The water pitcher I can use to bottom water. This means that I pour water into the bottom of the 1020 tray and allow the soil block or pot to soak up the water from the bottom.
  • Tub of Seed Starting Soil: For the soil, I use a high-quality seed-starting mix, which is light, fluffy, well-draining and most importantly sterile. Soil that is not sterile can harbor diseases, fungus, and bugs that can kill very tender seedlings. I’ve had to learn this the hard way. In the past I have tried using cheaper potting soil and ended up with fungus growing on my soil which then turns into a horrible fungus gnat problem. I’ve also had to deal with soil full of large wood chips and heavy dense soil that can suffocate tender seedlings. I like to dump my whole back of soil into a packing tub so I can easily scoop out of and work the soil blocker in. 
  • Vermiculite: This is a product that is optional. It is for topping my blocks or pots after I’ve planted seeds. Vermiculite helps to retain moisture and helps to keep fungus from growing.
  • Hand Shovel: For mixing water into the soil, scooping and filling the trays and pots with the soil, I use my trusty hand shovel. It gives me control when moving the soil and helps me pack it in just right to give the seeds a good start.
  • My Seed Collection: I have all my seeds organized in these photo boxes. They allow me to easily pull out specific seeds that I need without having to shuffle through the thousands of packs of seeds that I have. While I do not leave these boxes in the greenhouse where they would be exposed to heat and humidity, I do keep them sitting right outside of it so I can easily access them when needed. 
  • Thermometer: I have this thermometer inside the greenhouse. It helps me make sure the temperature inside is ideal for my tender seedlings. This thermometer also tells me past high and low temperatures as well as humidity. 

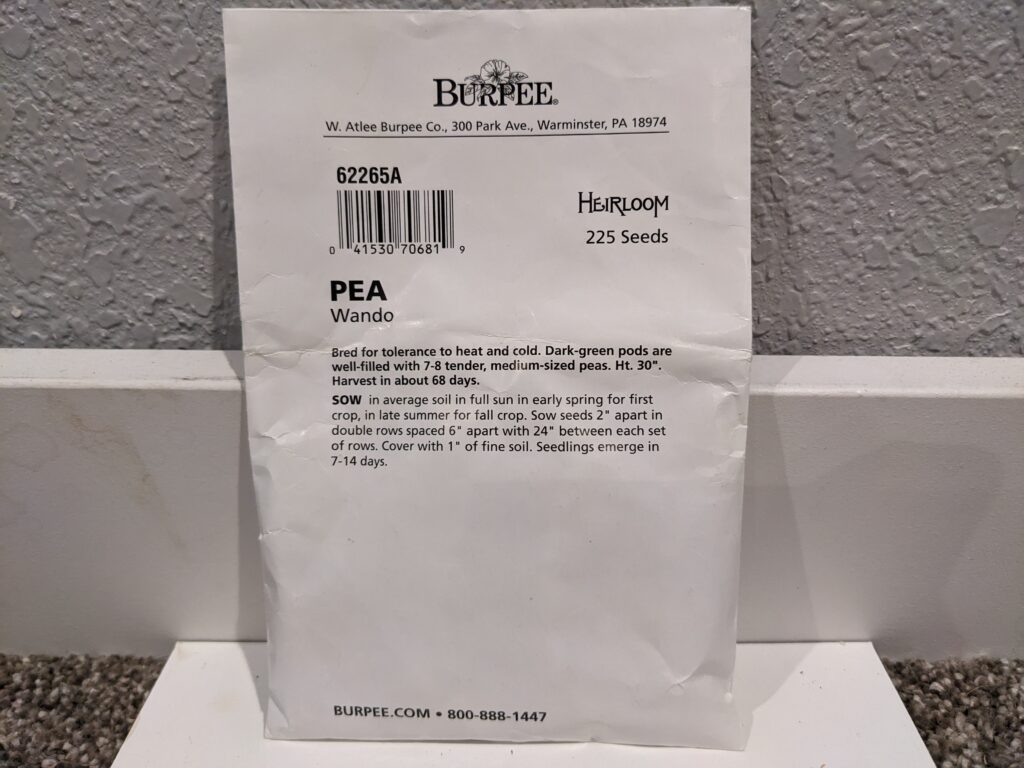
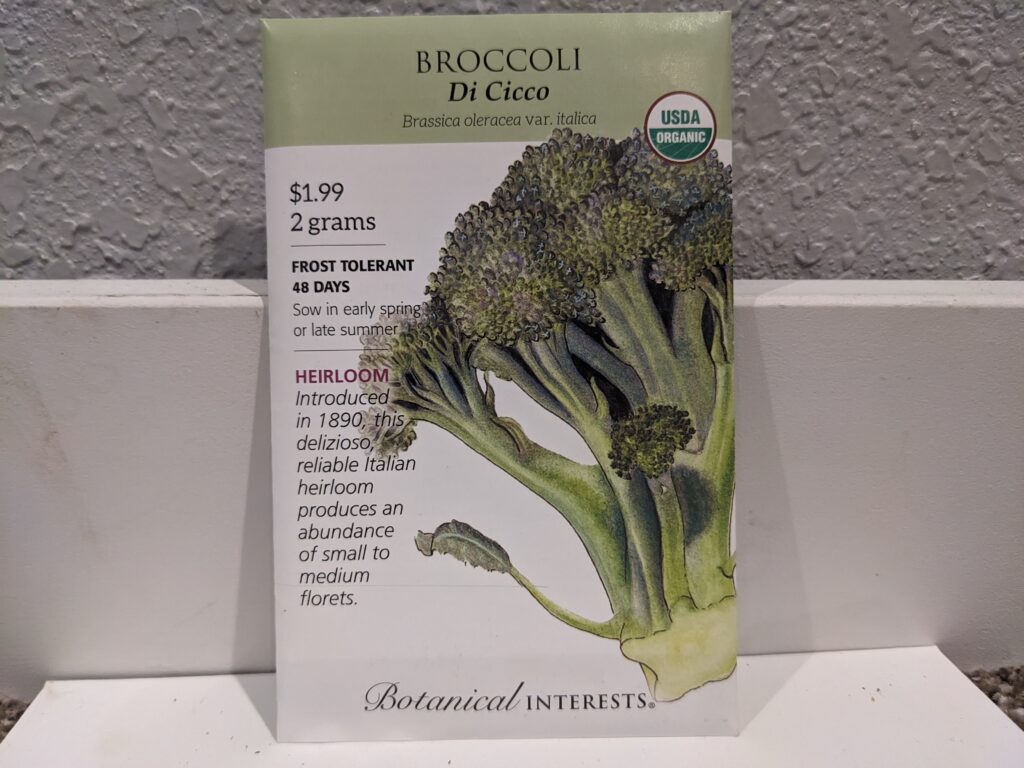
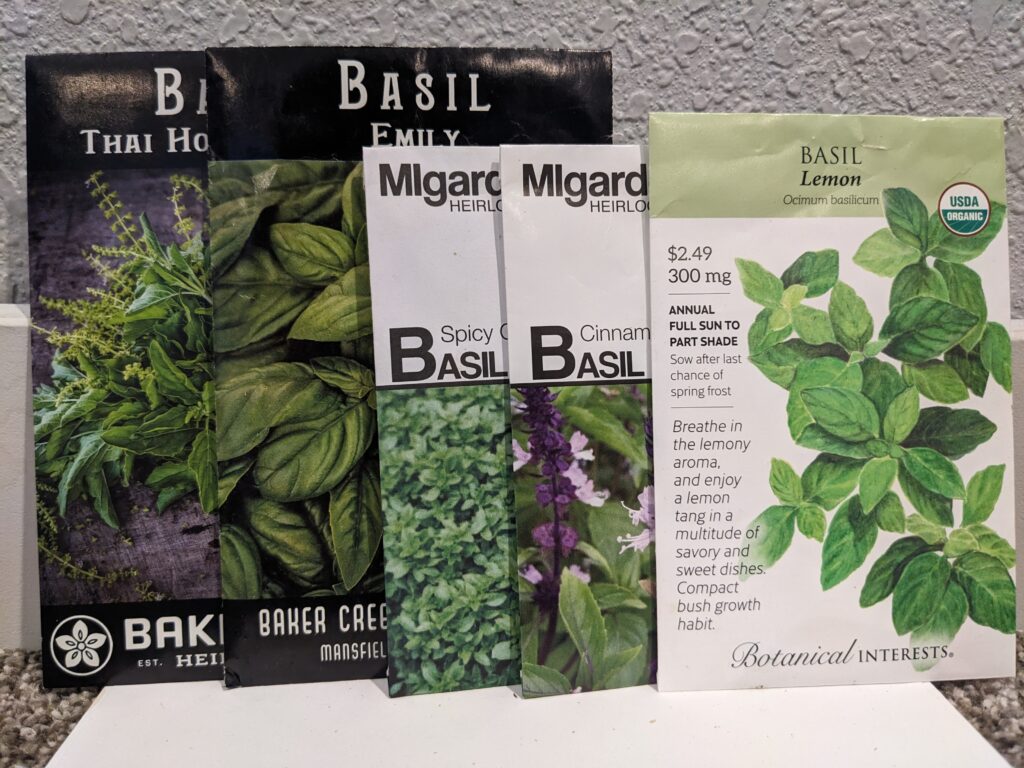
Step 3: Planting the Seeds

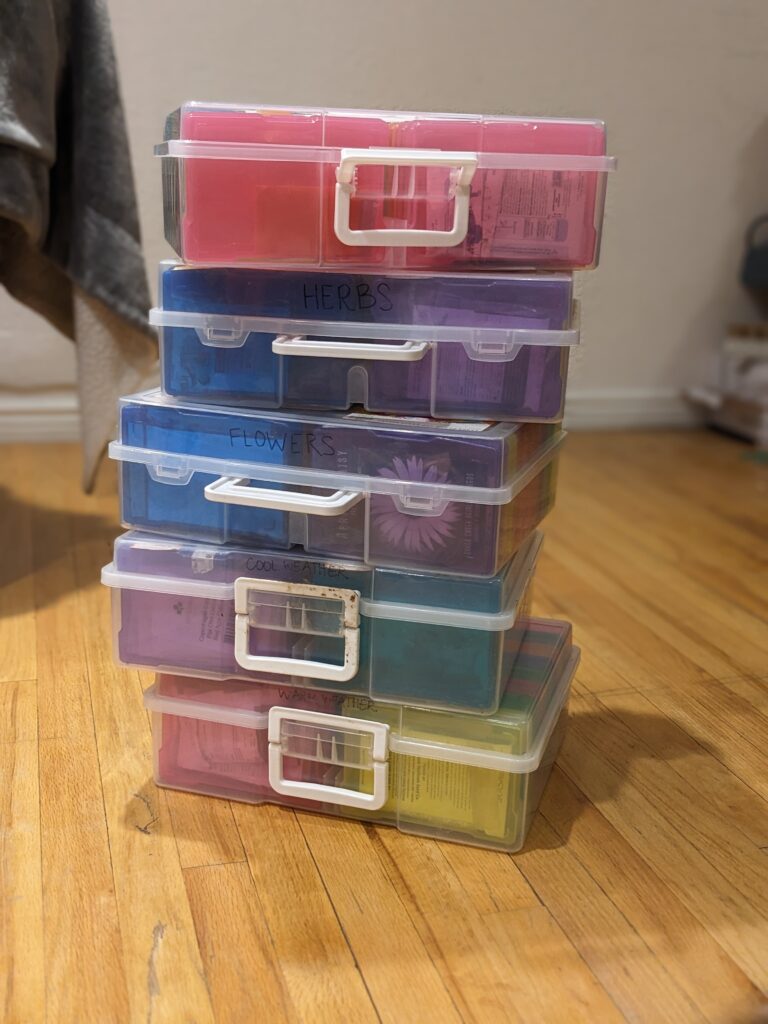
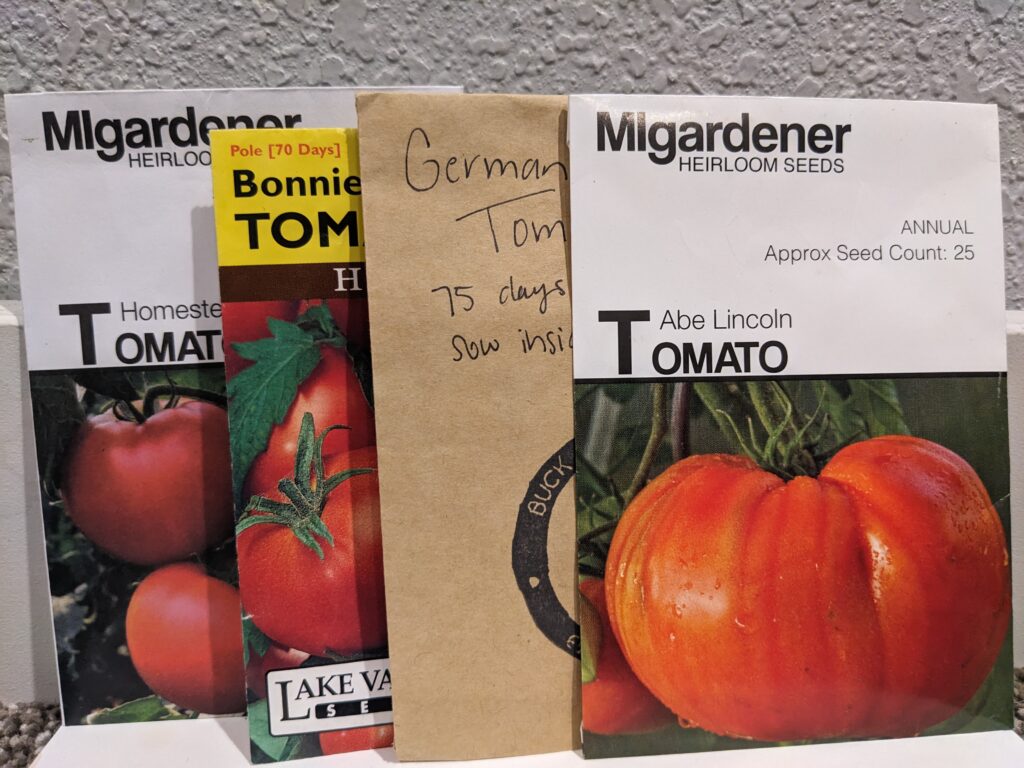
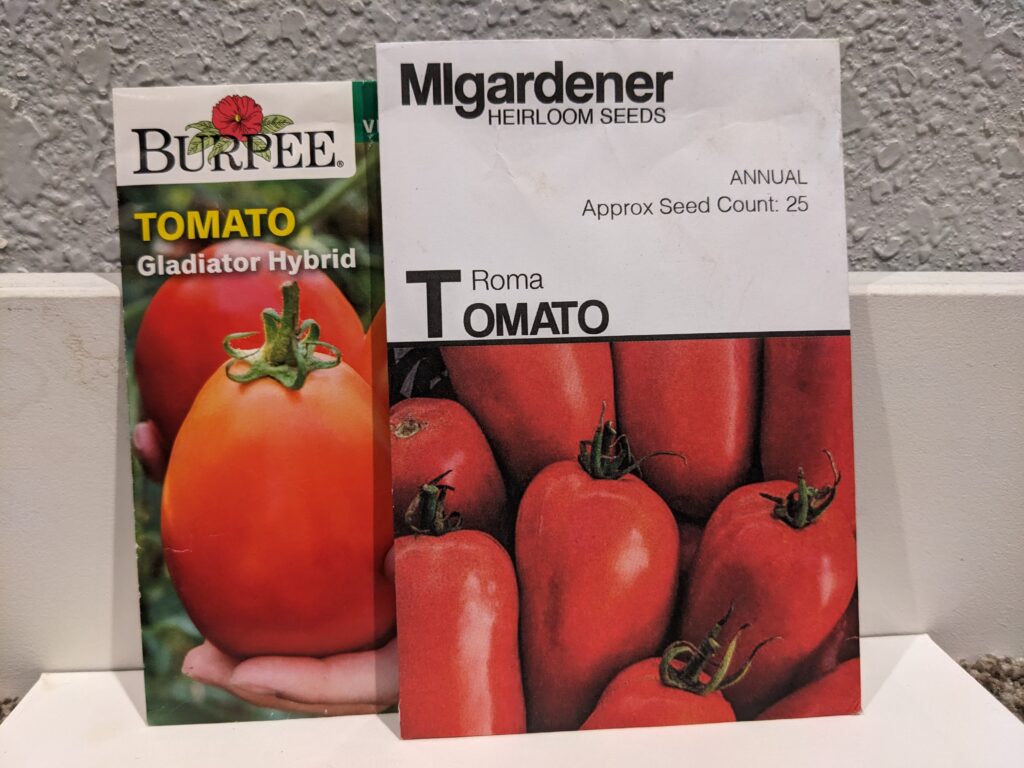
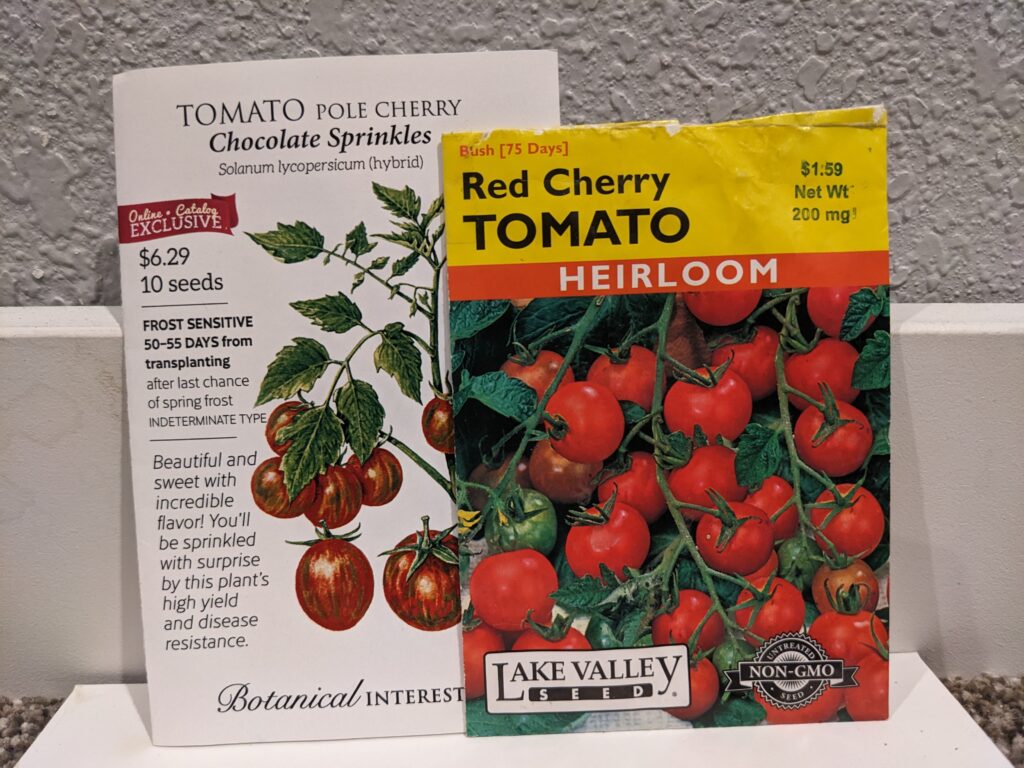
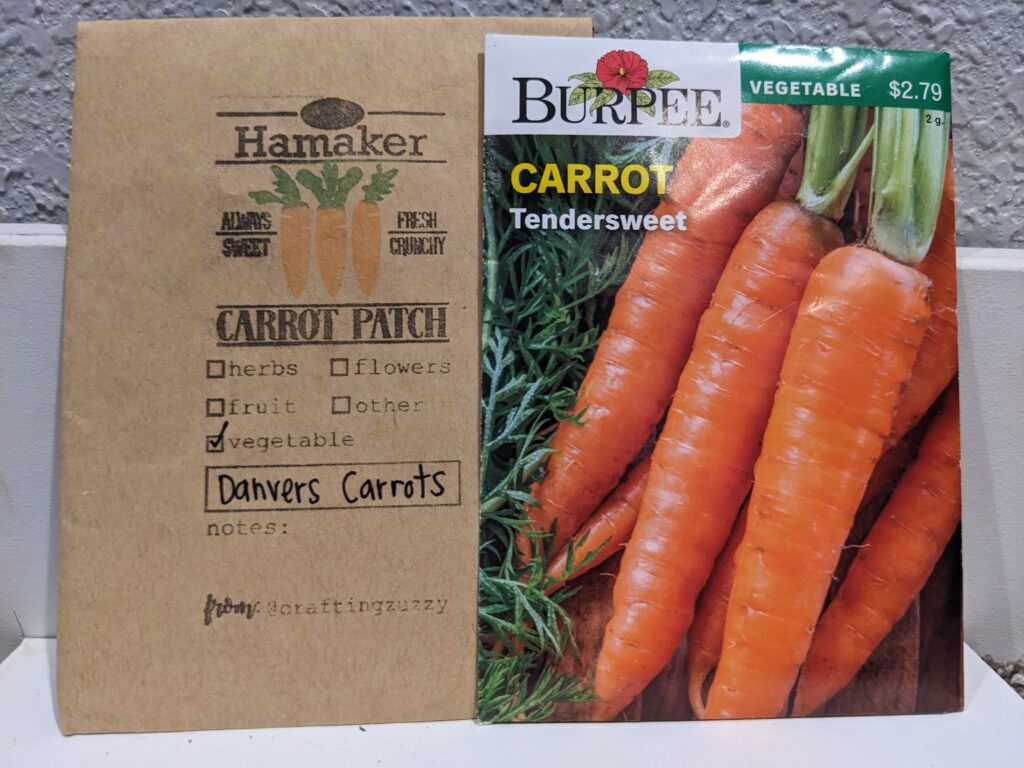
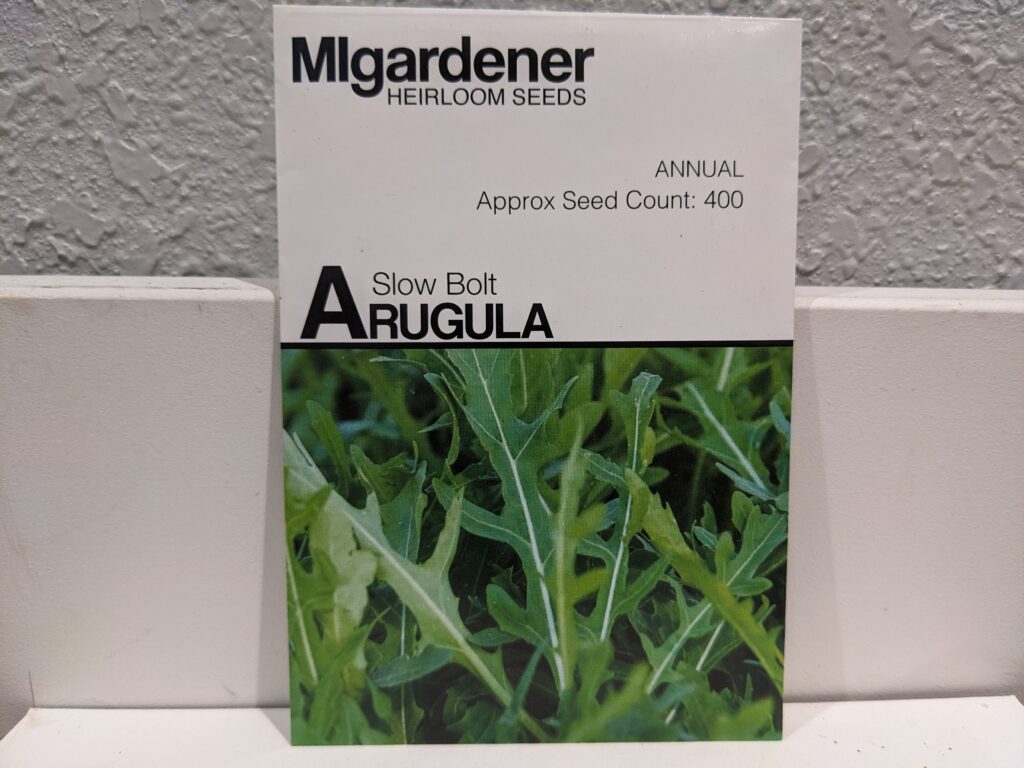
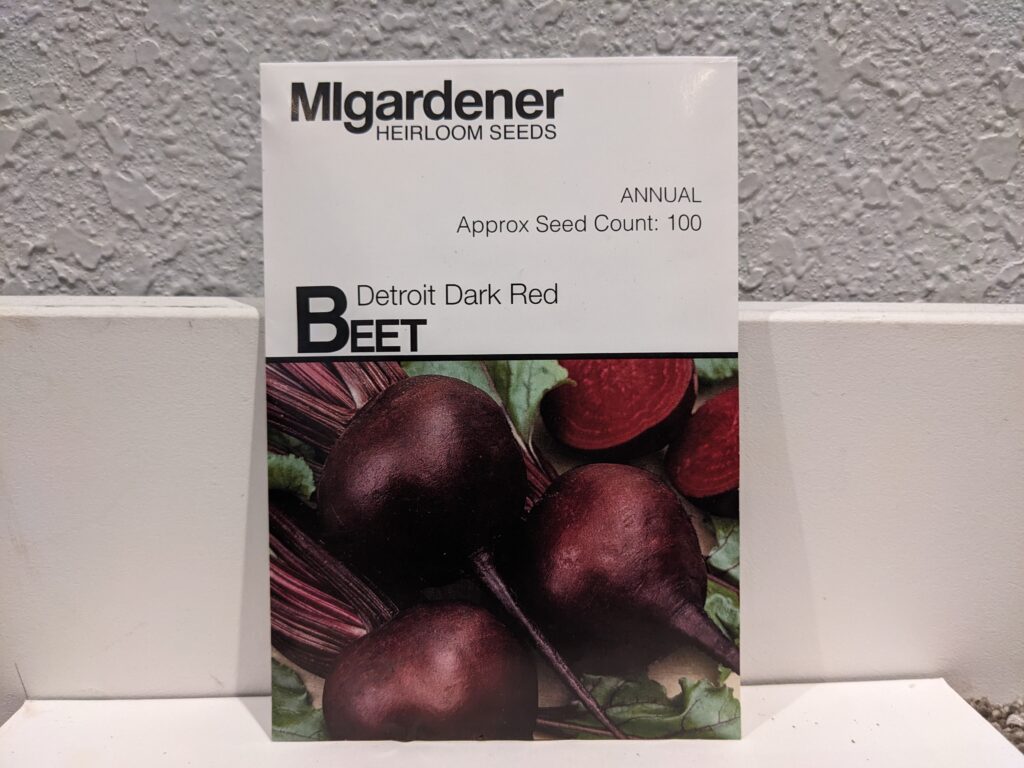
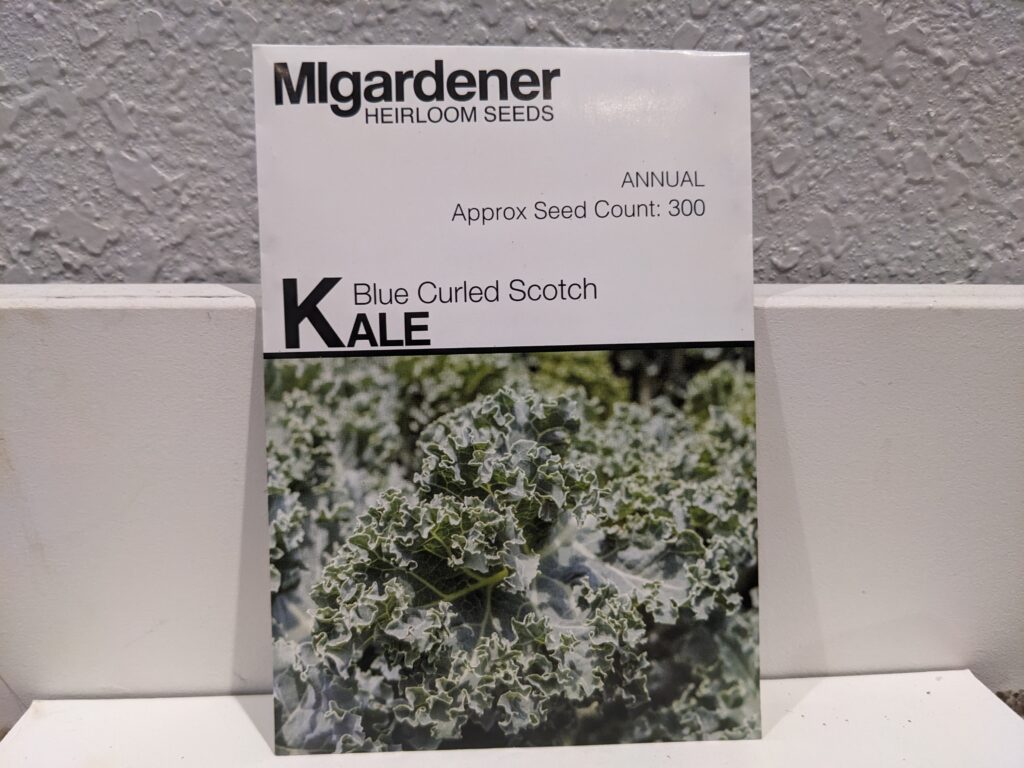
Once everything is organized, it’s time to start planting! I like to have my computer nearby (don’t forget a cup of coffee or tea!) with my worksheet that tells me what varieties I am growing this year, when I need to start them, as well as how many plants I need to grow. I then simply work through my list top to bottom. 

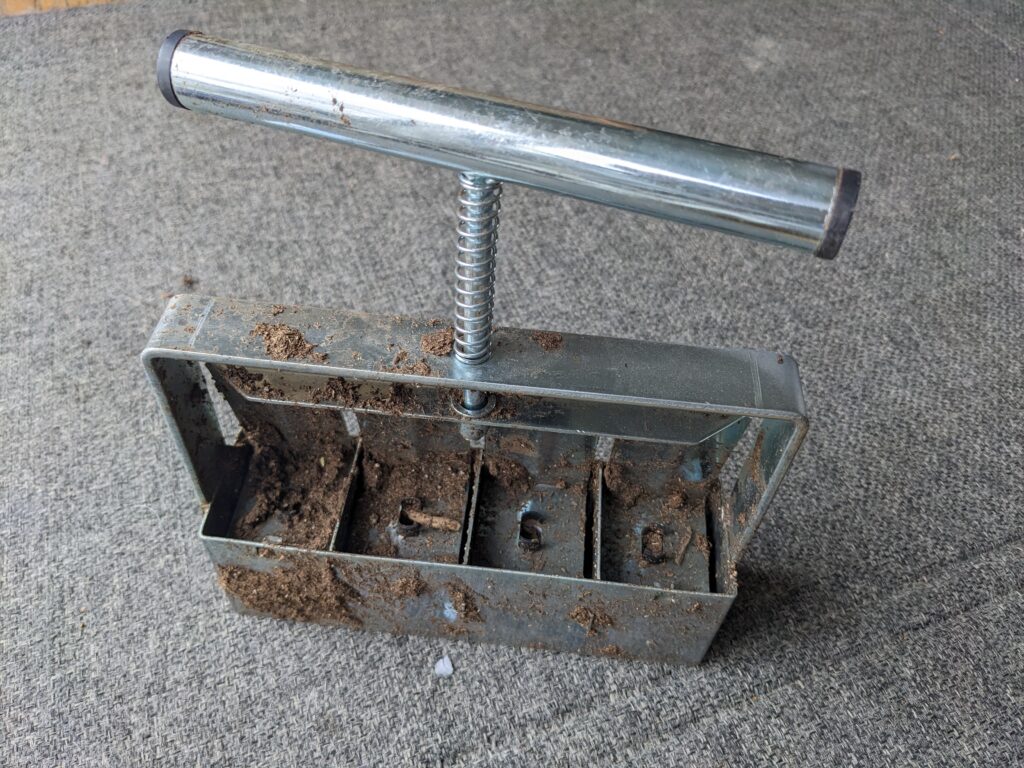
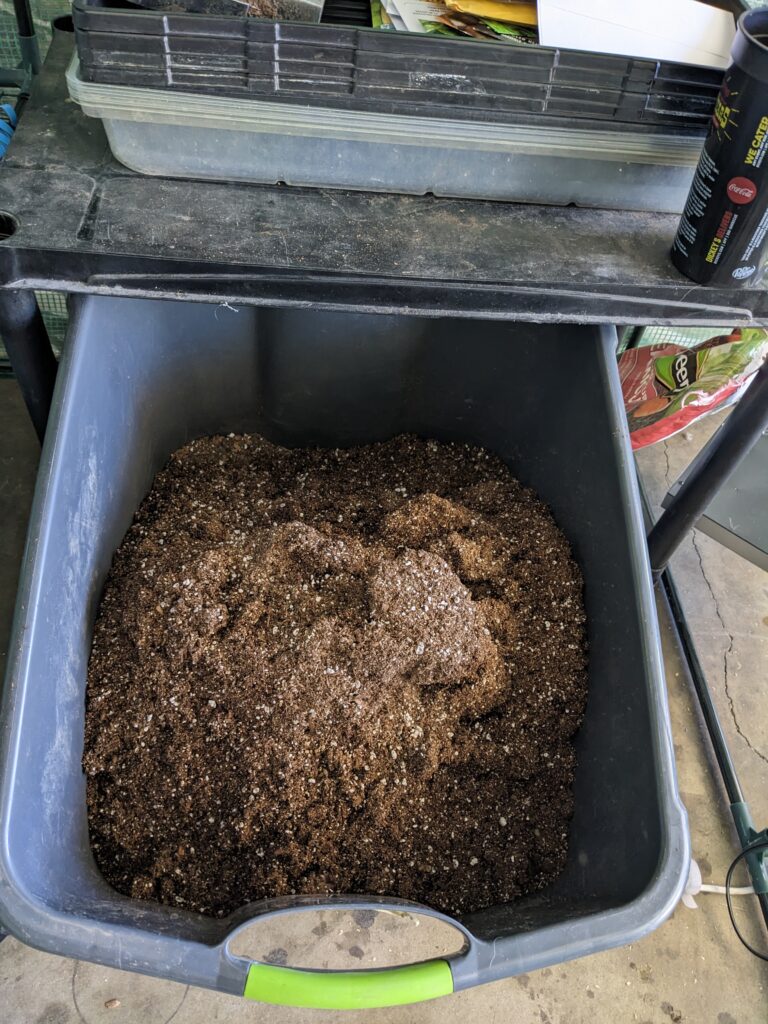
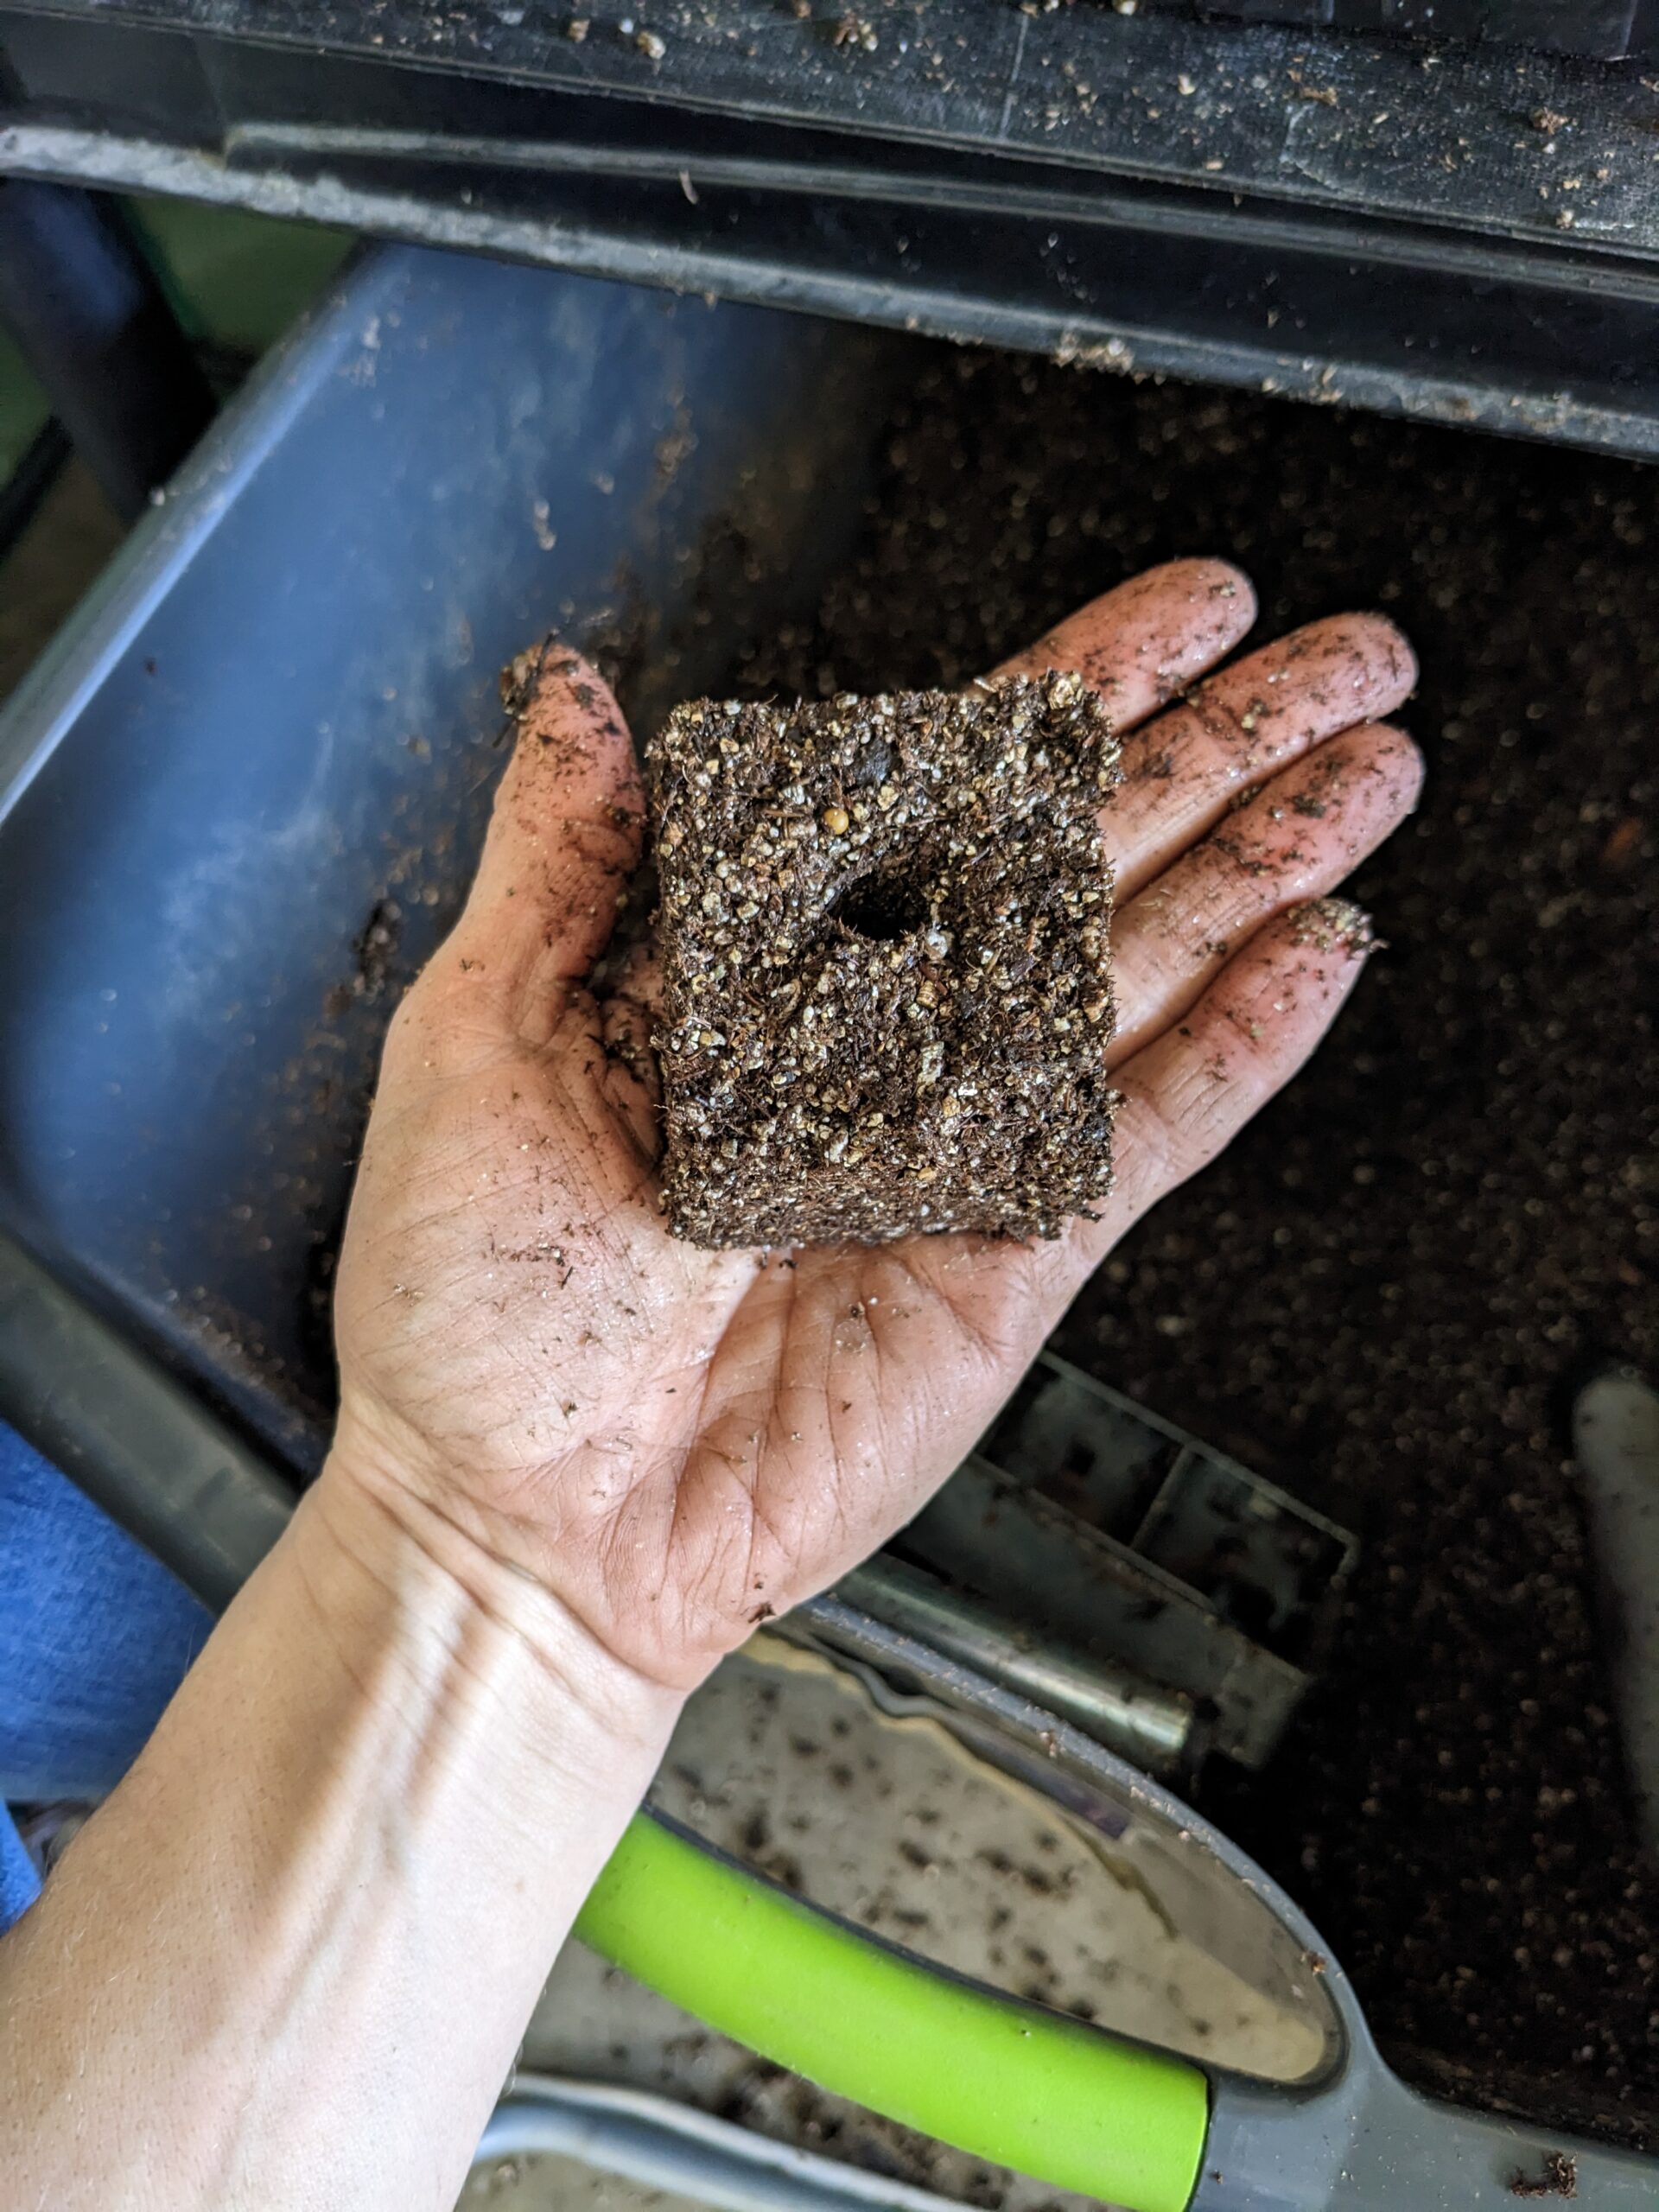
To make soil blocks the soil needs to be quite wet. I like to fill my pots with soil that is wet as 
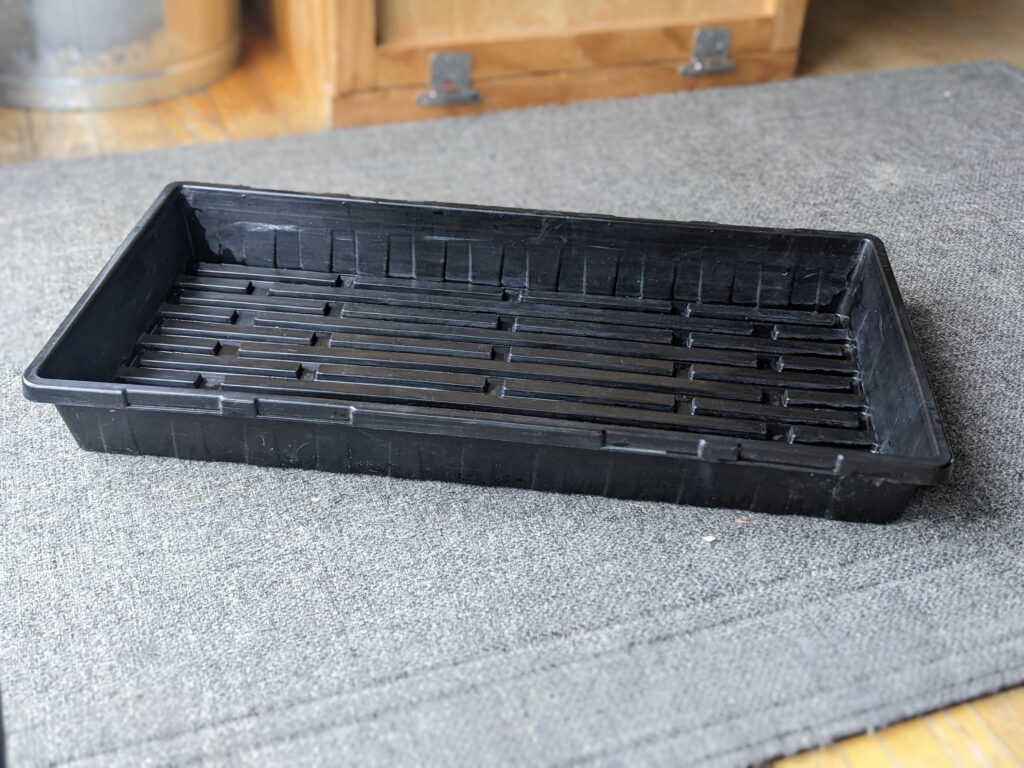
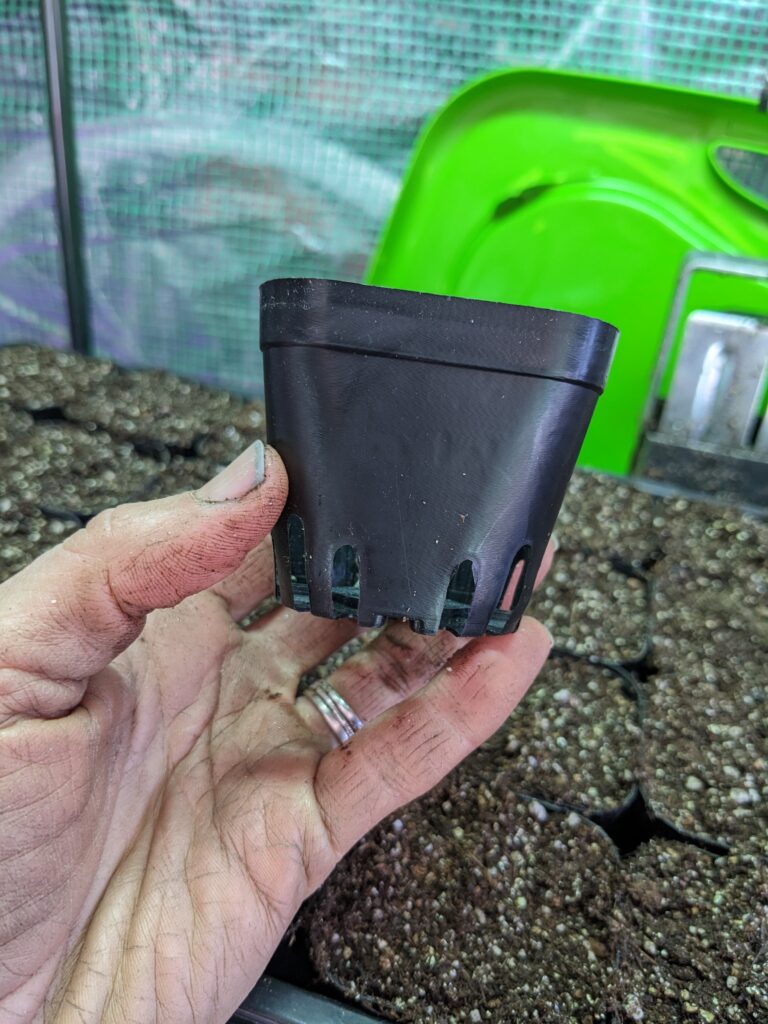
well, so I dump a bunch of water into my soil tub and mix thoroughly. Depending on what seeds I am starting I will either grab my soil blocker or my 2” pots. I carefully fill my soil blocker and place them into my 1020 tray. For seeds that require individual space, I use the 2″ pots and fill each with the seed-starting soil, leaving a little room at the top for watering.

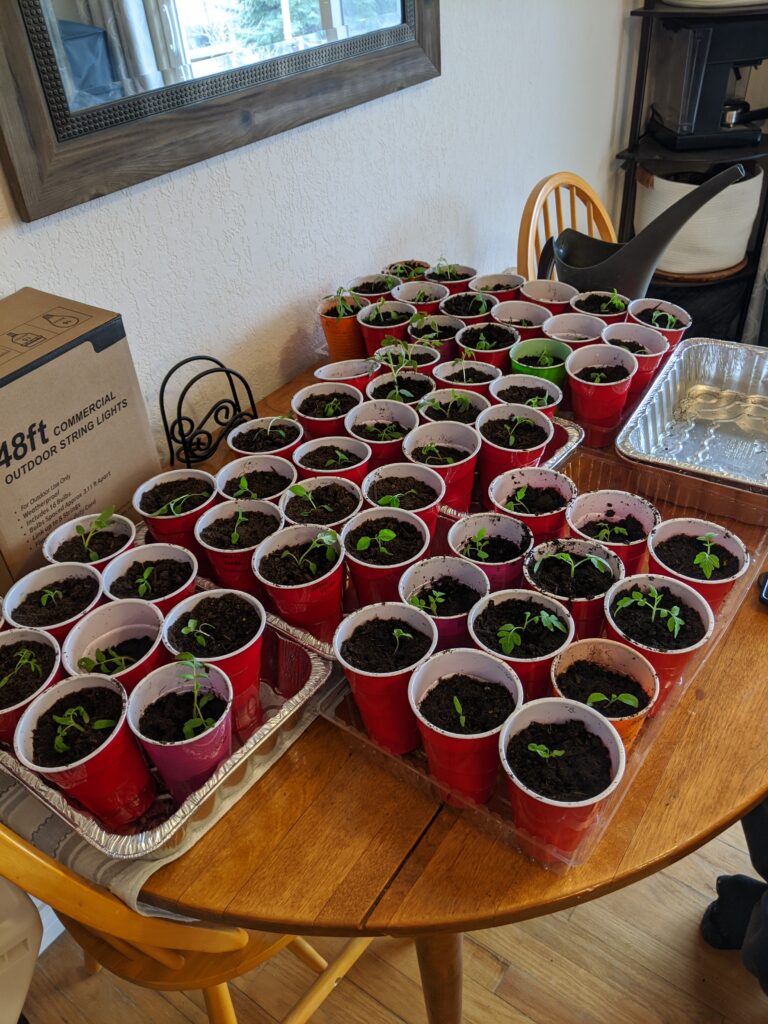
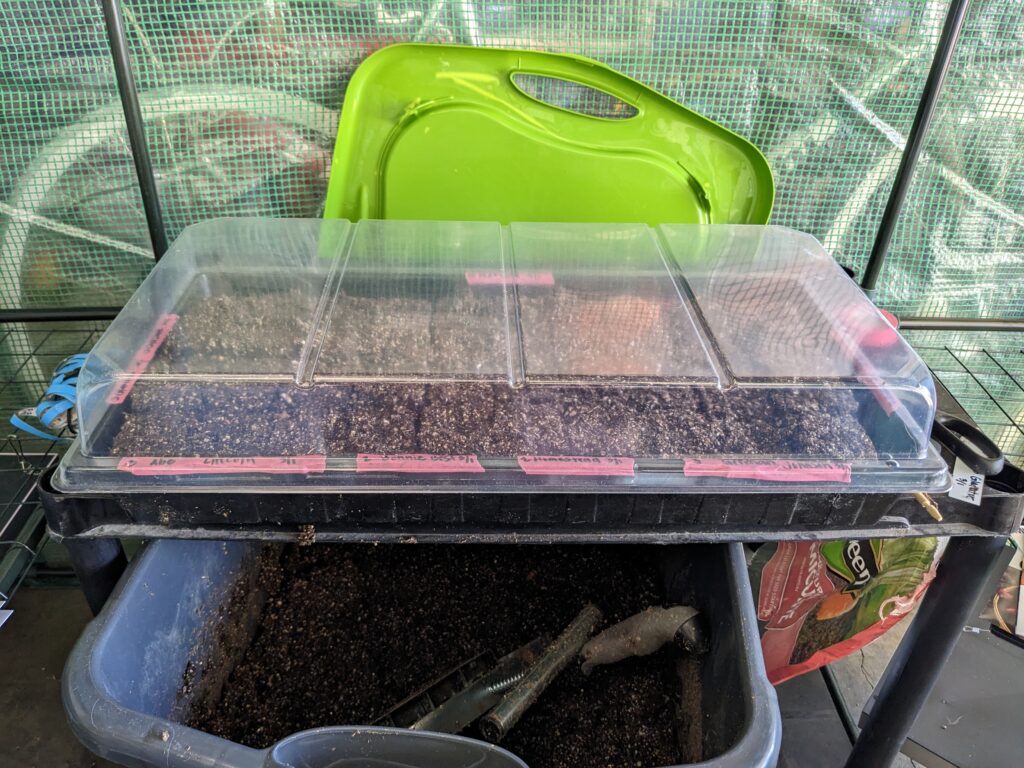
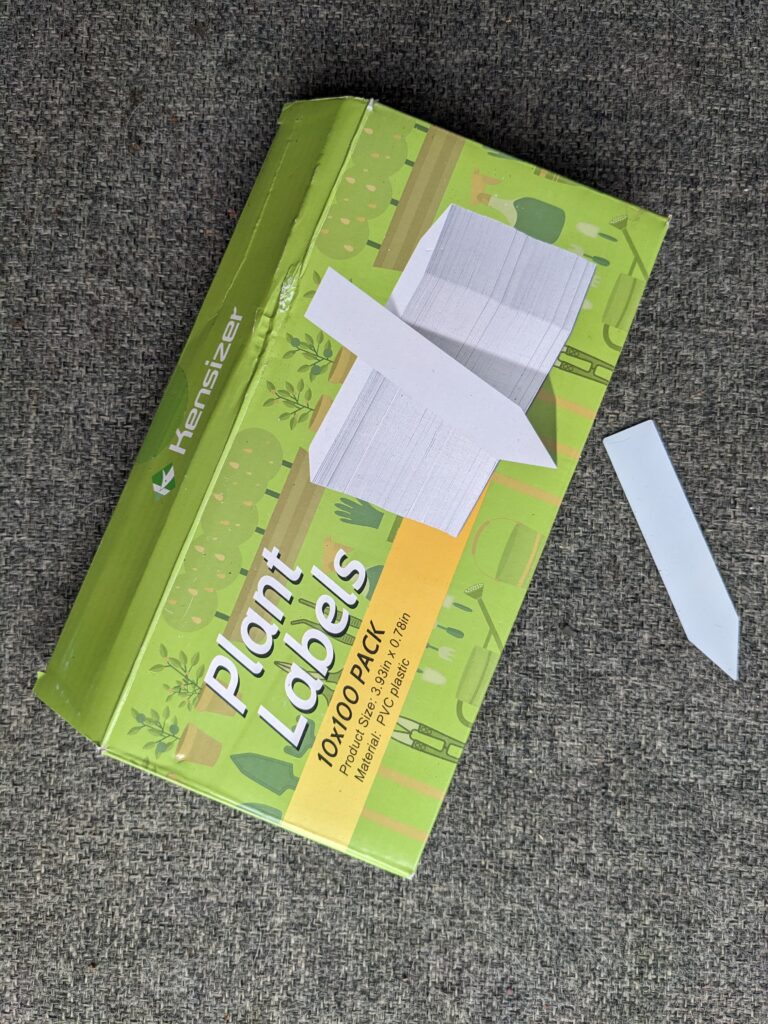
After my tray is filled with blocks or pots, I plant the seeds according to the instructions on the packet, placing them at the right depth. 
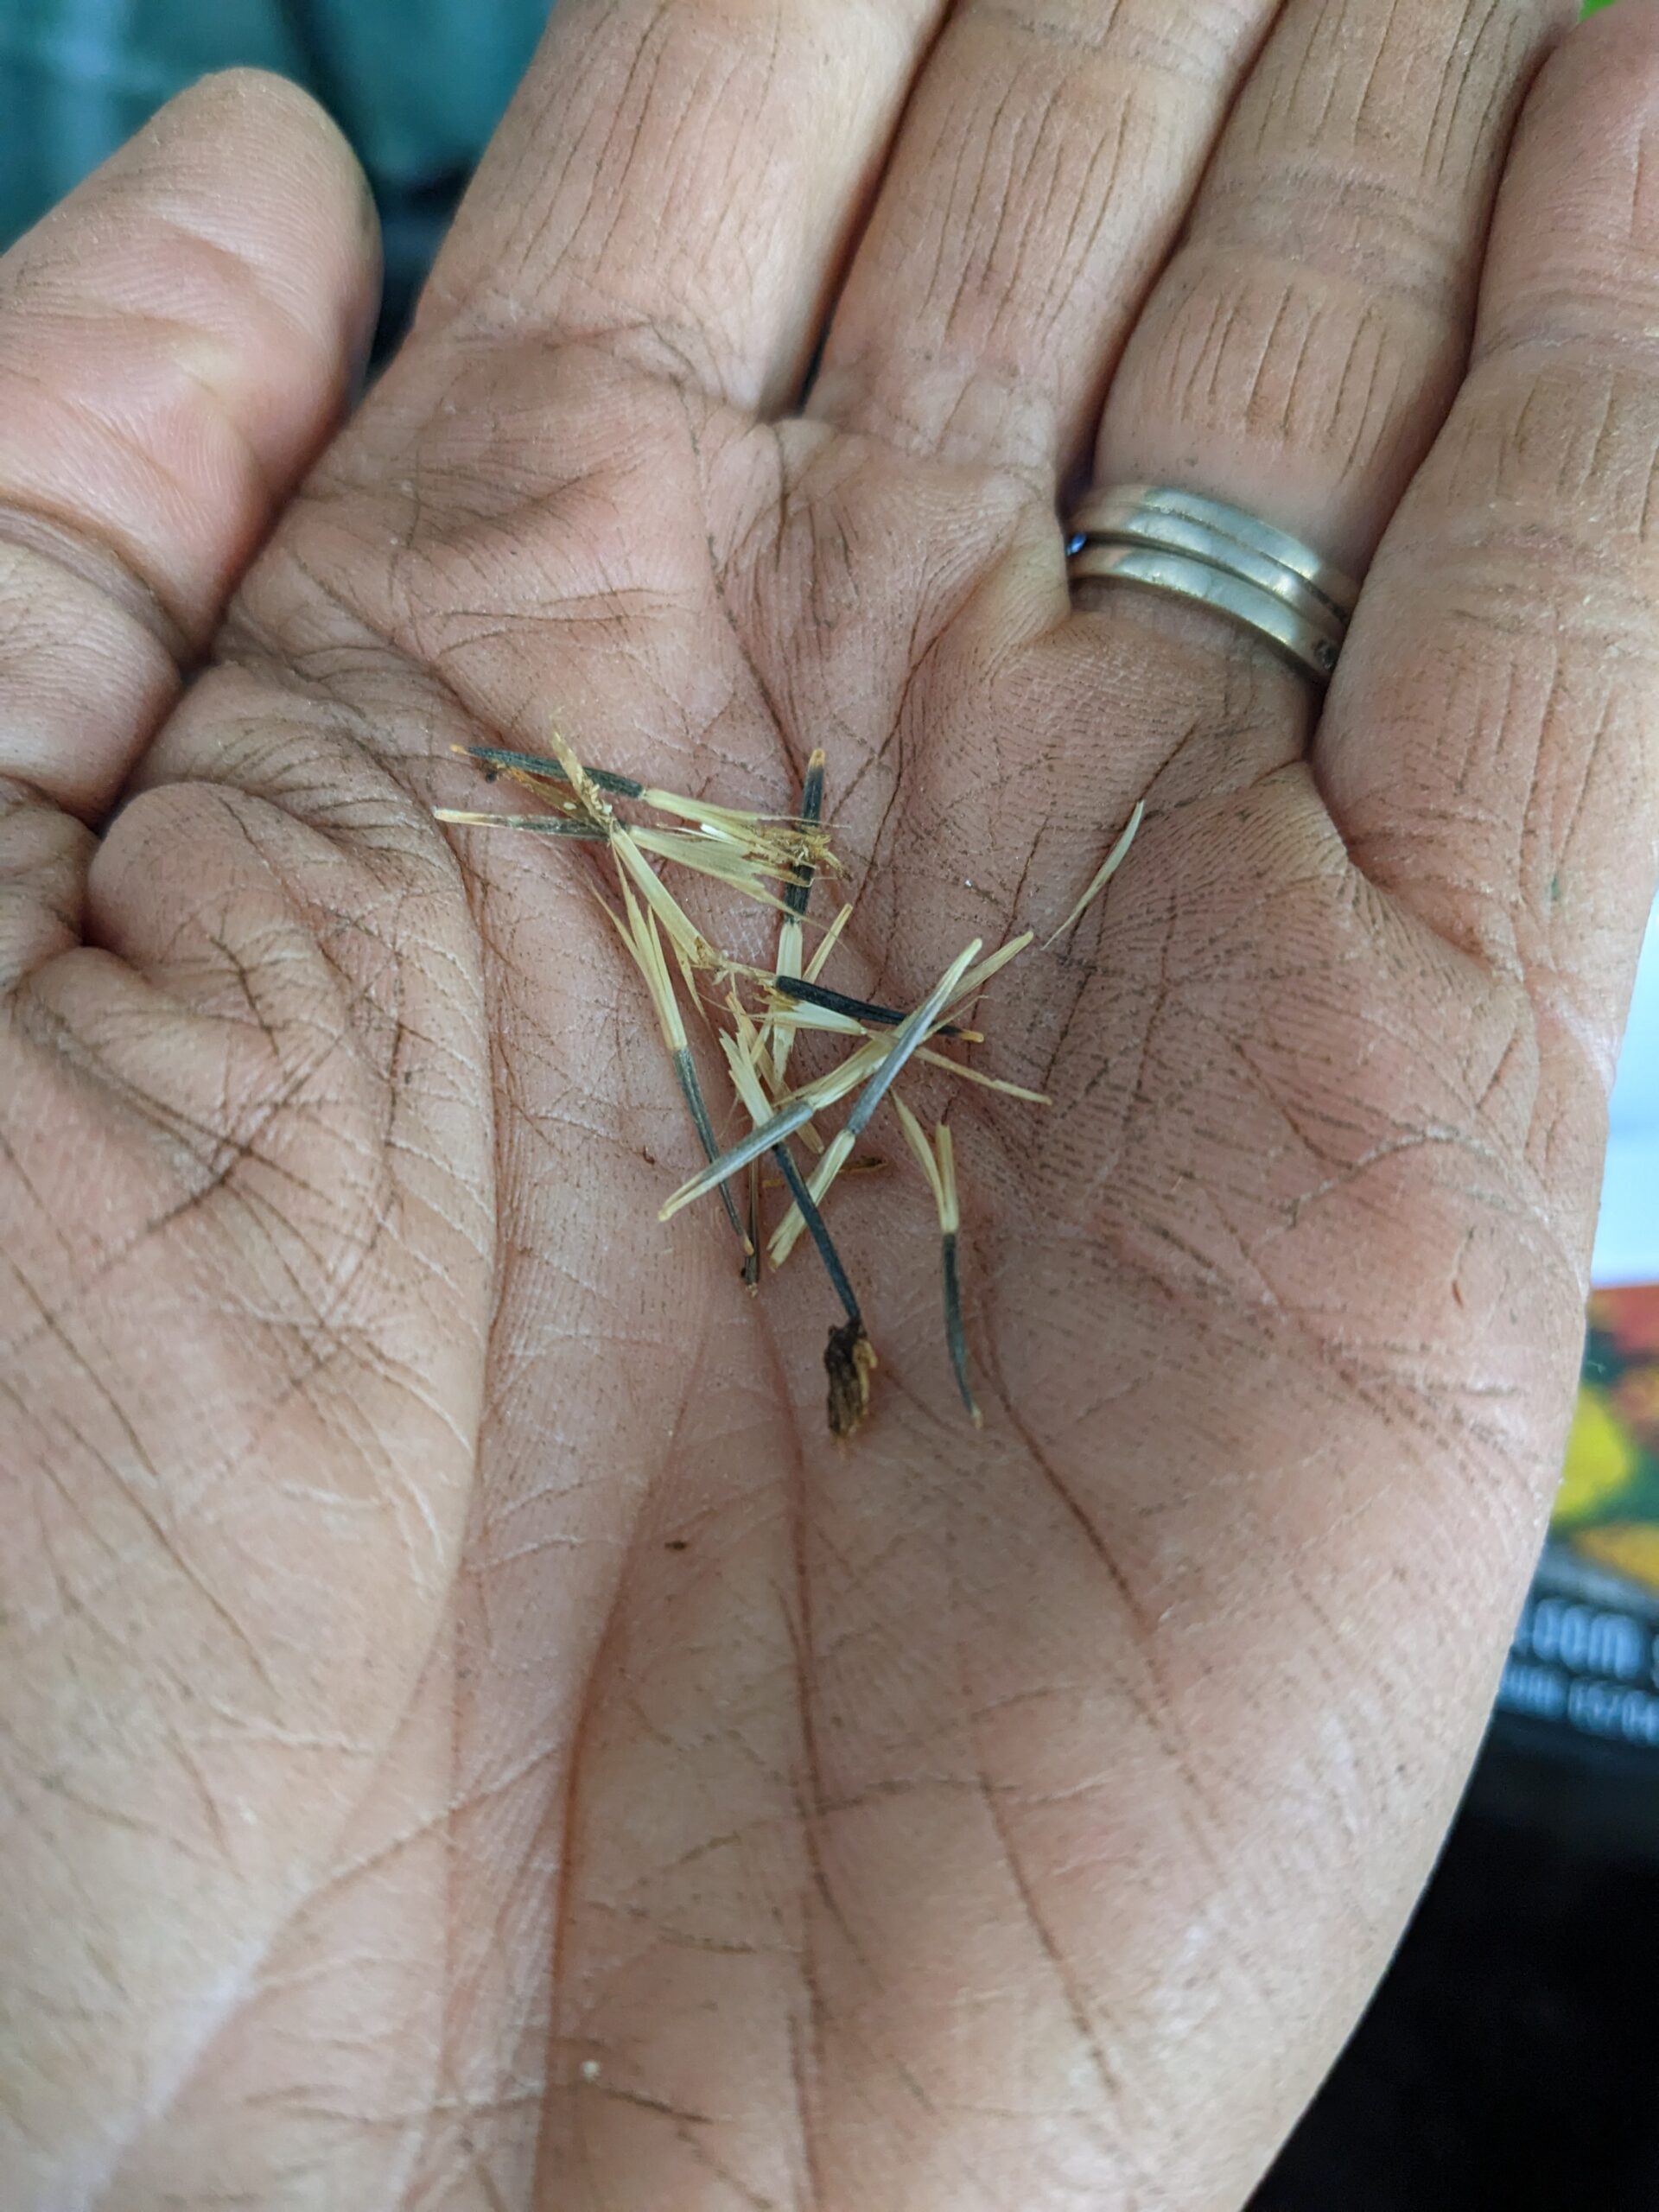
Then lightly cover the seed with more soil. When the tray is planted I will lightly cover everything with vermiculite. Vermiculite is a naturally occurring mineral that helps to retain moisture. Once each tray is filled, I make sure everything is labeled and I use the spray bottle to gently mist the surface, ensuring the soil stays evenly moist.

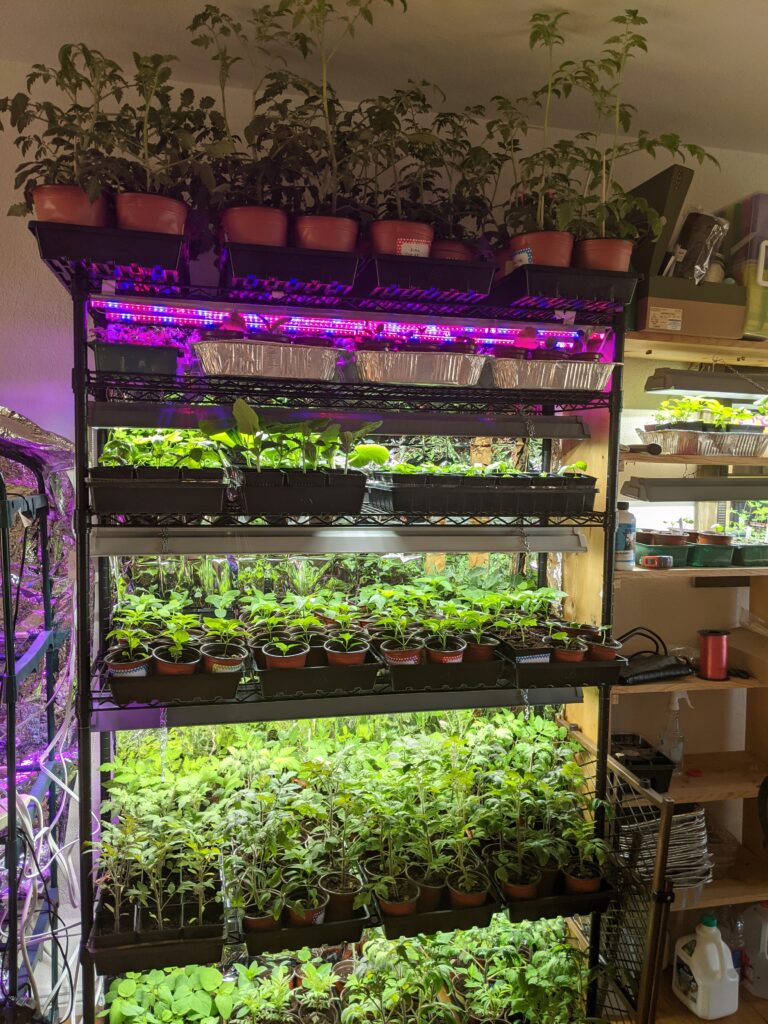
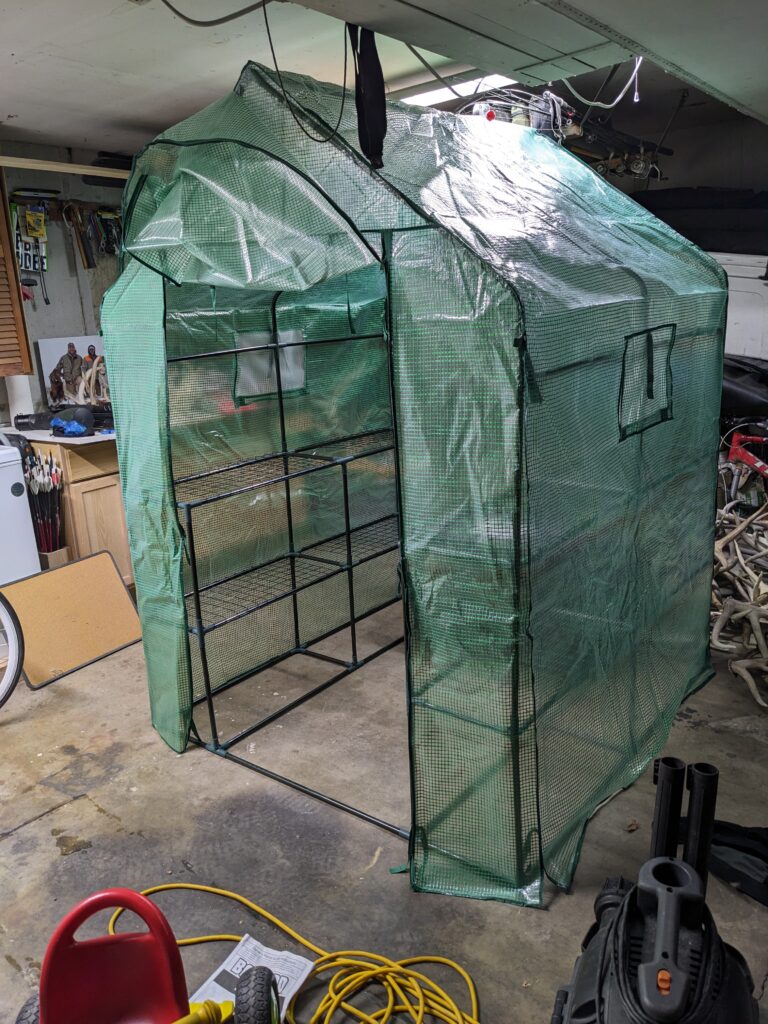
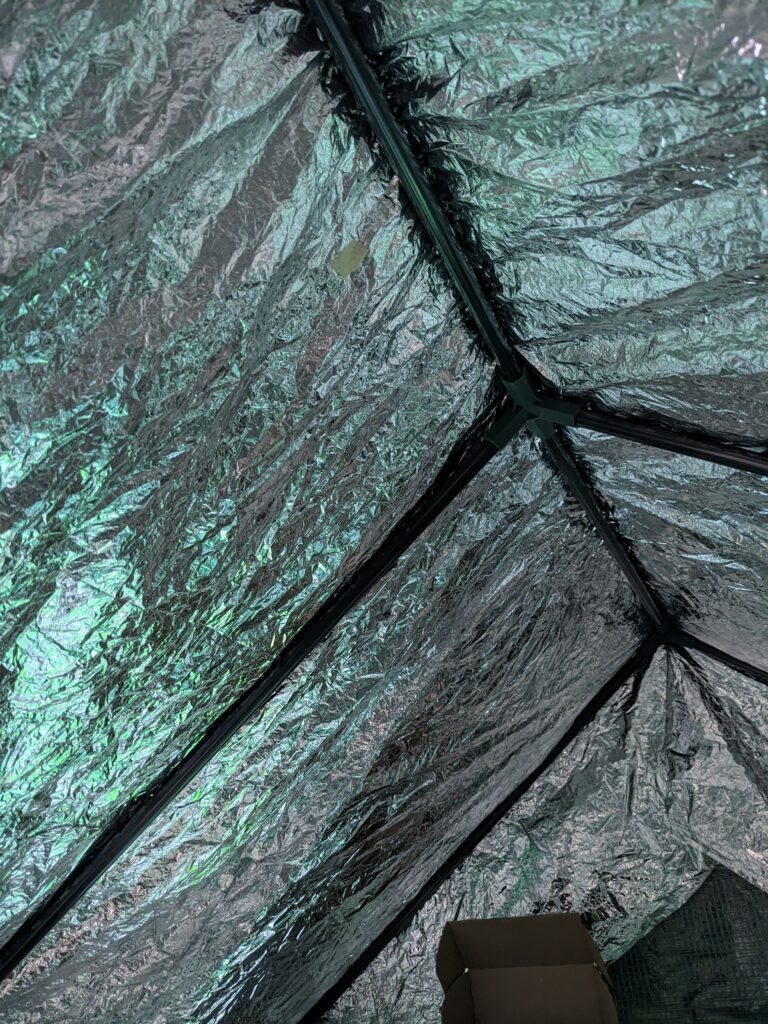
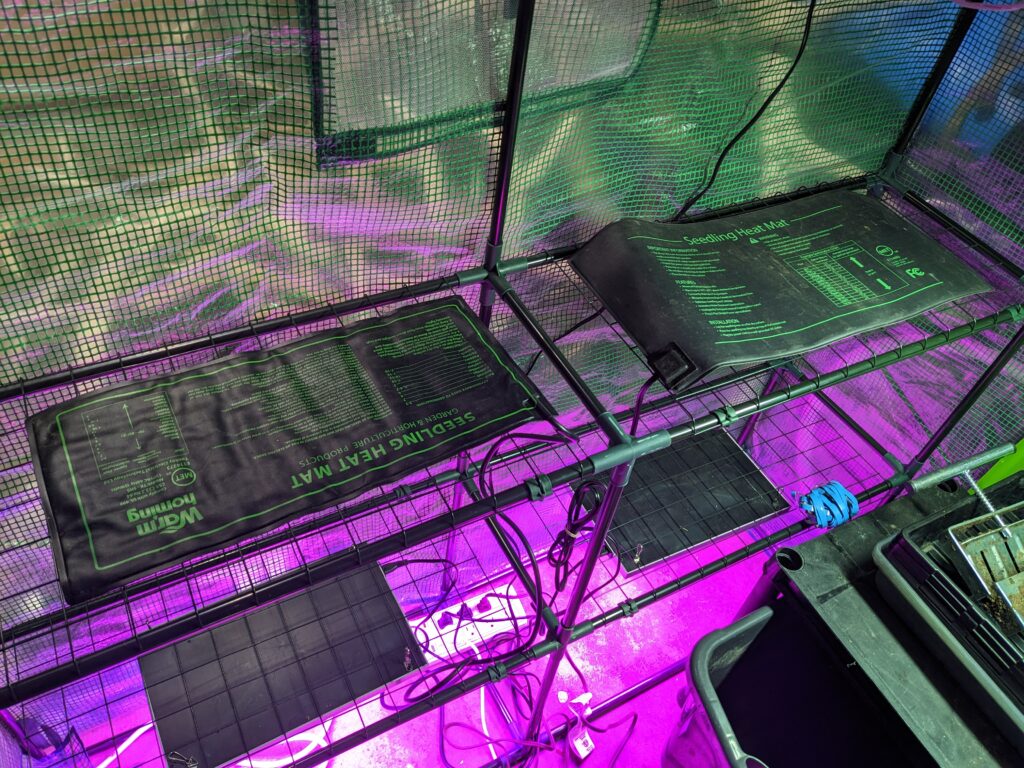
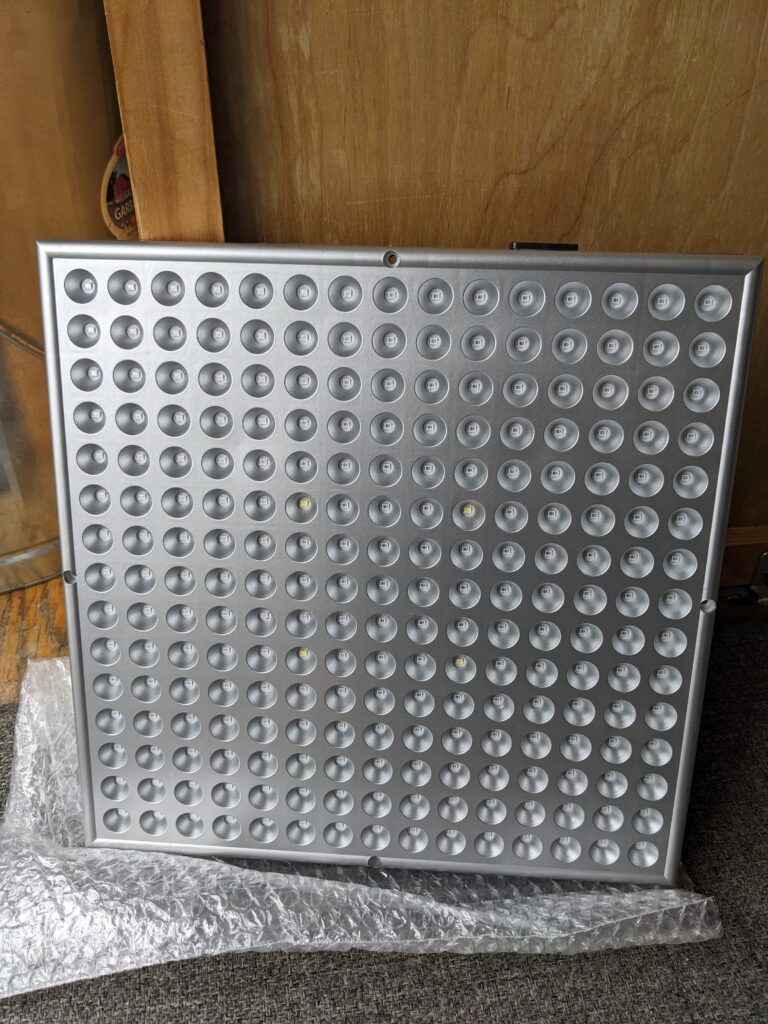
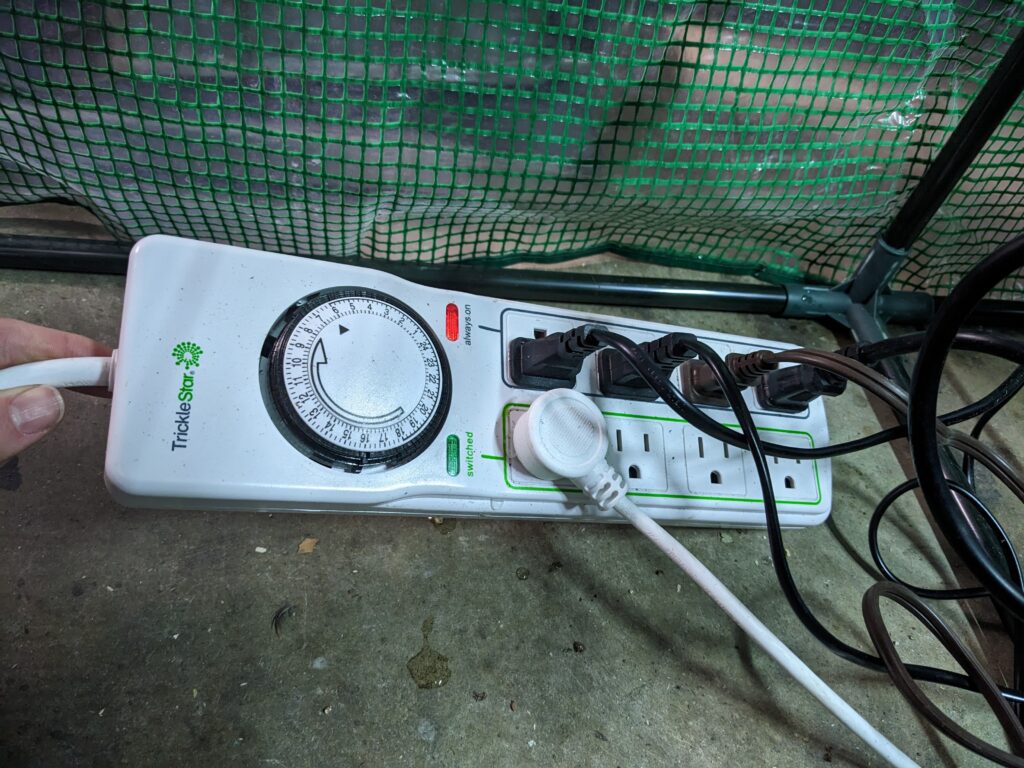
Once I’ve finished planting, I mark the date planted into my spreadsheet. Then I cover the trays with their domes to maintain the humidity. This is especially important for seeds that are more sensitive to drying out. I’ll keep an eye on the trays, checking for any signs of mold, fungus, or excess moisture, as too much can be just as harmful as too little. After the tray is complete I place it on a shelf with a heat mat. They do not need any lights on at this point. After the seeds germinate and have sprouted, then I will remove the heat mat and place them under the grow lights.

Step 4: Monitoring and Care

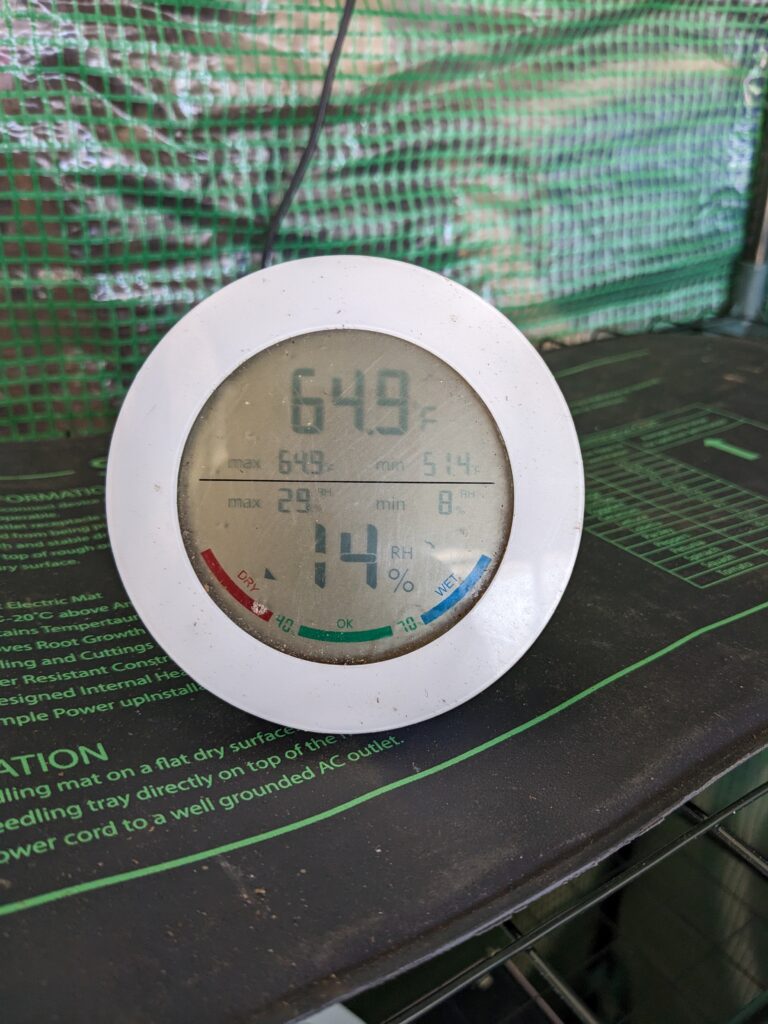
Now comes the exciting part: watching the seeds begin to sprout! I monitor the temperature and humidity closely, making adjustments as needed. The grow lights help maintain the right amount of light, and I make sure the heat mats are keeping the soil warm enough for germination but not too hot. 

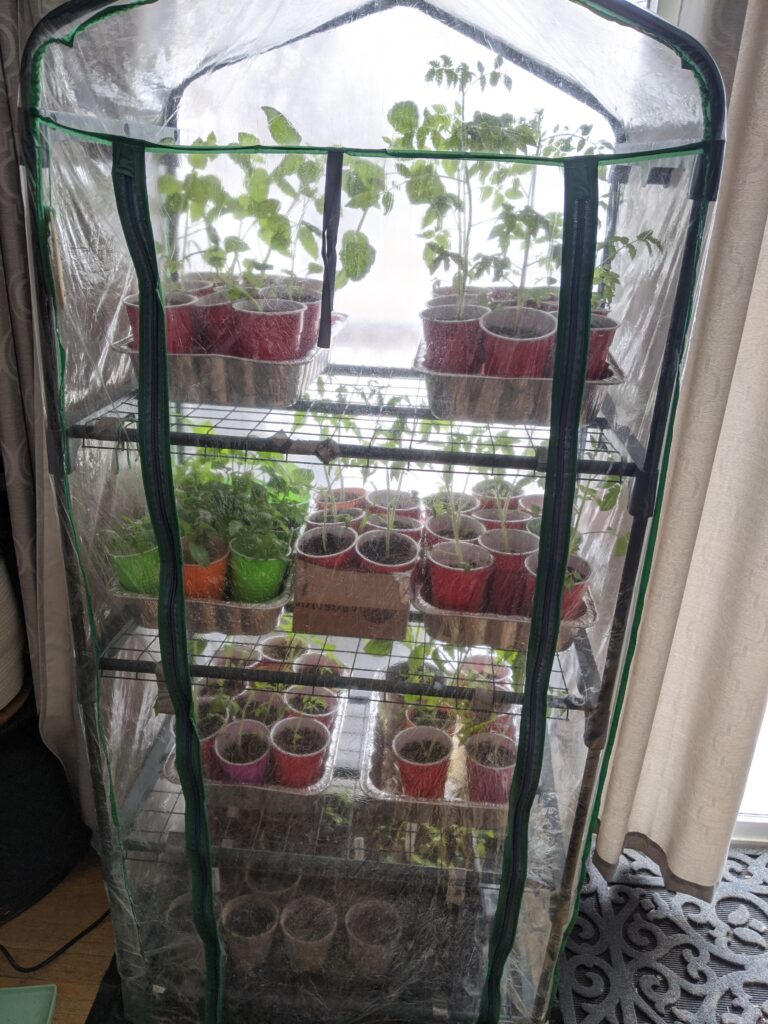
As the seedlings grow, I’ll gradually reduce the humidity by removing the domes and allow them to acclimate to drier air. I will also add a small fan into the greenhouse to simulate a breeze. This helps the plants grow stronger stems and roots. A light breeze can also help with bug problems as well as fungus growth.  

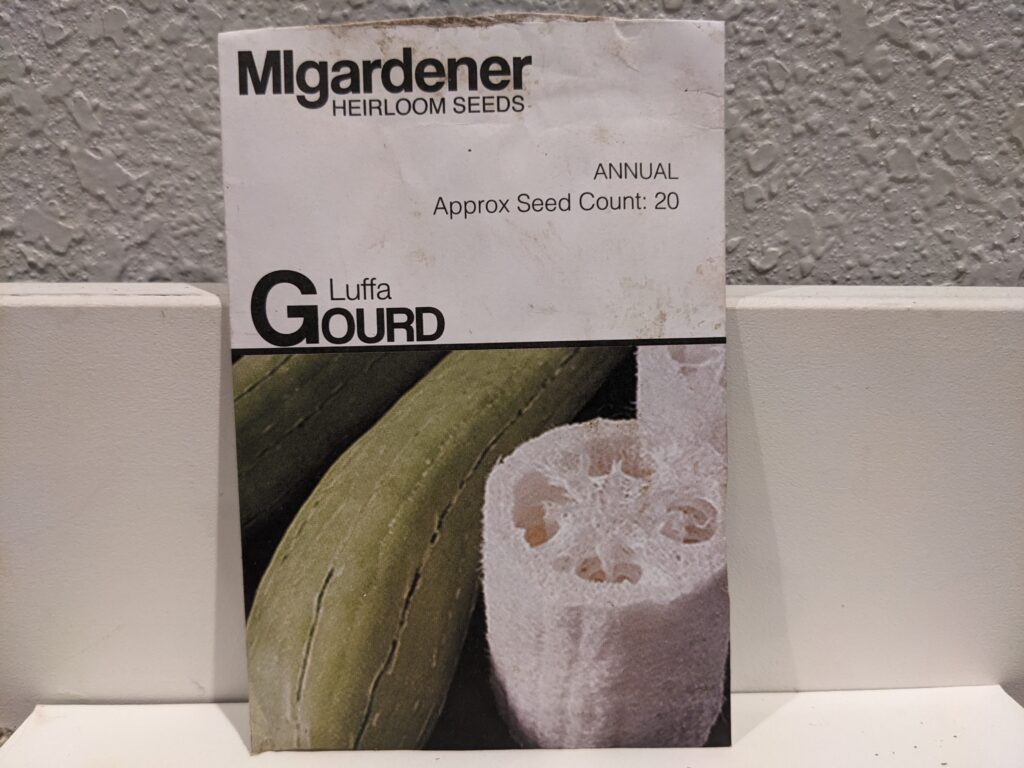
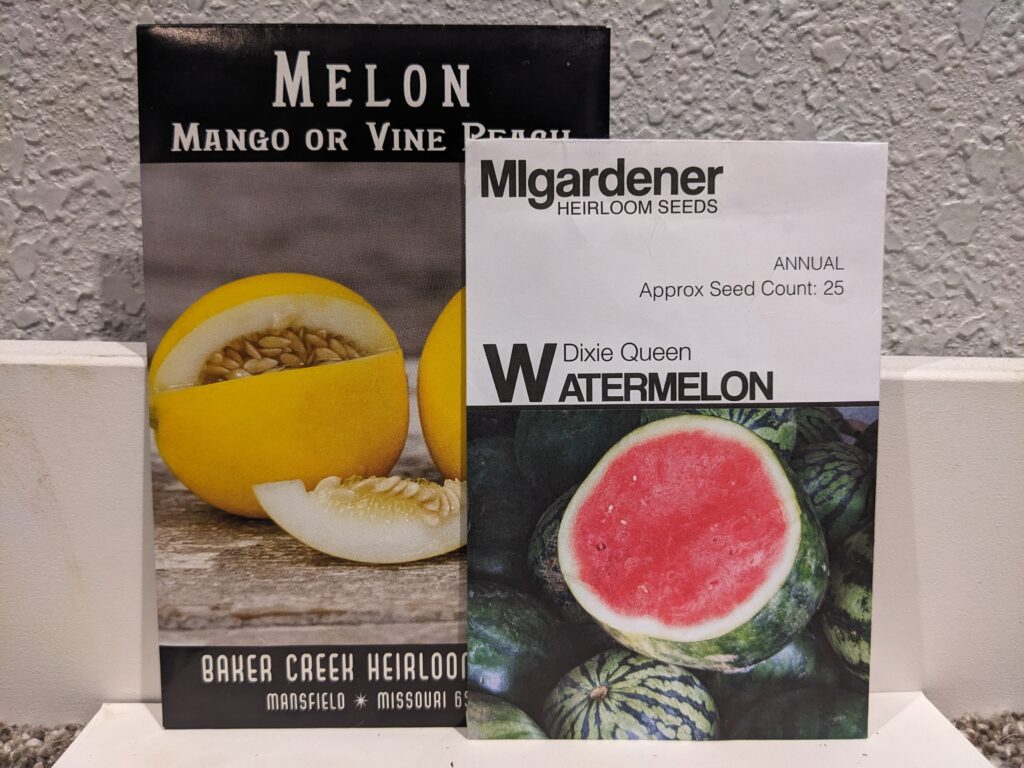
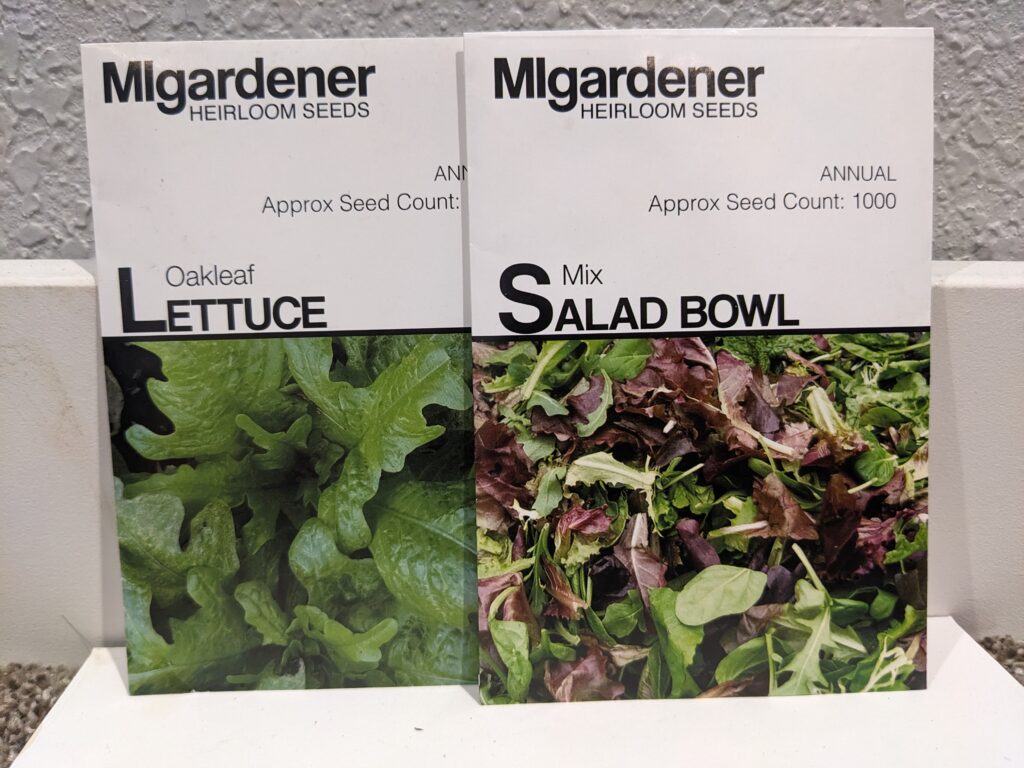
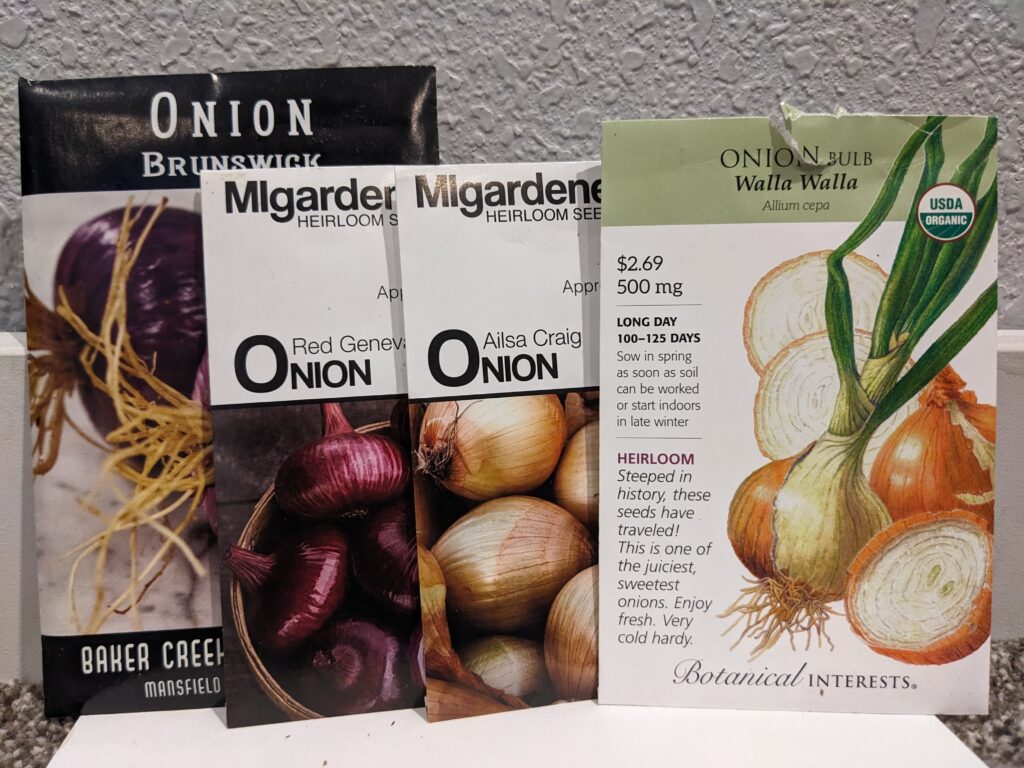
This process will repeat over the course of a few months as I don’t start every seed at the same time. Some seeds take longer to germinate and grow and need to be started earlier. These include tomatoes, peppers, herbs, onions, and flowers. While others, such as squashes, melons, cucumbers grow faster and can be started at a much later date. It’s important to read the instructions and adjust your start date based on your last frost date. 

Whether you’re a seasoned green thumb or a newbie ready to get your hands a little dirty, I hope my process will inspire you to dig in and start growing your own garden dreams from the ground up.

This Year’s Varieties:

Tomatoes:

  •  Slicers: Abe Lincoln, Bonnie’s Best, Homestead, German Johnson

  • Romas: Gladiator Hybrid, Roma

  • Cherry: Chocolate Sprinkles, Red Cherry

Peppers:

  •  Anaheim: Hatch Chili (Hot)

  • Jalapeno: Early Jalapeno

  • Poblano: Ancho Poblano

  • Habanero: Caribbean Orange
  • Bell: Big Red, California Wonder, Sunbright

Cucumbers:

  • Salad Slicer, Ashley, Homemade Pickles

Tomatillo:

  • Grande Rio Verde

Pumpkins:

  • Lady Godiva, Howden, Long Island Cheese

Zucchini:

  • Black Beauty

Yellow Squash:

  • Early Summer

Acorn Squash:

  • Table King

Winter Squash:

  • Waltham Butternut

Luffa:

  • Gourd

Melons:

  • Vine Melon, Dixie Queen

Bush Beans:

  • Royal Burgundy, Jade, Top Crop, Blue Lake

Okra:

  • Long Pod Perkins

Carrots:

  • Danvers, Tendersweet

Arugula:

  • Slow Bolt

Beets:

  • Detroit Dark

Kale:

  • Blue Curled Scotch

Lettuce:

  • Oak Leaf, Salad Bowl Mix

Onions:

  • Brunswick, Walla Walla, Red Geneva, Alisa Craig

Leeks:

  • King Richard

Radish:

  • Cherry Belle, French Breakfast

Sweet Peas:

  • Wando


Spinach:

  • Giant Winter,  Orach

Corn:

  • Enchanted

Broccoli:

  • Di Cicco

Herbs:

  • Cumin, Stevia, Parsley, Rosemary, Feverfew

Basil:

  • Lemon, Cinnamon, Holy, Spicy Globe, Sweet

Chamomile:

  • German, Roman

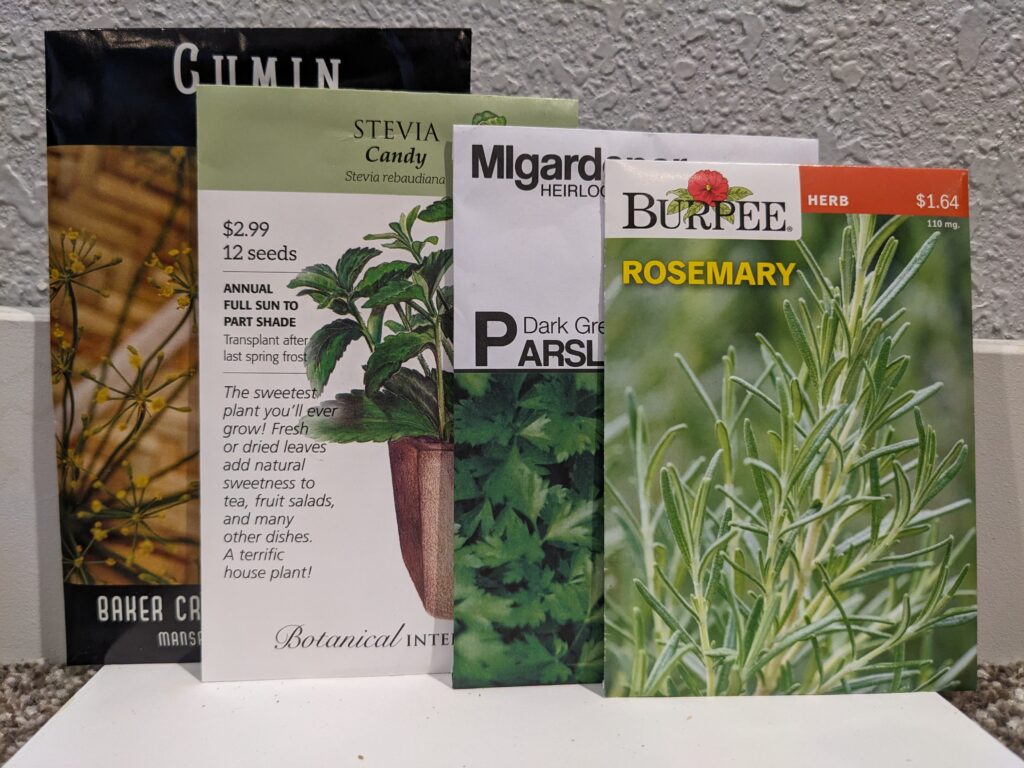
There are several perennial plants not listed above that I already have in my garden that I encourage you to grow as well! They include:

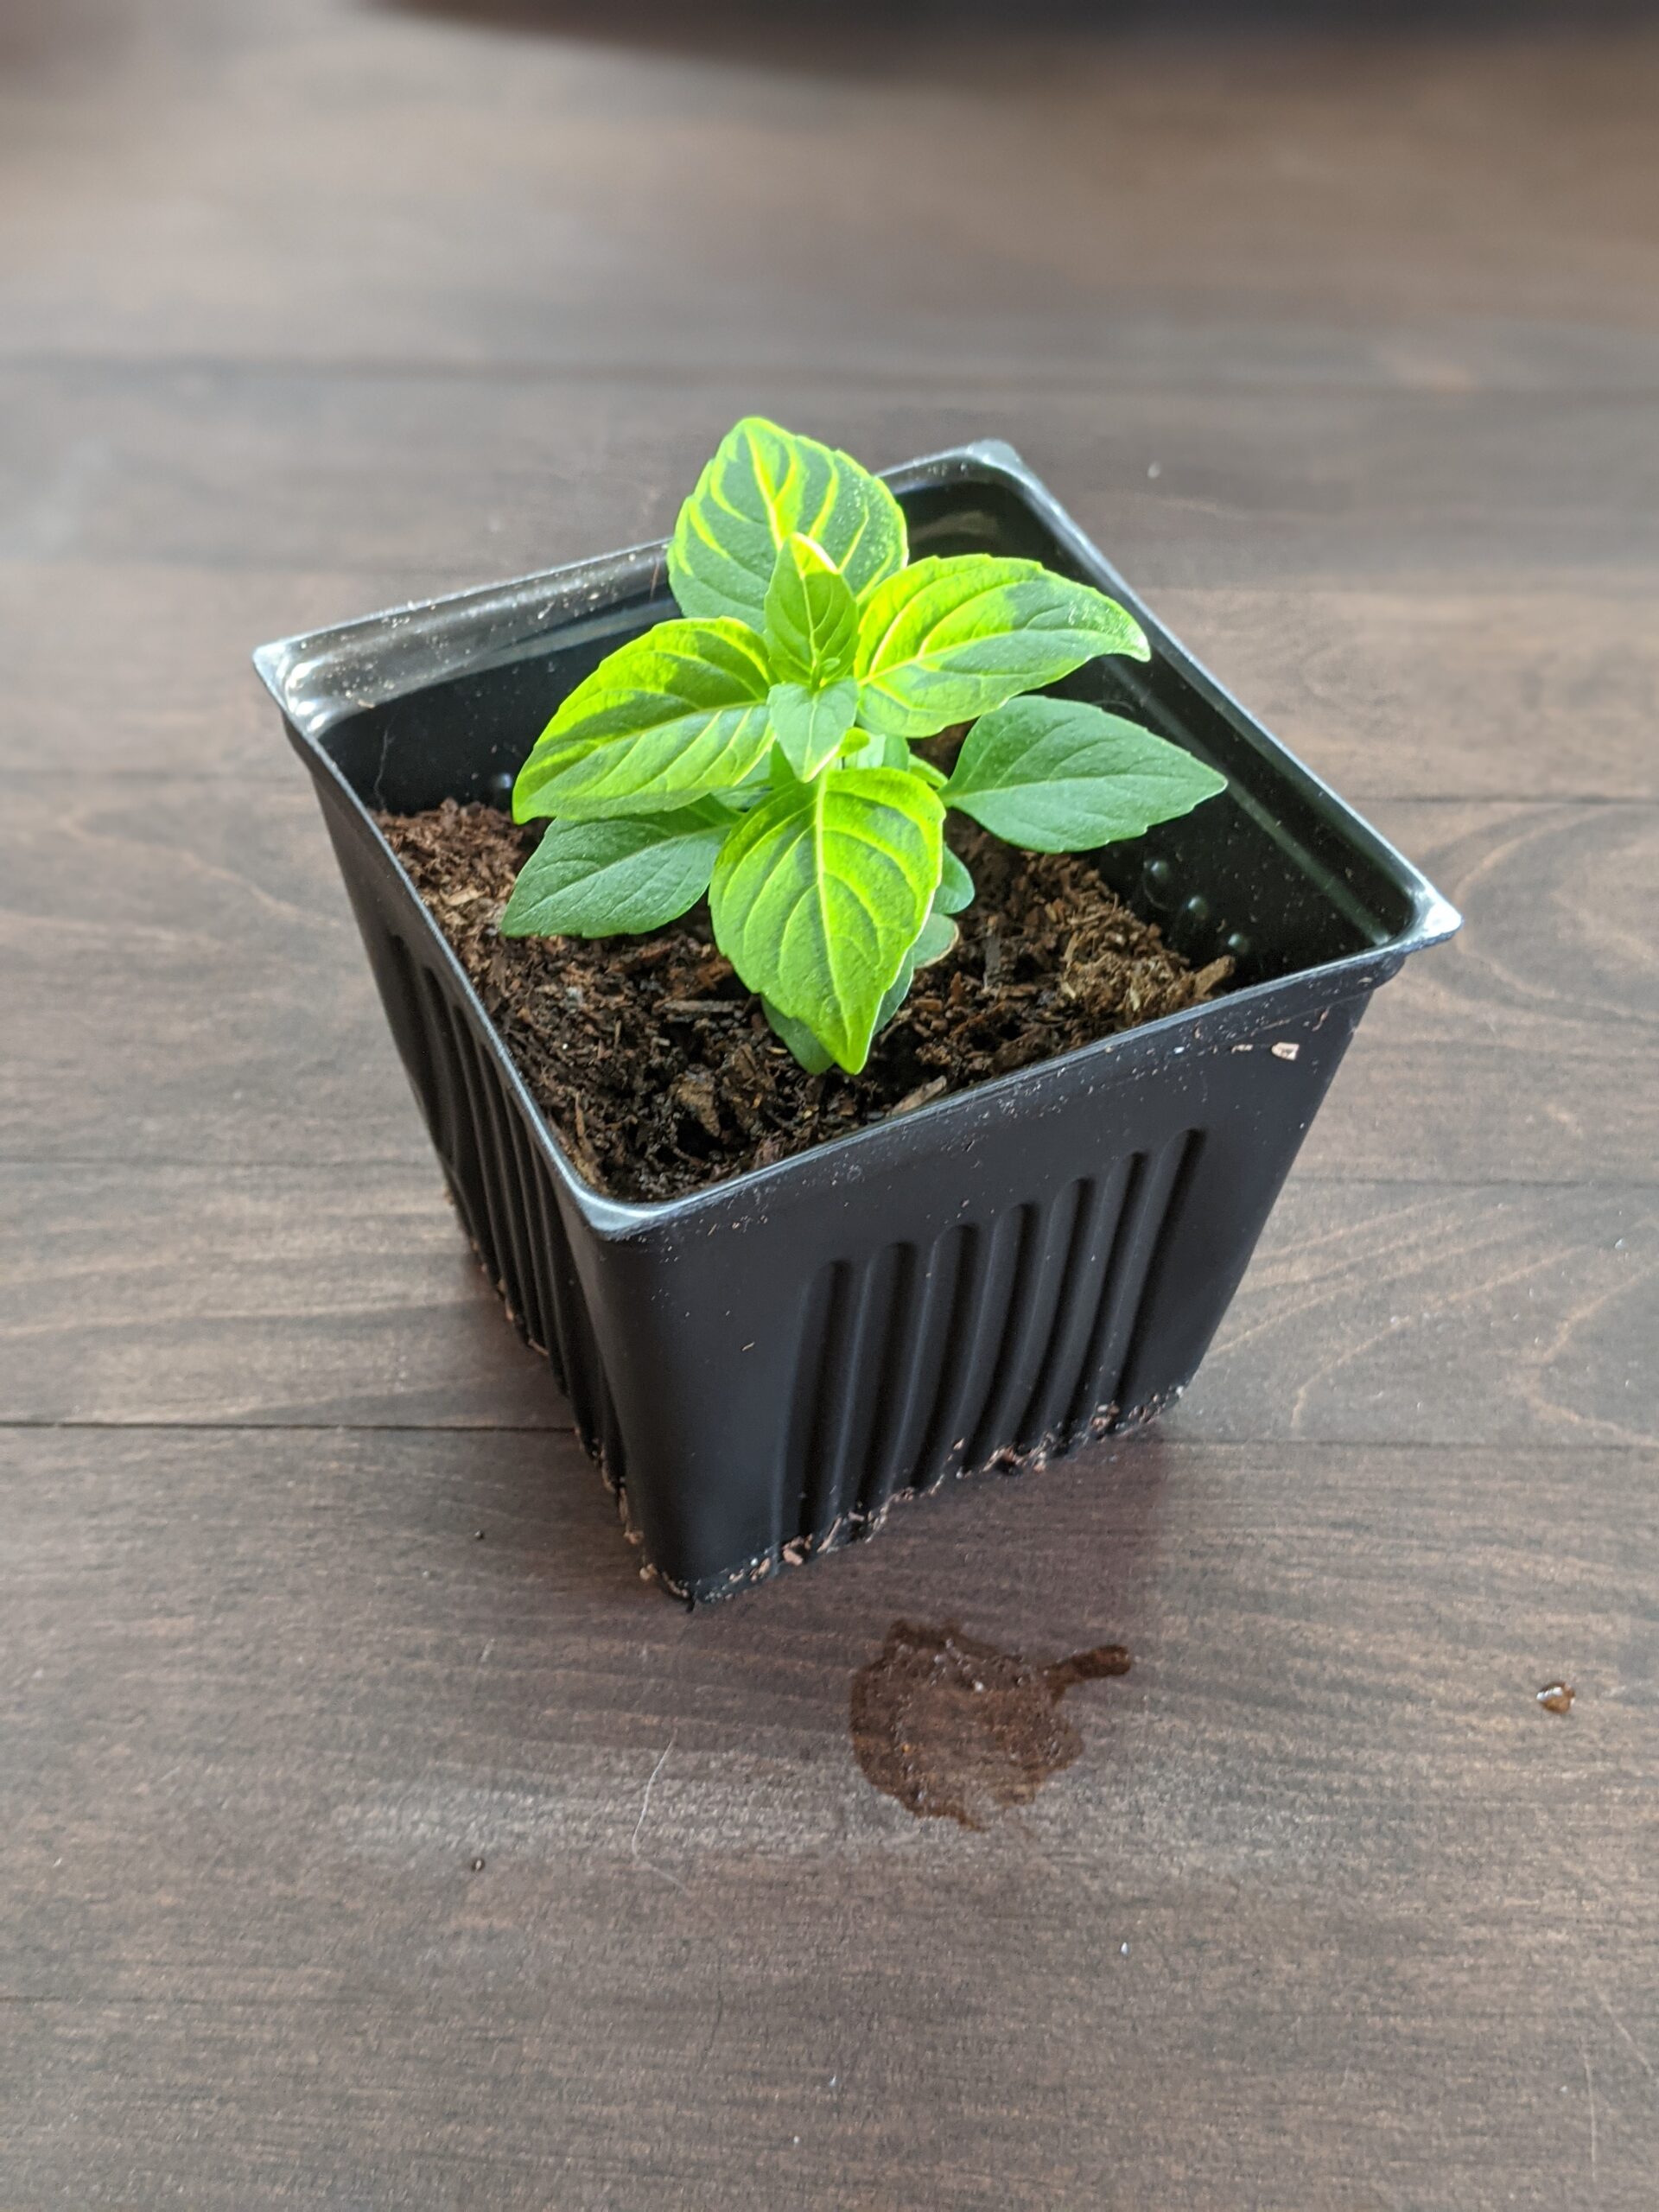
Asparagus, Oregano, Thyme, Dill, Sage, Mint, Chocolate Mint, Lemon Balm, Lavender, Rhubarb, Raspberries, Blueberries, Blackberries, Honeyberries, strawberries

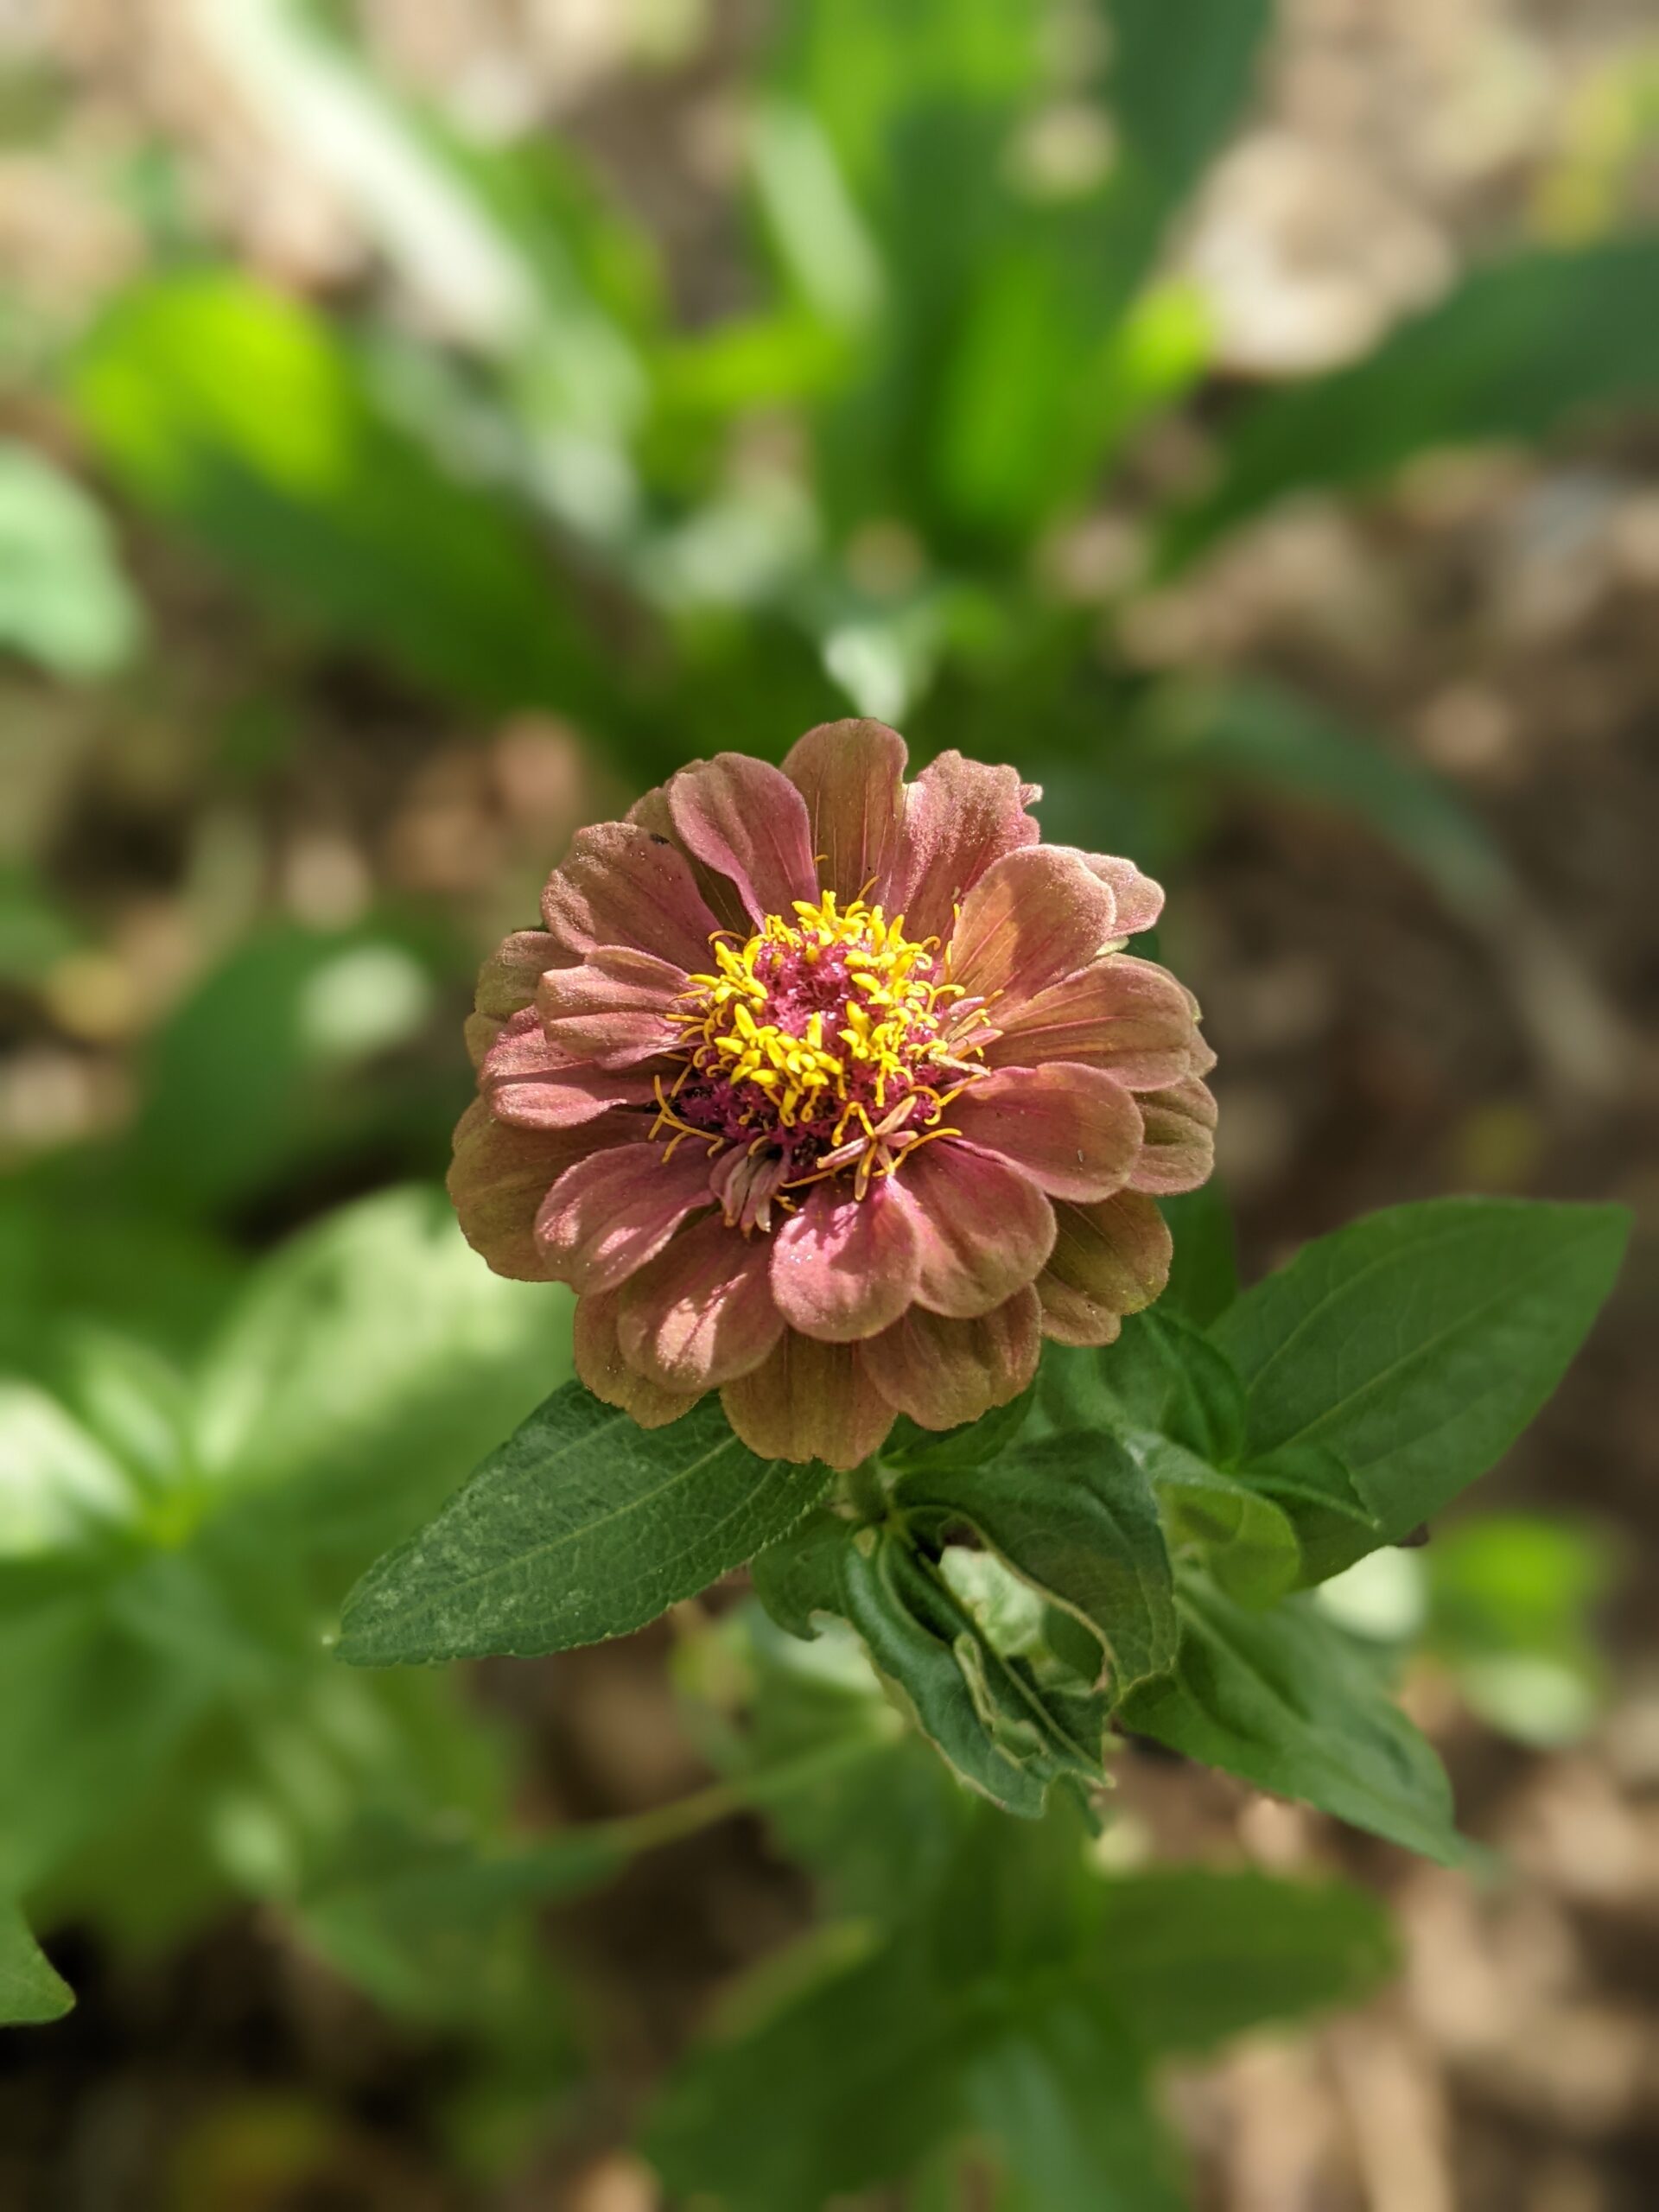
I will also be growing an assortment of flowers. Usually I grow these on a whim and however I’m feeling that day I sow them. But they almost always include:

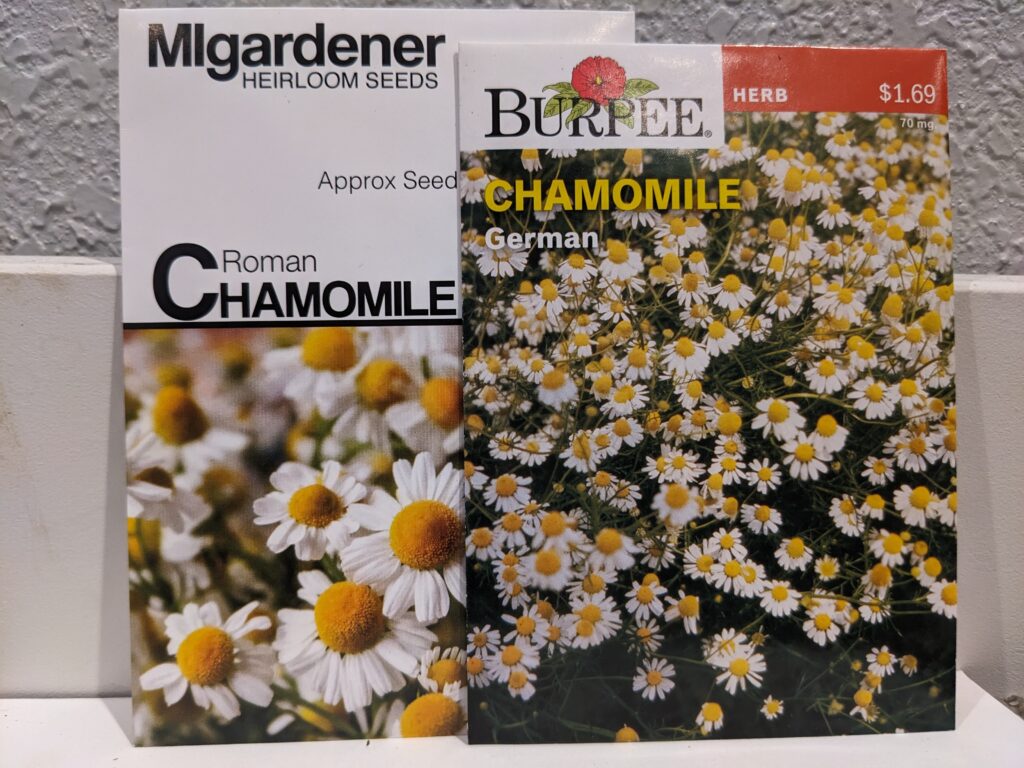
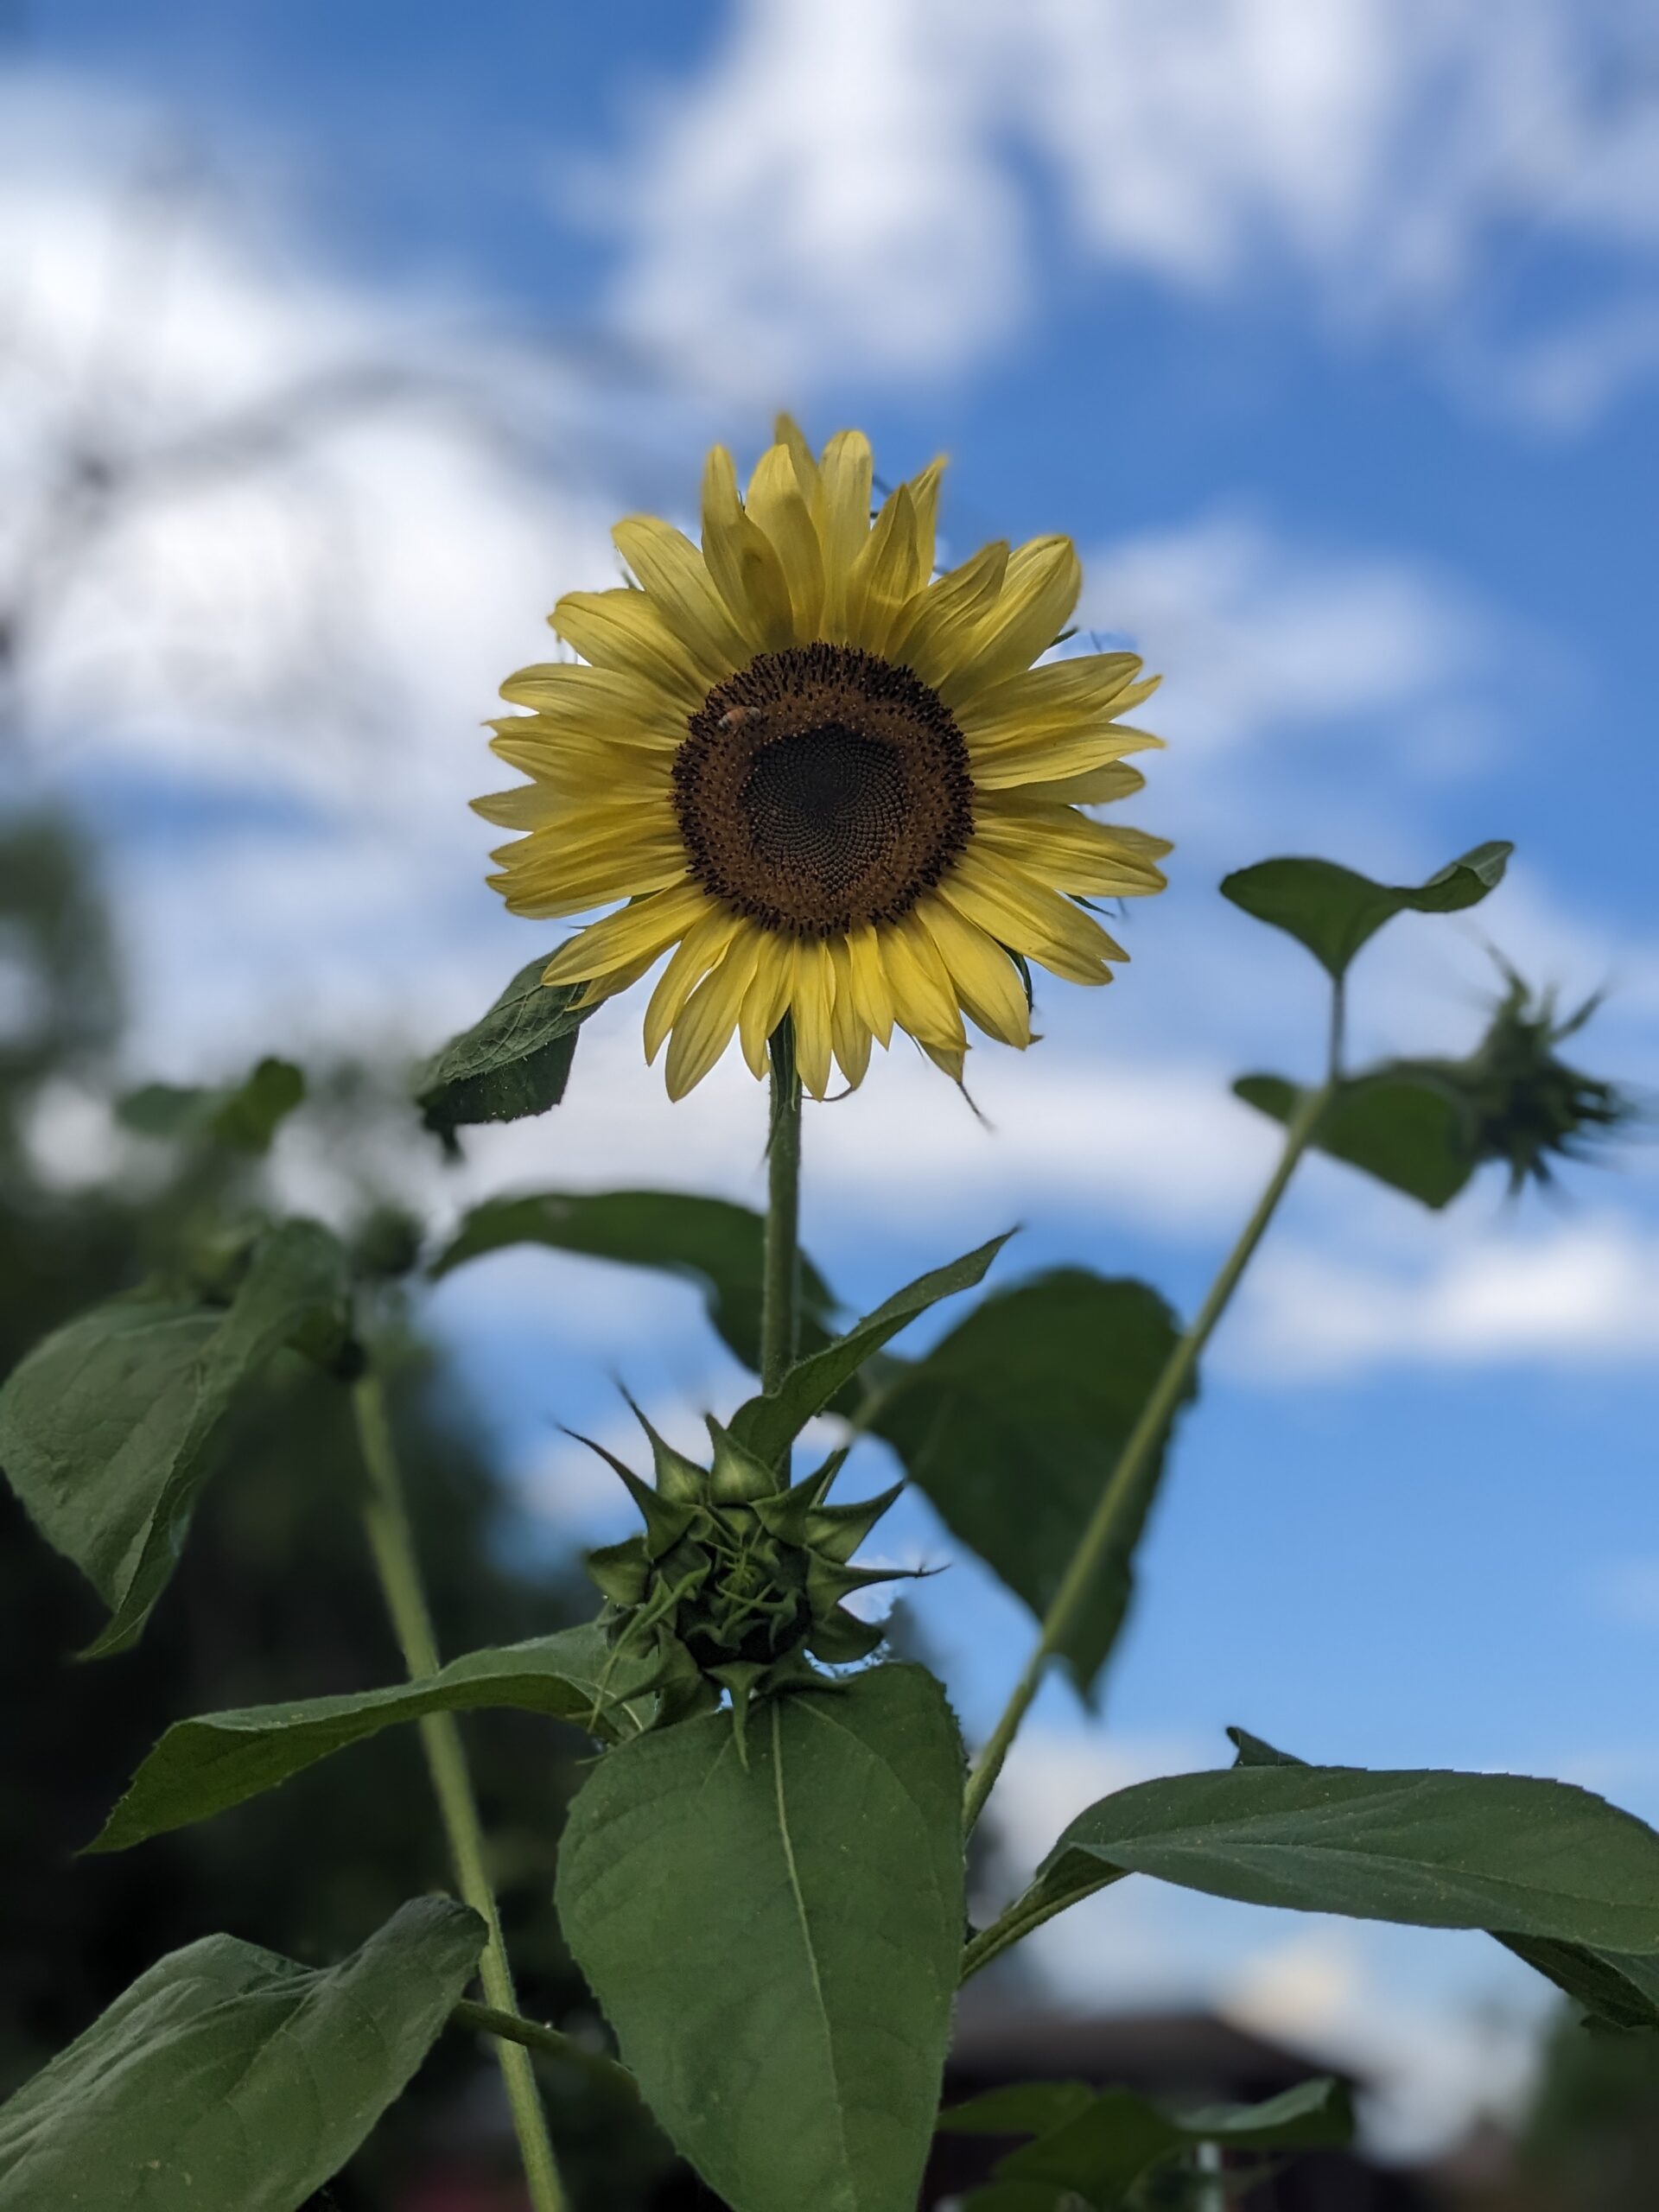
Zinnias, Calendula, Marigold, Dahlias, Yarrow, Sunflowers, Poppies, Daisy, Cosmos, Celosia, Aster, Sweet Peas

“This post contains affiliate links to Amazon. If you click on a link and make a purchase, I may earn a small commission at no extra cost to you. This helps support the work I do in creating and sharing recipes. Thank you for your support!”