You are currently viewing How to Start Seeds Indoors: Tips for a Successful Growing Season

How to Start Seeds Indoors: Tips for a Successful Growing Season

The Joy of Starting Seeds Indoors

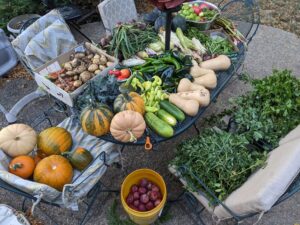
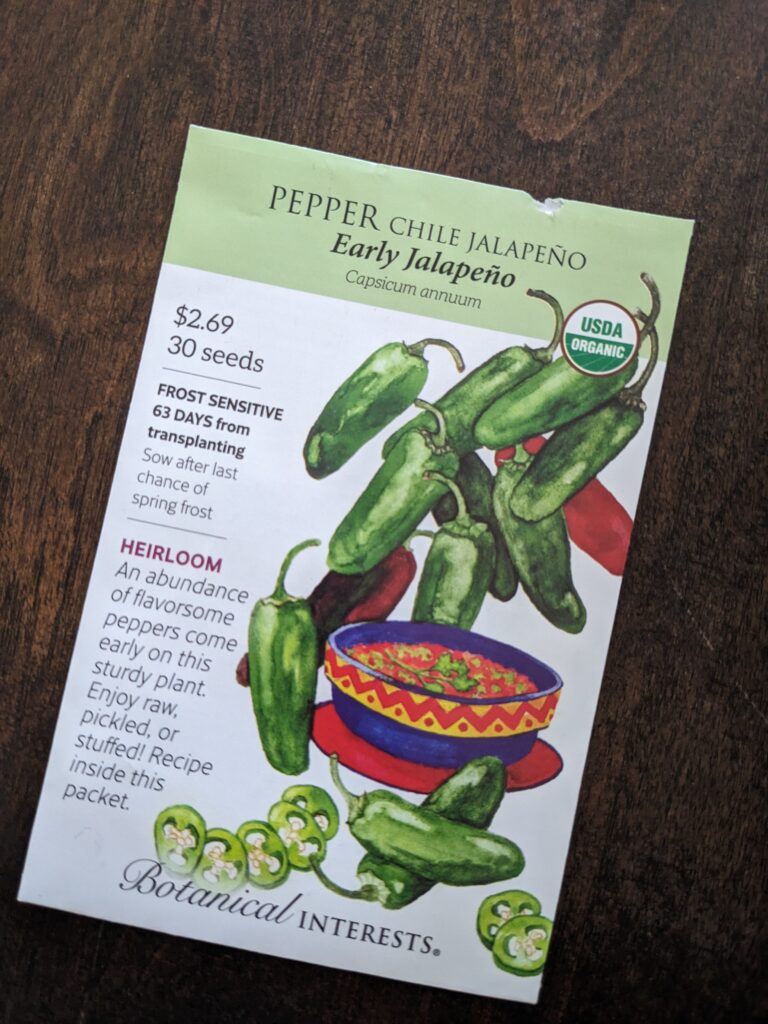
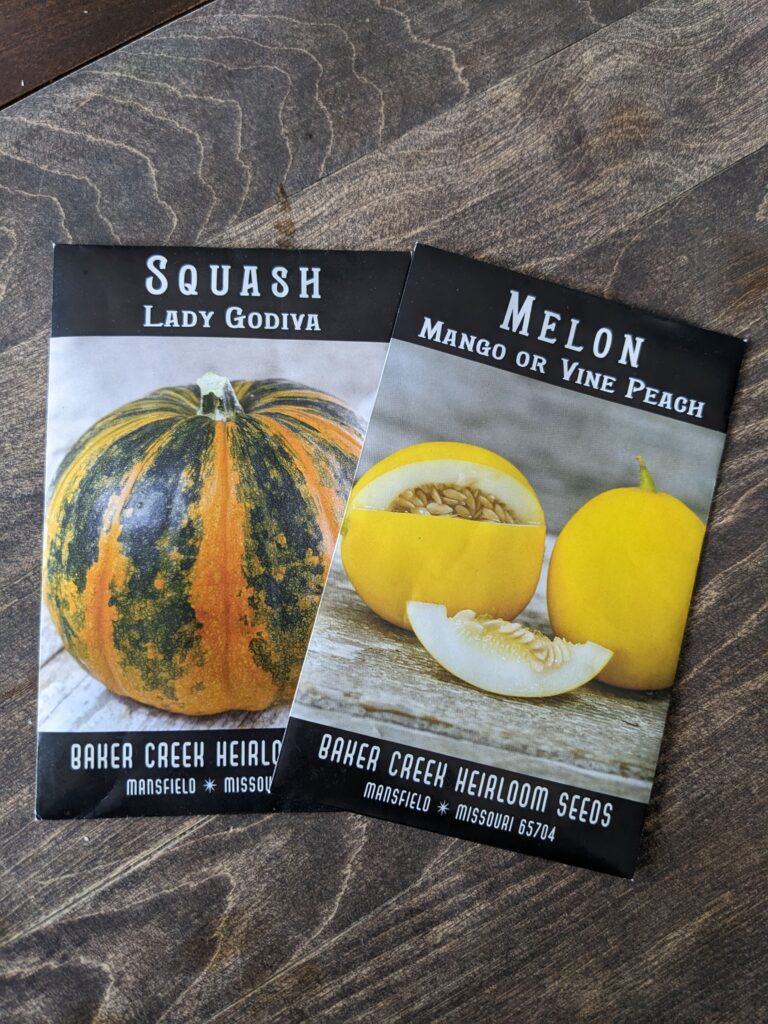
Starting seeds indoors is a fantastic way to jump-start your gardening season and ensure a healthier, more productive garden. By beginning your plants indoors, you can extend your growing season, giving your seedlings a head start before the weather warms up. It’s also a cost-effective way to grow a wider variety of plants—many of which may be expensive or hard to find as mature plants in stores. Many of the big box stores charge $6-$7 per plant for standard varieties. You can buy a whole pack of seeds for $2-$3. Whether you’re growing flowers, vegetables, or herbs, or all of the above starting seeds indoors opens up a world of possibilities for your garden, allowing you to cultivate unique varieties that might not be available locally. Plus, there’s something incredibly rewarding and slightly addicting about watching a tiny seed transform into a thriving plant right in your home. I find myself checking my plants multiple times a day. Peeking in to see if any have sprouted and always amazed at how quickly they grow.

Why Start Seeds Indoors?

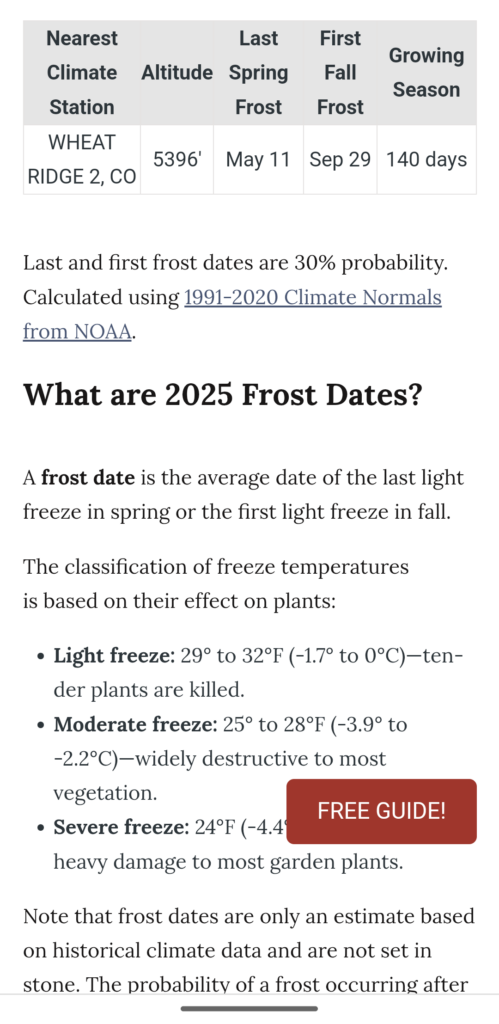
Starting seeds indoors gives you the advantage of an early start, allowing for a longer growing season. By getting your plants growing before the last frost, you can maximize the time they have to mature and produce. This is particularly helpful for me here in Colorado where the weather can be very unpredictable. With indoor seed starting, you have more control over the environment, ensuring your seedlings thrive in the ideal conditions, such as consistent warmth and light. Additionally, it’s a cost-effective choice—seeds are significantly cheaper than purchasing transplants from a nursery, giving you the opportunity to grow a wide variety of plants without breaking the bank. 

Starting seeds indoors allows you to carefully monitor and tend to them as they grow, which can result in stronger, healthier plants compared to those bought from a nursery. You control their exposure to light, moisture, and nutrients, which means you can give them the best possible start. I have struggled over the years with pill bugs munching down on my newly sprouted seedlings that I directly sowed in my outdoor garden. It’s quite frustrating and then puts me a week behind schedule (most germination time is 7 days) in an already short growing season. Starting all that I can indoors ensures the plants can get plenty big enough that the bugs cannot kill them. 

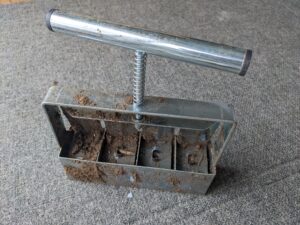
Starting seeds indoors can be a more sustainable choice, as you can reduce the need for plastic pots and other packaging that typically comes with purchased transplants. You can even reuse containers, like yogurt cups or egg cartons, to reduce waste. Another option of using a soil blocker like this one has become a popular choice lately and eliminates the use of plastic containers all together.

3. Choosing the Right Seeds for Indoor Starting

When starting seeds indoors, certain plants thrive in these conditions and benefit from the extra care and attention. Here are some popular types of plants that do well when started indoors:

  1. Tomatoes: Tomatoes are one of the most common plants to start indoors. They require a long growing season and benefit from an early start, especially in cooler climates. Starting tomatoes indoors gives them a few extra weeks of warmth and light, helping them establish strong roots before being moved outdoors. Heirloom and hybrid varieties, including cherry, beefsteak, and roma tomatoes, all grow well indoors.
  2. Peppers: Like tomatoes, peppers need warm temperatures to germinate and grow strong, making them ideal candidates for indoor starting. They also have a relatively long growing season, so starting them early indoors allows them to develop before moving them outdoors. Sweet peppers, hot peppers, and even ornamental peppers can all be successfully started inside.

3.  Herbs: Many herbs thrive indoors and can be easily grown from seed. Herbs like basil, parsley, cilantro, dill, and oregano do particularly well when started indoors, as they are sensitive to temperature fluctuations. Starting herbs indoors ensures that you have a head start before the outdoor growing season, and it allows you to grow a variety of herbs that might be hard to find as seedlings.

4. Cabbage Family (Brassicas): Plants like broccoli, cauliflower, kale, and cabbage do well when started indoors because they can be transplanted early into the garden. Brassicas like cooler temperatures, and starting them indoors gives them the time they need to mature before the summer heat sets in.

5. Lettuce and Greens: Lettuce, spinach, and other leafy greens can also be started indoors for a jump on the growing season. These plants are often transplanted into the garden early, so starting them indoors gives them the advantage of a head start. Greens like kale and Swiss chard can also thrive indoors before being moved outside.

6. Flowers: Many flowers, such as marigolds, sunflowers, zinnias, and snapdragons, can be started indoors for earlier blooms. Flowers like these require a longer growing season and starting them indoors helps to ensure vibrant, full blooms once the weather is right.

7. Melons and Cucumbers: Warm-season crops like melons and cucumbers can be started indoors, especially in cooler climates where the growing season is short. Start them indoors a few weeks before the last frost to give them time to grow strong before being transferred to the garden.

8. Onions: Onions can also benefit from starting indoors, especially if you’re growing them from seed rather than sets. They need a long growing period, and starting them indoors allows for a head start before planting them out in the garden.

By selecting the right plants and giving them the proper indoor care, you can maximize the potential of your garden. Starting seeds indoors helps you extend your growing season, experiment with new varieties, and ensure healthy, strong plants that will thrive once transplanted outdoors.

4. When to start your seeds indoors

Knowing when to start your seeds indoors is key to ensuring your plants have the best chance to thrive. The timing primarily depends on your last frost date, which is the average date of the last frost in your area in spring. Here’s how to determine the best time to start seeds based on your last frost date and how to use seed packets for guidance:

1. Find Your Last Frost Date

  • Local Resources: Look up your region’s average last frost date through your local agricultural extension office, gardening centers, or online resources. Websites like garden.org, the USDA Plant Hardiness Zone Map can help, or you can simply search for the date specific to your area.
  • General Rule: In most places, the last frost date falls somewhere between March and May, but it can vary depending on your climate zone. Mine is usually the second week of May around Mother’s Day. 

2. Using Seed Packets to Determine When to Start Seeds

  • Read the Packet for Indoor Starting Info: Seed packets often provide detailed instructions on when to start the seeds indoors. Look for a phrase like “Start indoors X weeks before last frost” or “Sow indoors 6-8 weeks before the last frost date.”
    • For example, if a seed packet suggests starting tomatoes 6-8 weeks before the last frost, and your last frost date is April 15, you’d want to start your tomatoes indoors by mid-February to early March.
  • Days to Maturity: Seed packets also list the days to maturity, which is the time it takes from planting the seed to when the plant is ready to harvest. Subtract the number of days listed from your last frost date to determine when to transplant your seedlings outdoors.
    • For example, if your packet says “80 days to maturity” for peppers, and your last frost date is May 1, you’d want to start your peppers indoors by mid-February (80 days before May 1) to give them enough time to grow.

3. Counting Backwards from Your Last Frost Date

  • Once you know your last frost date and have the recommended indoor starting time from the seed packet, count backwards to determine when to start the seeds indoors.
    • If the packet says 6 weeks before the last frost for tomatoes and your last frost is April 15, you would count back to March 1, giving you a target date to begin your indoor planting.

4. Timing for Different Types of Plants

  • Warm-Season Crops (e.g., tomatoes, peppers, melons): These generally need to be started indoors 6-8 weeks before the last frost date, as they need a warm growing period before being transplanted outdoors after the frost danger has passed.
  • Cool-Season Crops (e.g., lettuce, kale, cabbage): These can often be started indoors 4-6 weeks before the last frost, as they tolerate cooler temperatures and can be transplanted outdoors earlier.
  • Flowers: Flowers like marigolds, zinnias, and sunflowers often benefit from starting indoors 6-8 weeks before the last frost, as they need time to establish strong roots.

Example Timeline:

  • Last Frost Date: April 15
  • Tomatoes (start indoors 6-8 weeks before last frost): Start indoors by February 15 – March 1
  • Cabbage (start indoors 4-6 weeks before last frost): Start indoors by March 15 – April 1
  • Lettuce (start indoors 4-6 weeks before last frost): Start indoors by March 15 – April 1

Tips:

  • Use a Garden Planner: Some gardeners use planting charts or apps that provide dates and timing based on your last frost date. One app that I have used in the past is Seedtime.us.
  • Adjust for Local Climate: If you’re in a warmer or cooler region, you may need to adjust the timing slightly, especially for very early or very late frosts. Sometimes your yard or neighborhood has a micro-climate and may be slightly warmer or cooler than the average. Keeping track of the temperatures where your garden is in a garden journal or notebook can be beneficial. 

By understanding your last frost date and reading seed packets carefully, you can plan ahead and ensure that your plants have the best conditions to grow strong and healthy!

4. Gathering Materials

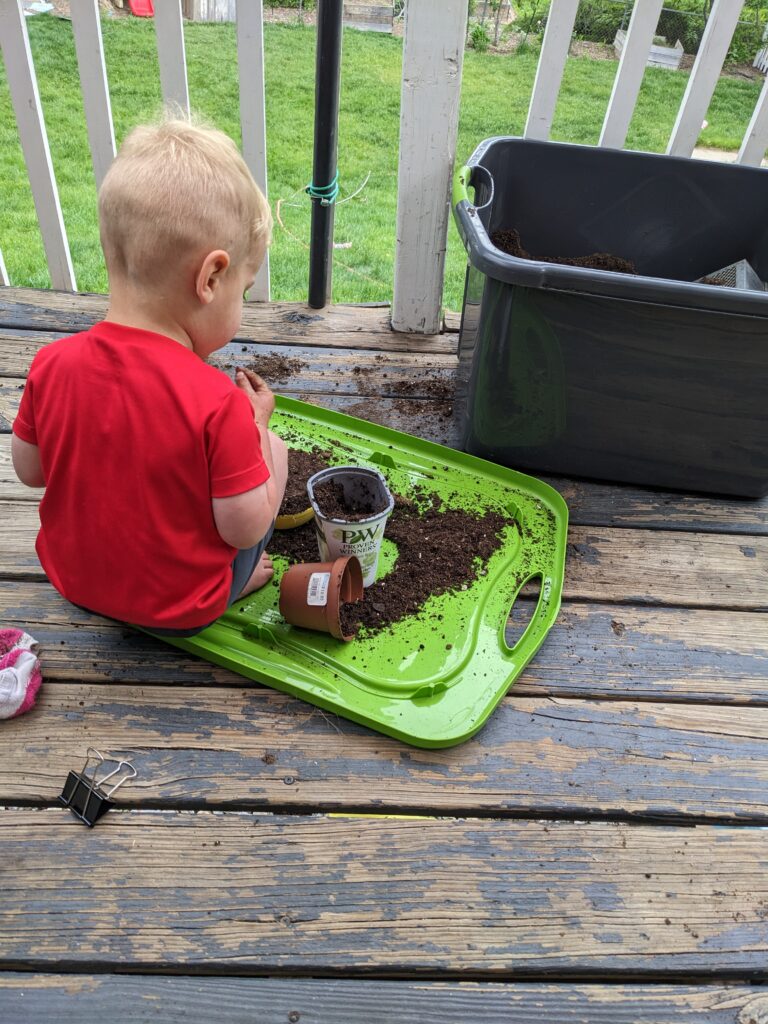
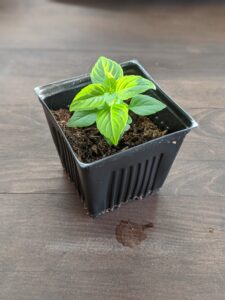
Starting seeds indoors requires a few essential materials to create the ideal environment for your plants to grow. First, you’ll need seed trays and/or containers—these can be as simple as small pots, recycled containers, or even specialized seed-starting trays like these. There have been years when I started all my seeds in red solo cups with a hole cut in the bottom of them for drainage. Another option I have already mentioned is a soil blocker. 
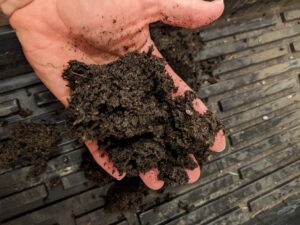
Seed starting mix is crucial, as it is light sterile and well-draining, providing the best conditions for seed germination. Regular garden soil is too heavy with large chunks and may harbor disease. 
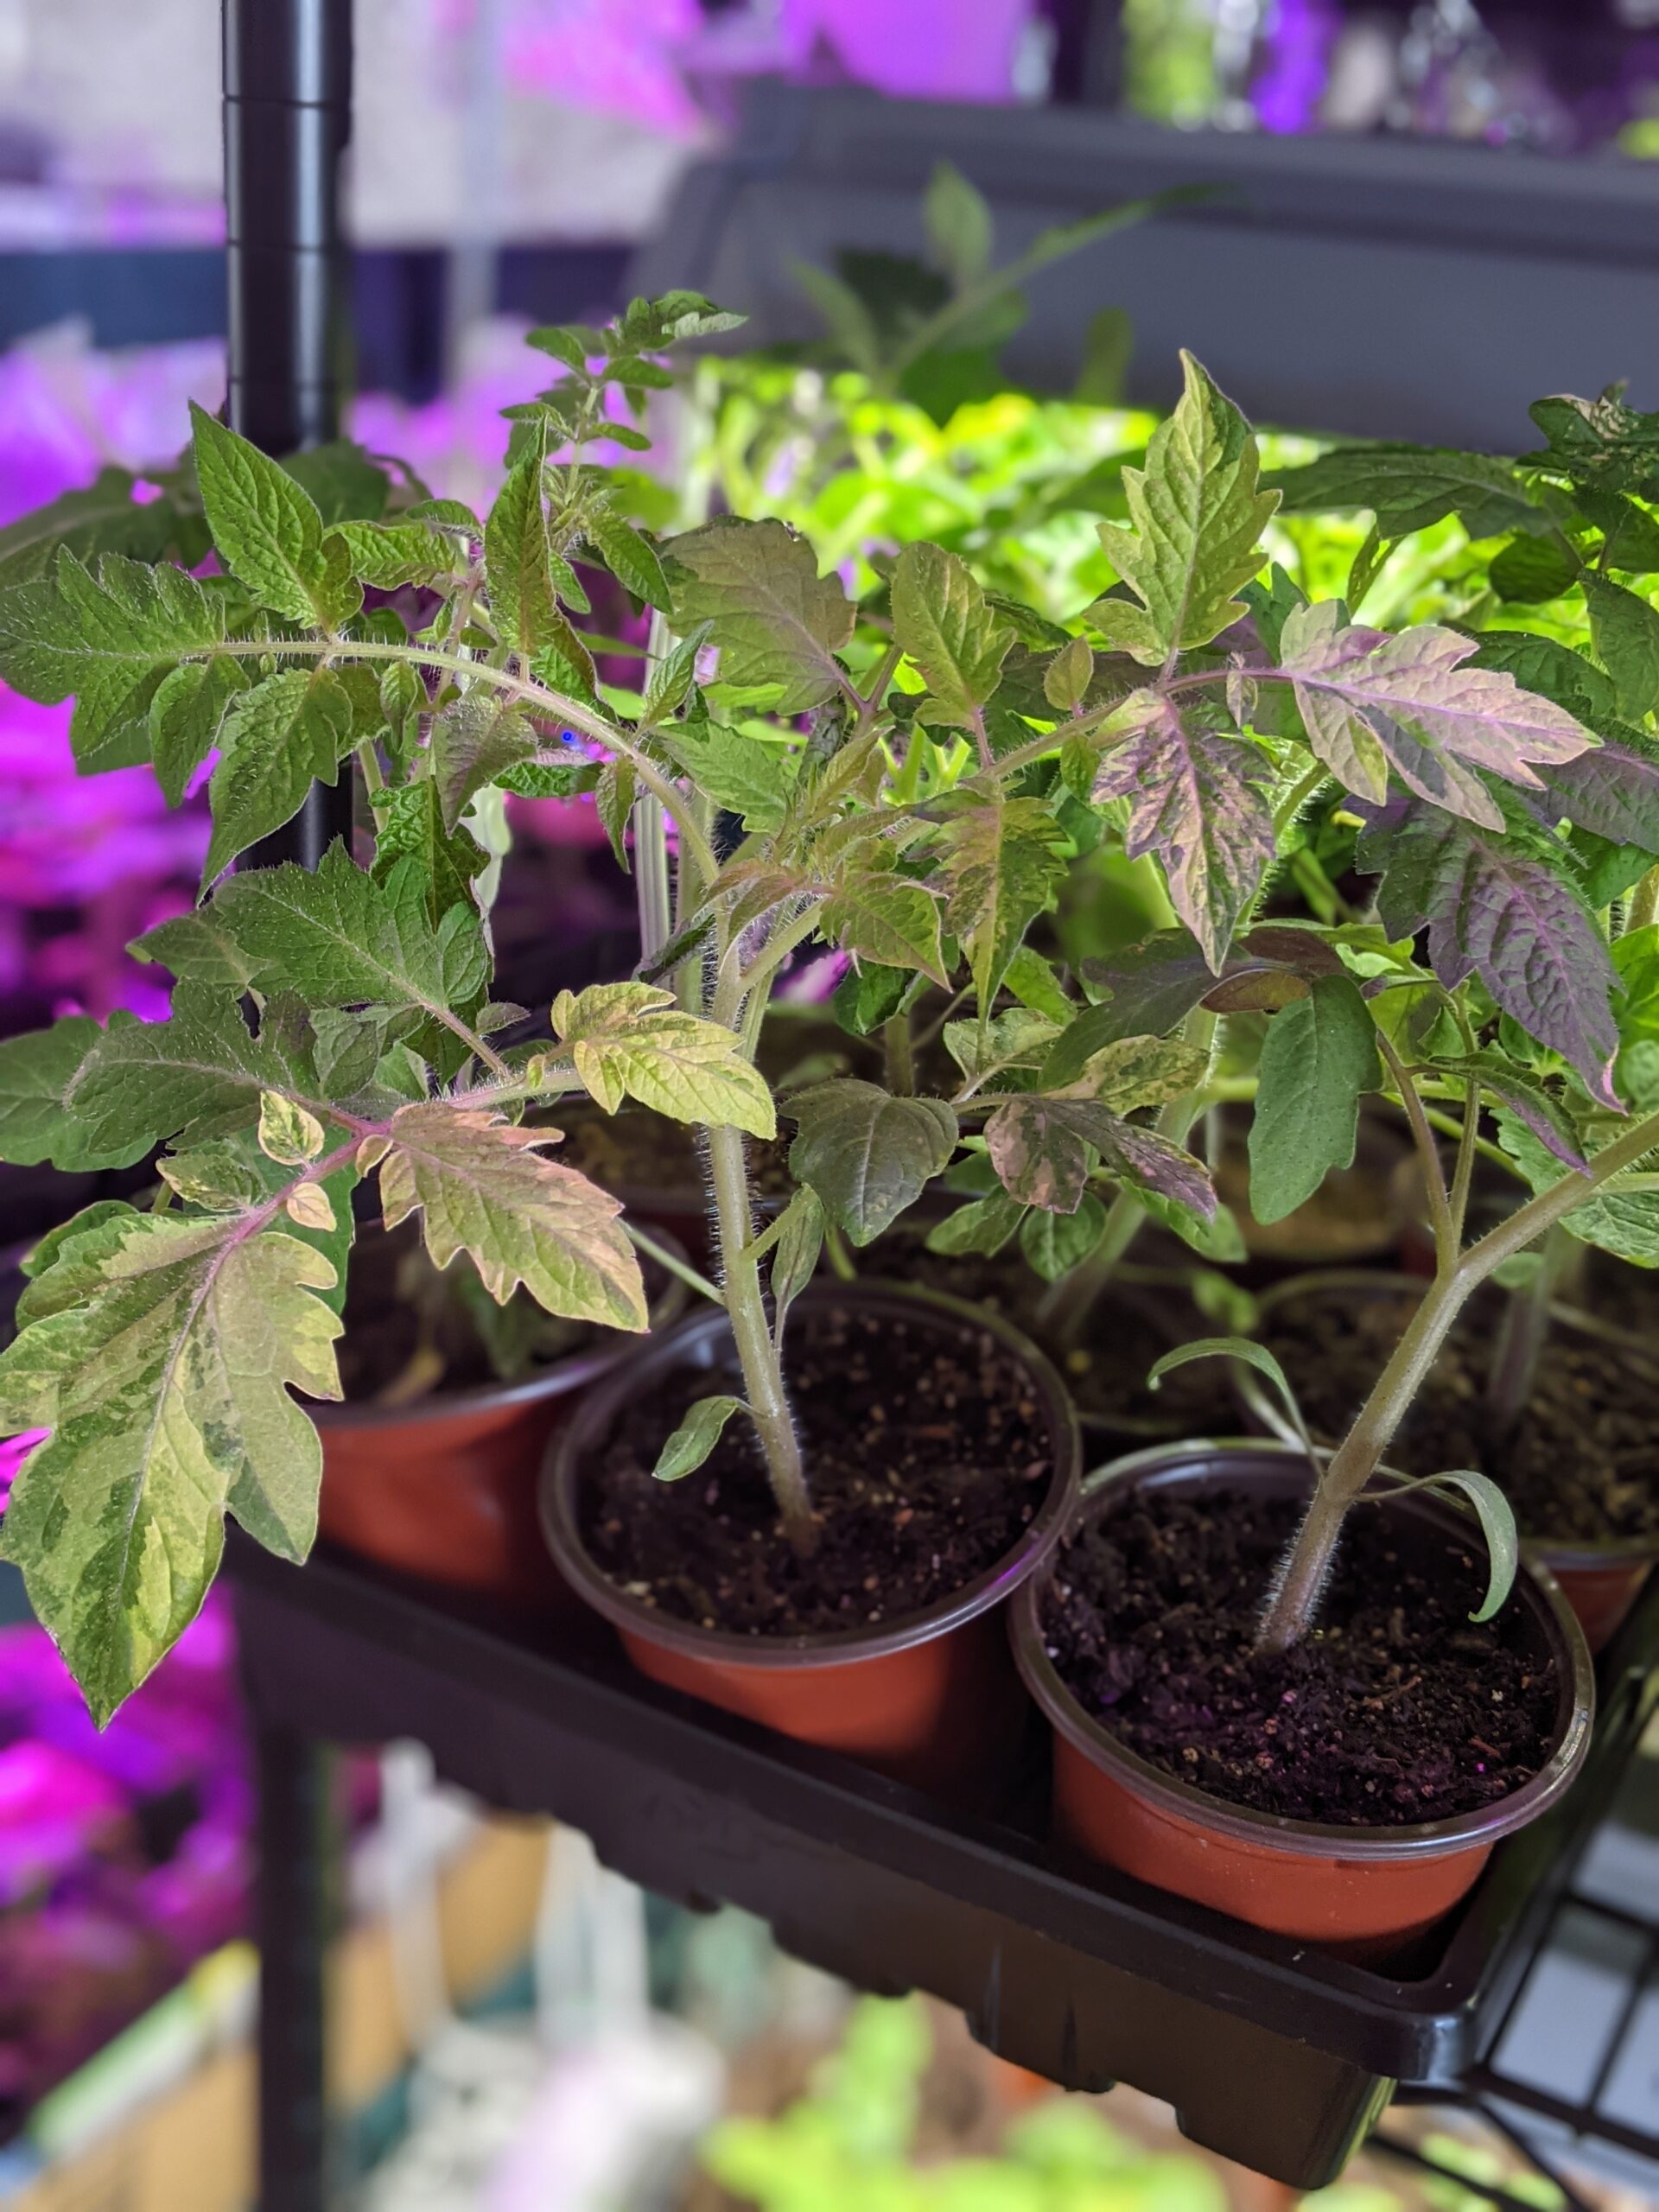
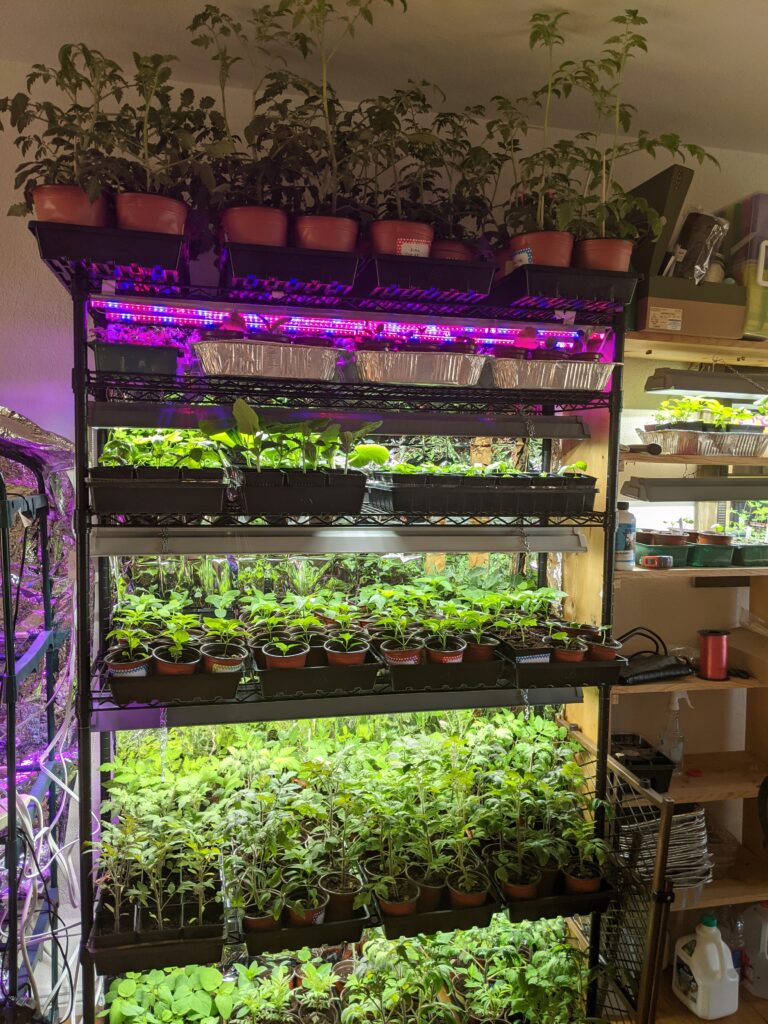
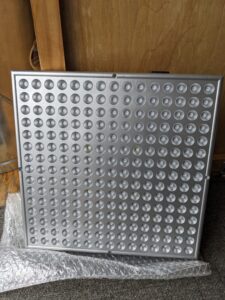
Grow lights are helpful if you don’t have enough natural sunlight; these provide the consistent, bright light your seedlings need to thrive. For warmth, heating mats can be used to maintain an ideal soil temperature, especially for heat-loving plants like tomatoes and peppers. You’ll also need plastic covers or humidity domes to help retain moisture and create a greenhouse-like effect. 
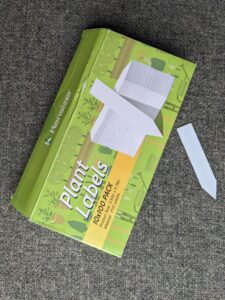
Don’t forget labels to mark your different seedlings, so you can easily identify what’s growing.  Finally, a watering can or spray bottle will help you keep the soil moist without overwatering. Some specialty trays and containers allow you to “bottom water” or put water in the holding tray and allow the soil to soak up the water from the bottom up. I have found this is the best and most consistent way to water. With these materials, you’ll have everything you need to create a perfect environment for your seeds to grow strong and healthy indoors!

5. Step-by-Step Guide to Starting Seeds Indoors

  1. Prepare Your Containers: Clean containers is an important step that is not one to be missed. Diseases from soil can live on containers and transfer to your new soil and potentially kill your seedlings. Consider the container size as well. If you are starting  your seedlings in very small containers, you will most likely have to transplant the seedling into a larger pot before it’s time to plant outside. 
  2. Planting the Seeds: Each seed will have a very specific depth the seed should be planted. Seeds planted too deep will not have enough energy to reach the surface and survive. A seed not planted deep enough may dry out or become spindly and weak. When it comes to spacing you have a lot of freedom. Seedlings such as tomatoes, onions, and many flowers can be sowed very thick and then carefully separated. 
  3. Watering and Moisture: Again, I have found that bottom watering my seedlings is the best in my opinion. However, if you do top water, do so carefully as you could wash away some of the small seedlings. 
  4. Providing the Right Light: Most seeds do not need light to germinate. However, there are a few that do and should be noted on your seed packet. Otherwise you can go without light until your seeds have germinated. Once germinated, light is crucial in the development of your plants. 
  5. Maintaining Temperature: There are some cool weather plants that can tolerate lower temperatures and there are warm weather plants that will die if subjected to too cold of temperatures. Keep your seedlings in an area where the ambient temperature is around 68-75 degrees fahrenheit. 
  6. Thinning Seedlings: For those seedlings that you sowed thick such as tomatoes, onions or flowers, you will need to thin or separate. The best time to thin these is once the plants have developed their first true leaves. These are not the first leaves that appear as the seedling emerges from the soil, but the first ones right after that. At this point the plants will be a bit stronger and can handle the disruption. 

Key Considerations for Grow Lights:

  • Light Spectrum: Look for full-spectrum lights that mimic natural sunlight. Seedlings need both blue light for vegetative growth and red light for promoting flowering and fruiting. Full-spectrum lights provide this balance.
  • Distance from Plants: Position your grow lights about 2-6 inches above your seedlings for optimal results, depending on the strength of the light. Adjust the height as your seedlings grow taller.
  • Light Duration: Seedlings generally need about 12-16 hours of light per day to thrive, especially in the early stages. Using a timer for your grow lights can help maintain consistent light cycles.

6. Caring for Seedlings as They Grow

  • Caring for your seedlings is pretty simple. Ensure they have enough water, warmth, and light then sit back and watch them grow. At this point I tend to get a little obsessive. I love checking on my seedlings to see how much they have grown. 

7. Hardening Off Your Seedlings Before Transplanting Outdoors

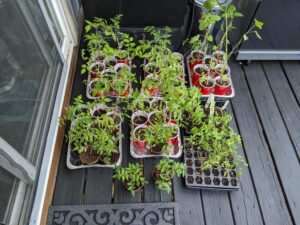
The hardening-off process is a crucial step in transitioning your indoor-grown seedlings to the outdoor environment. It involves gradually acclimating your plants to outdoor conditions, such as direct sunlight, wind, and temperature fluctuations, to prevent transplant shock. When seedlings are started indoors, they have been sheltered from these environmental factors, so moving them directly into the garden can be stressful and damaging to their delicate systems. Hardening them off helps them adapt slowly, making the transition smoother and increasing their chances of thriving once planted outdoors.

Steps for Hardening Off Your Seedlings:

  1. Start Slowly: About 7-10 days before transplanting them into the garden, begin the hardening-off process. Choose a location outside that’s sheltered from strong winds and direct sunlight, like a shaded porch or under a tree. The first day, place your seedlings outside for just 1-2 hours in a location with indirect light.
  2. Gradually Increase Exposure: Each day, increase the time your seedlings spend outdoors by about an hour or two, while slowly exposing them to more direct sunlight. Start with morning sun, which is gentler, and then work up to afternoon sun as they get used to the stronger light.
  3. Introduce Wind and Temperature Fluctuations: After a few days, begin to expose your seedlings to light breezes and temperature fluctuations. A light wind helps strengthen the stems, while fluctuating temperatures will help the seedlings adjust to day and night variations in outdoor conditions.
  4. Monitor Moisture: While hardening off, keep an eye on the soil moisture. The combination of outdoor air, sun, and wind can cause the soil to dry out more quickly than indoors, so water your seedlings as needed, but be careful not to overwater.
  5. Increase Time Outside: By the end of the week, your seedlings should be able to handle the full outdoor conditions for 6-8 hours a day. At this point, they should be ready for planting in the garden. Make sure you plant them on a cloudy day or in the evening when temperatures are cooler to minimize stress.
  6. Final Transplanting: After the hardening-off process, your seedlings should be accustomed to the outdoor environment and ready to be transplanted into their permanent garden spots. Avoid transplanting them on the hottest part of the day or during extreme weather conditions, as this can cause them additional stress.

8. Common Mistakes to Avoid

  • Overwatering, especially in a high moisture environment can cause fungus to grow in  your soil. Ensure your soil has just enough water that the soil is moist but not soaking and try to maintain that. 
  • Not providing enough light can cause your seedlings to become “leggy” (long stemmed) and very weak. If they become too long they will flop over and sometimes die. Some plants such as tomatoes can be re-potted very deep if they get too leggy. 
  • Using poor-quality or inappropriate soil. I have made this mistake too many times to admit! The right soil can make or break your gardening season. Use a seed starting soil that is super light fluffy, void of any large chunks or bark and most importantly sterile.

9. Conclusion: Ready for the Garden

Starting seeds indoors is a rewarding and fulfilling experience that allows you to connect with nature and watch the incredible transformation from tiny seeds to strong, thriving plants. While it requires patience, care, and attention, the joy of seeing your seedlings grow and mature is truly unmatched. There’s something deeply satisfying about nurturing a plant from its first sprout to its final, strong form, ready to be transferred into the garden. As you transplant those healthy, well-established plants into their new outdoor home, you’ll feel a sense of pride in your hard work and dedication. Not only are you creating a garden filled with your own homegrown treasures, but you’re also gaining valuable skills and knowledge that will make each growing season even more enjoyable. So, embrace the process, have fun with it, and take pride in the journey of growing from seed to garden. The rewards are well worth the effort!

“This post contains affiliate links to Amazon. If you click on a link and make a purchase, I may earn a small commission at no extra cost to you. This helps support the work I do in creating and sharing recipes. Thank you for your support!”