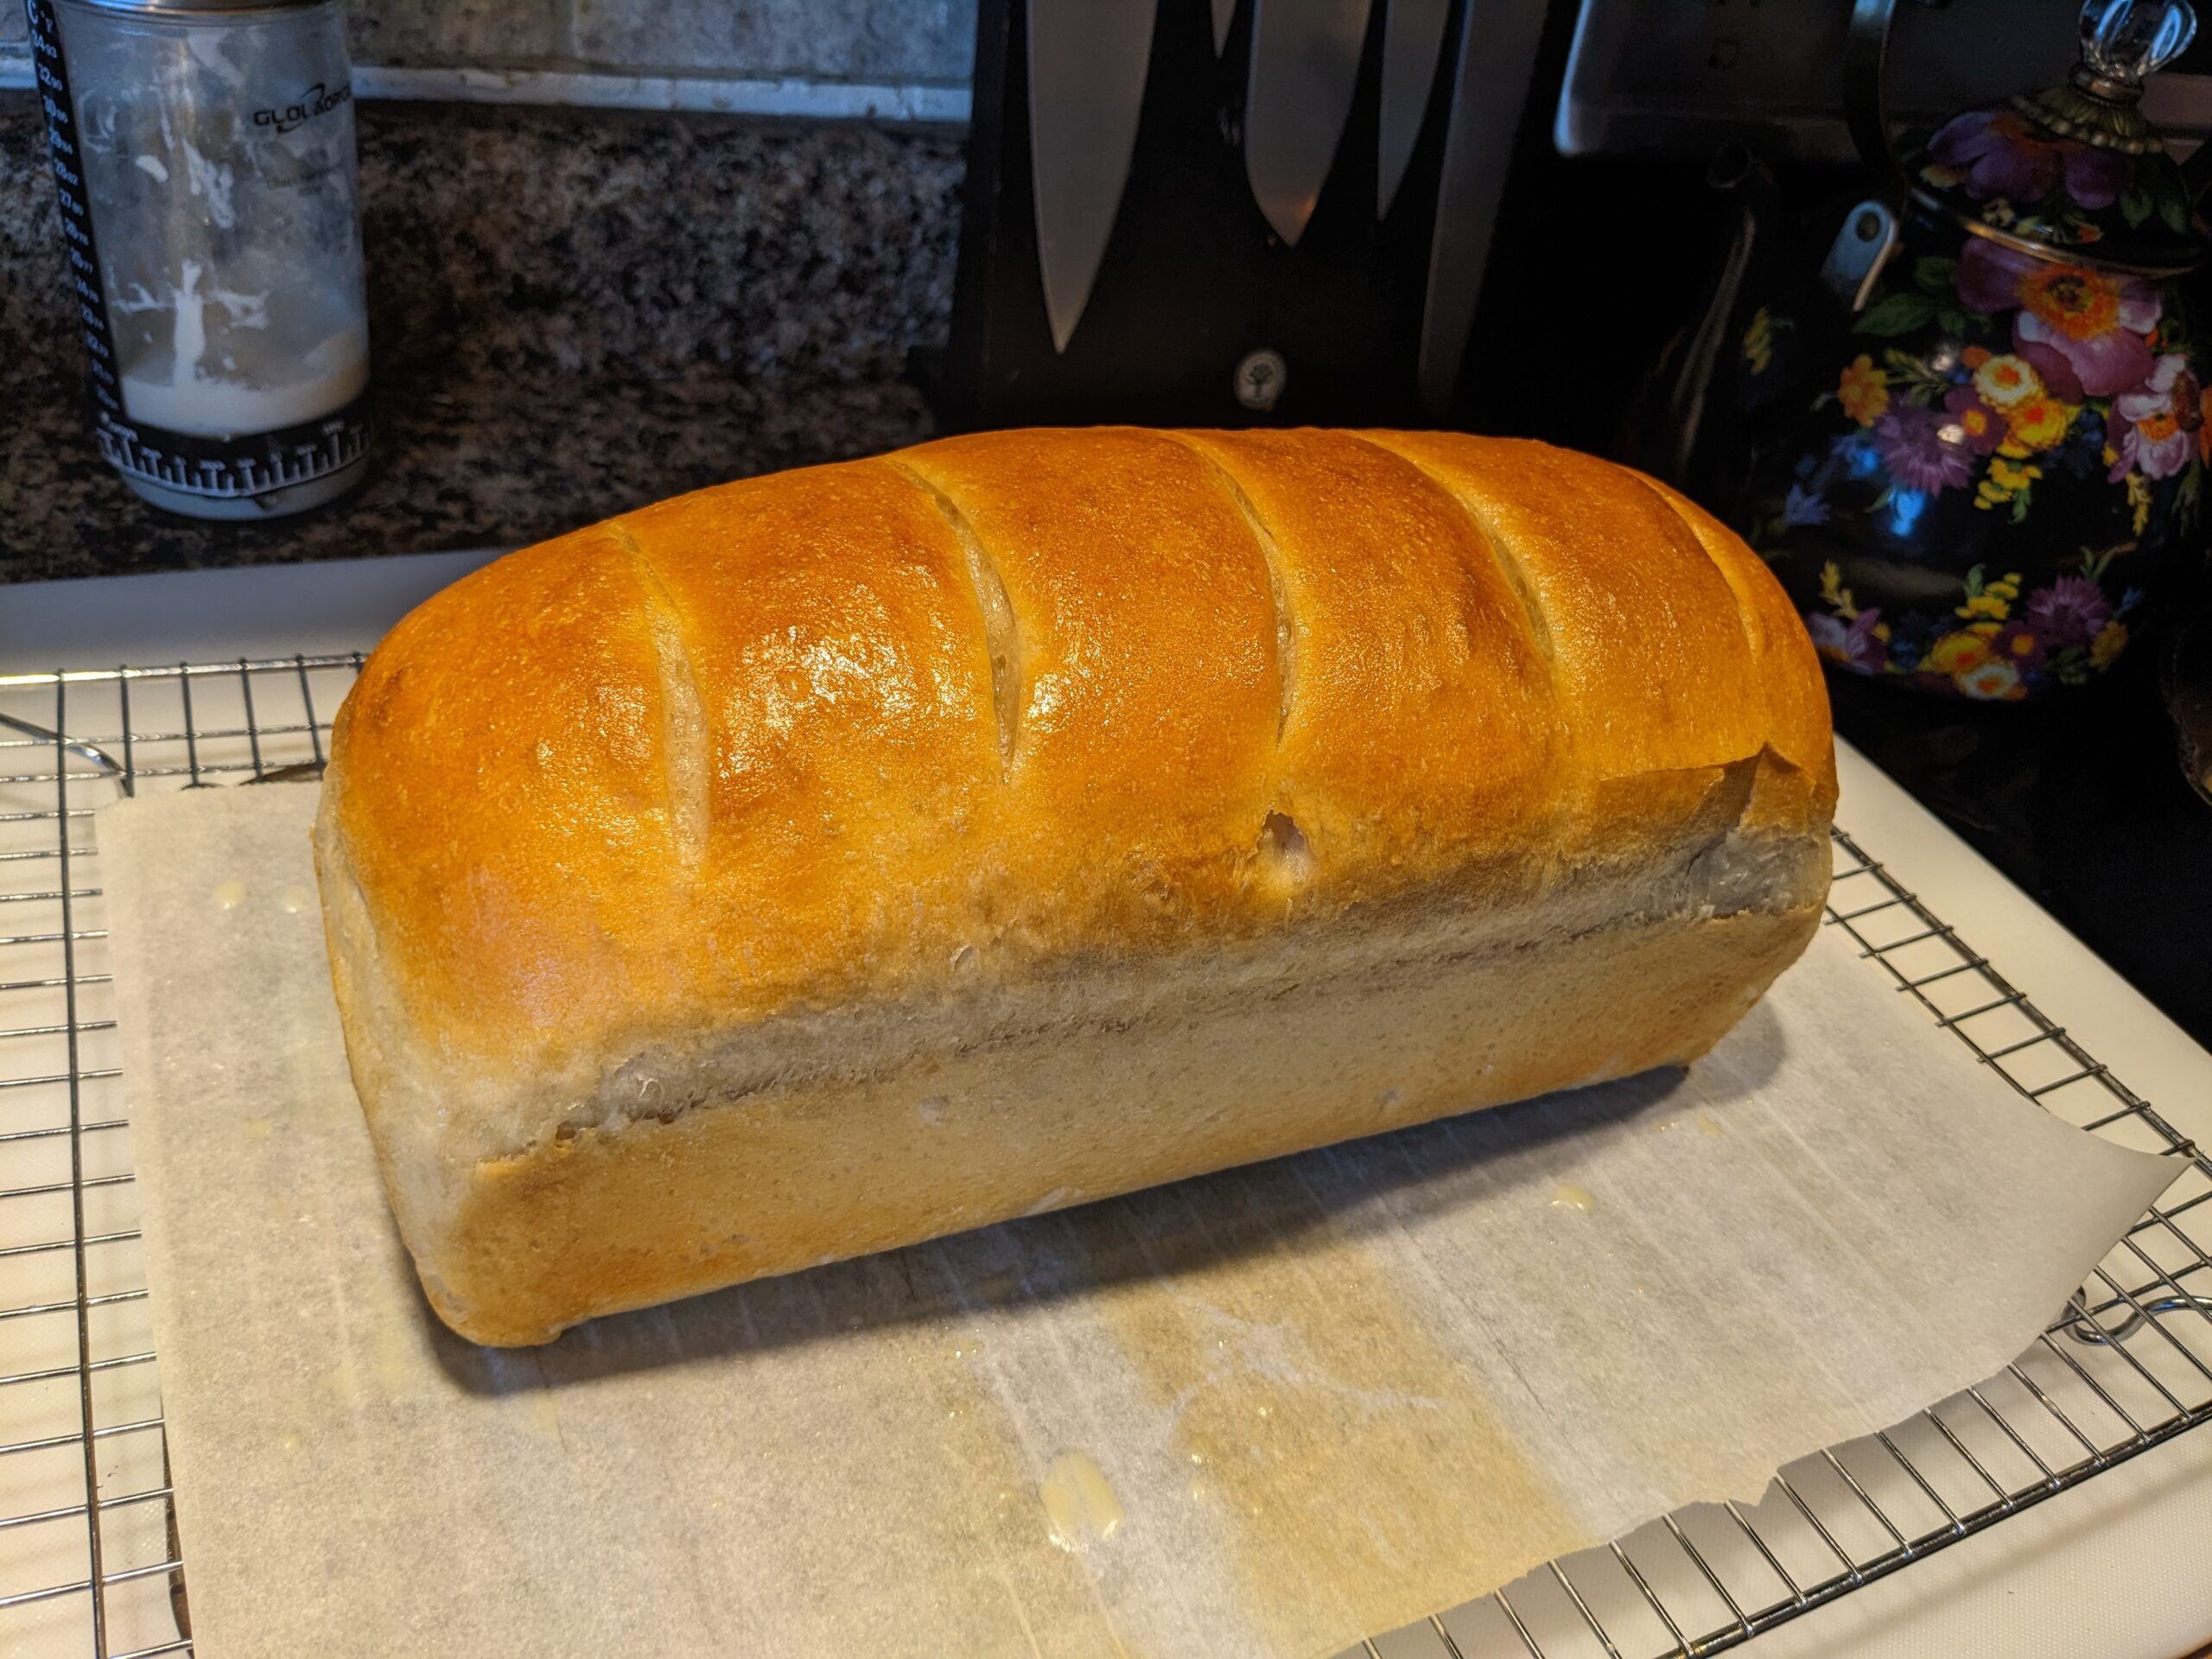
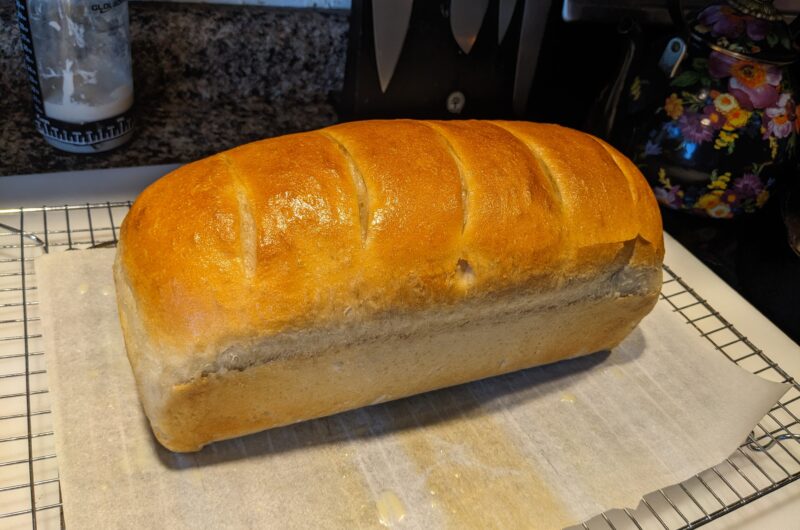
If you’ve always wanted to make an easy homemade sourdough sandwich bread but thought it was too time-consuming or complicated, this easy one-day sourdough sandwich bread recipe is for you! With no stretch and folds required, it’s a simple, hands-off process that you can complete in just one day. The result is a soft, flavorful bread with that signature sourdough tang—perfect for sandwiches or enjoying on its own. Whether you’re new to sourdough or an experienced baker, this recipe will quickly become a go-to in your kitchen. Let’s get started!
Jump to RecipeWhy I Add an Egg to This Sourdough Sandwich Bread Recipe
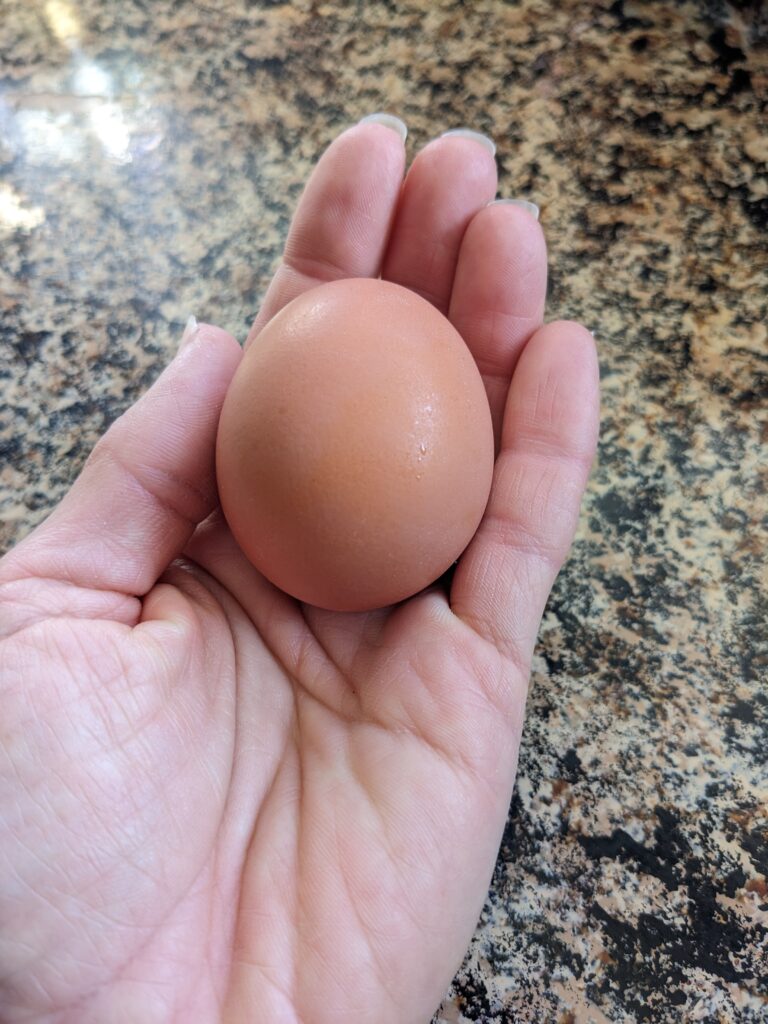
I recently made sourdough discard hamburger buns, and I was thrilled with how soft and tender they turned out. The texture was exactly what I envision when I think of perfect homemade bread—light, fluffy, and a little bit rich. My family has always been used to the soft, airy texture of store-bought bread, which tends to have that perfect lightness and fluffiness. However, whenever I made homemade sandwich bread in the past, it often came out a bit denser and drier than what we were accustomed to. This has been a bit of a challenge for me, as I wanted to create a recipe that could replicate that familiar, soft, and fluffy texture without sacrificing the homemade quality. This particular hamburger bun recipe called for an egg, which piqued my curiosity. So, I decided to look into why some bread recipes include eggs and what role they play in the dough. Here’s what I found out:
Egg Facts
First, lets start with the nutritional facts about eggs. Eggs are mini super foods, packed with protein and vitamins. Eggs contain 6 grams of protein and 5 grams of fat, most of which is in the yoke itself. The vitamins they contain include Vitamin A: 6% of the Daily Value (DV)Vitamin D: 10% of the DV Vitamin B12: 9% of the DV Riboflavin (B2): 15% of the DV Folate: 5% of the DV Phosphorus: 10% of the DV Selenium: 22% of the DV Iron: 4% of the DV. Pretty impressive for a tiny little egg!
How an egg affects bread
An egg adds depth of flavor, improving texture, and enhancing the crust. The fat in the yolk behaves similarly to other fats added to bread dough, such as butter or oil. It weakens gluten formation, which results in a softer, looser dough that puffs up beautifully during baking, creating an airy, light crumb. Meanwhile, the egg whites act as a coagulant, helping to create a more even crumb structure with a springy texture. The proteins in the whites also contribute to the bread’s overall structure. The presence of eggs also encourages caramelization, giving the bread’s crust a rich, golden color, but be sure to bake it at a slightly lower temperature to avoid over-browning. Additionally, eggs can help extend the shelf life of the bread by slightly lowering the pH. All in all, eggs elevate this bread, making it soft, flavorful, and perfectly balanced.
An Egg in Sourdough
Sourdough bread requires a higher protein content because the natural fermentation process breaks down gluten over time. To compensate for this, a higher protein flour is necessary to build a strong gluten network that can hold the gas bubbles produced during fermentation. This helps the dough rise properly and gives the bread its desirable chewy texture. Essentially, the added protein helps counteract the gluten breakdown caused by the long fermentation process.
Adding an egg to sourdough recipe can further enhance the bread’s texture by providing extra protein. The egg helps strengthen the gluten network, resulting in a more robust and well-structured loaf. This improves the bread’s rise and chewiness, making it more resilient to the extended fermentation times that are characteristic of sourdough baking. The result is a perfectly balanced loaf with the right amount of structure and extra softness.
“This post contains affiliate links to Amazon. If you click on a link and make a purchase, I may earn a small commission at no extra cost to you. This helps support the work I do in creating and sharing recipes. Thank you for your support!”
Lets get to baking! How to Make Homemade Sourdough Sandwich Bread
Step 1: Mix the Dough
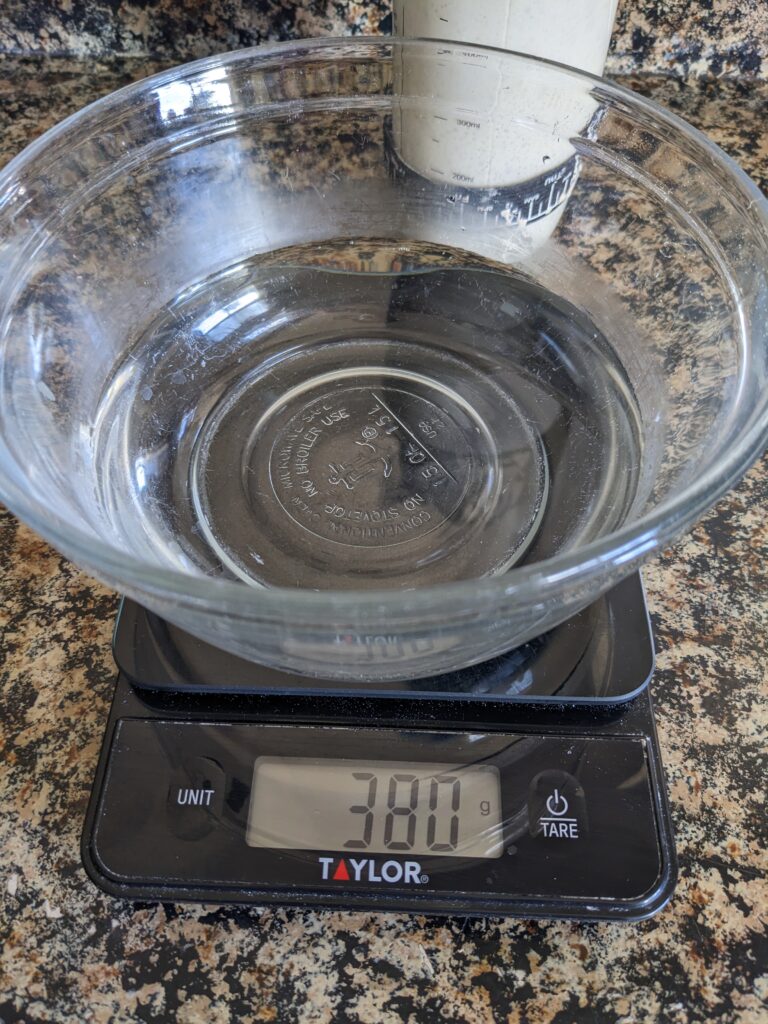
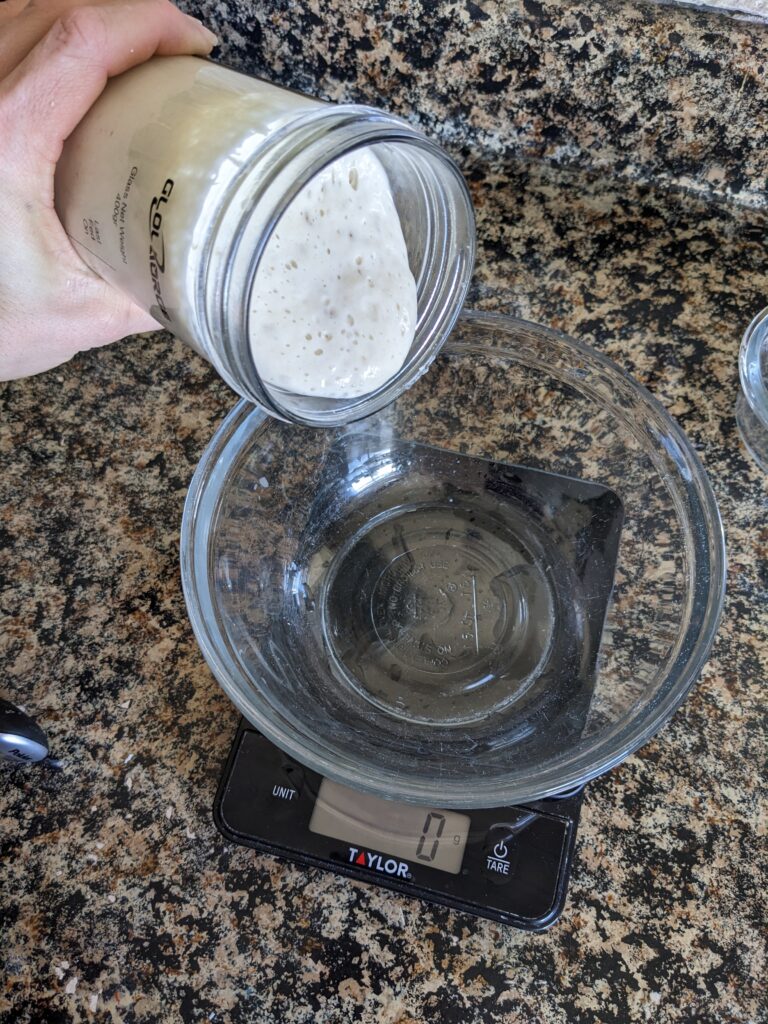
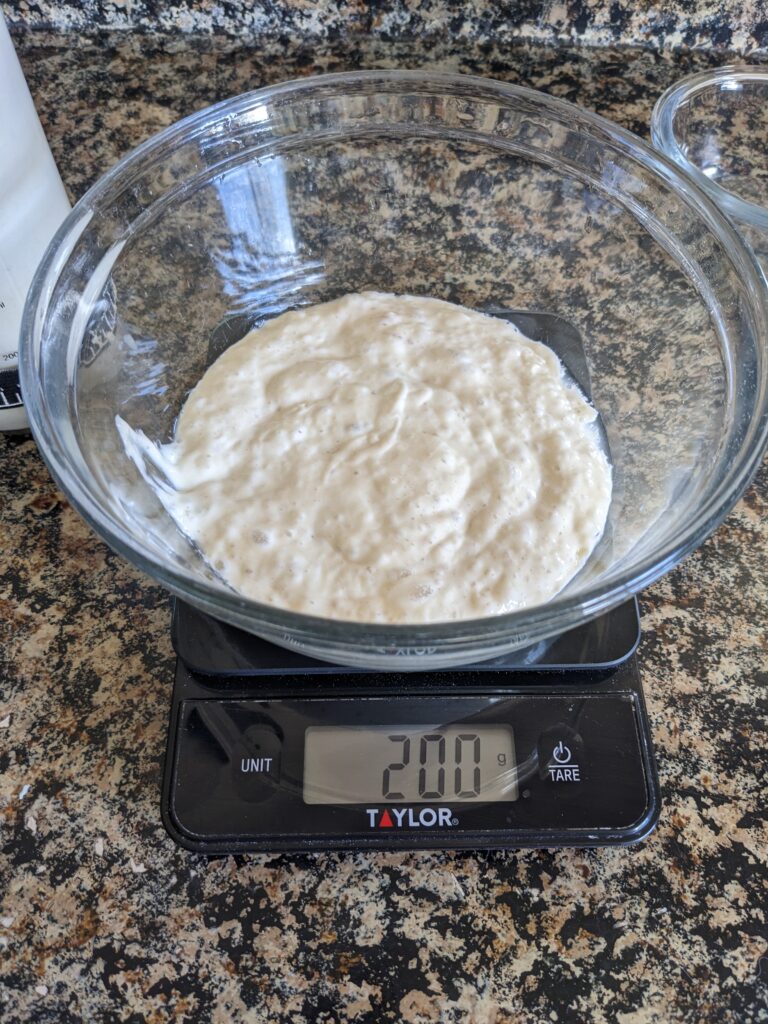
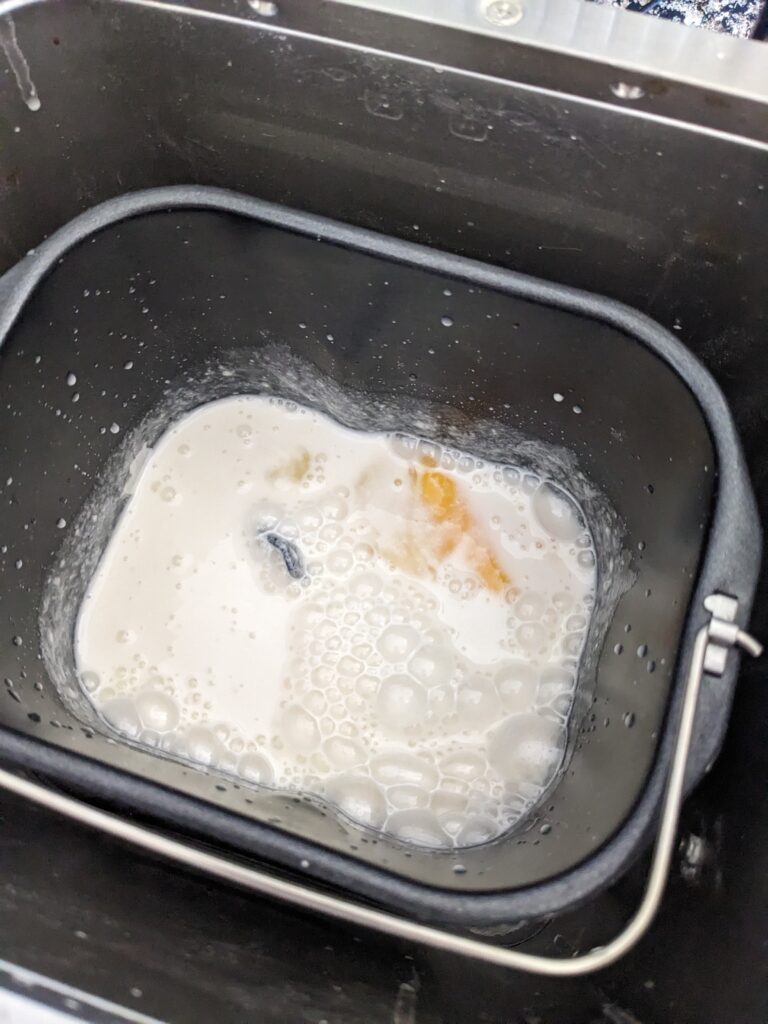
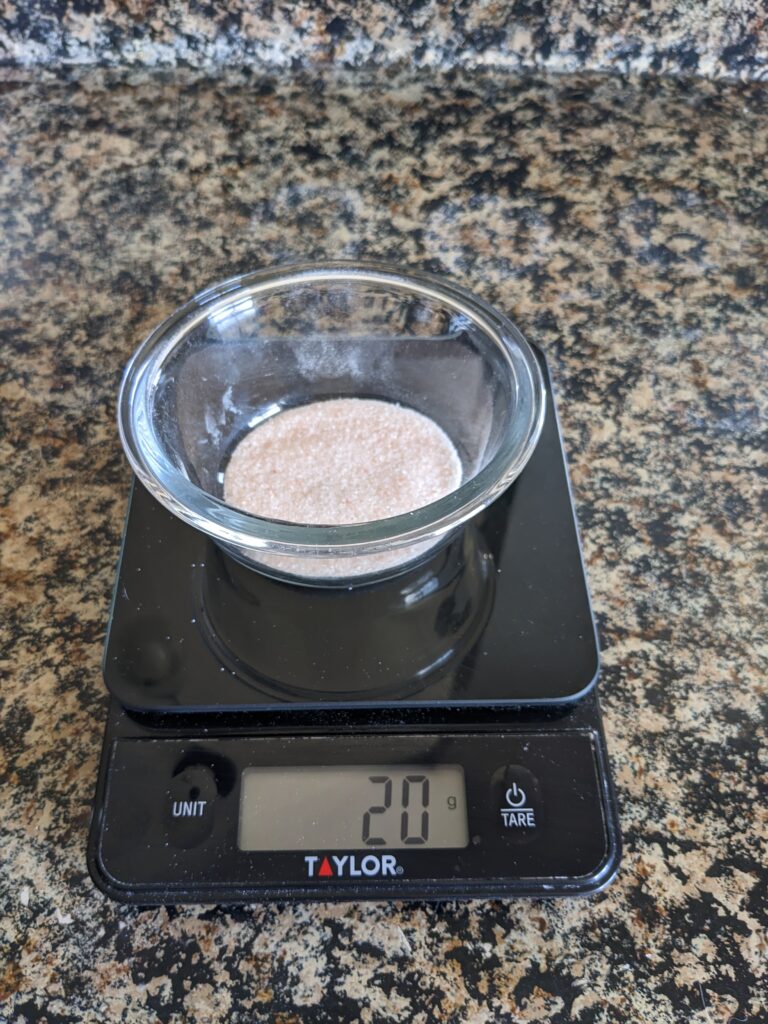
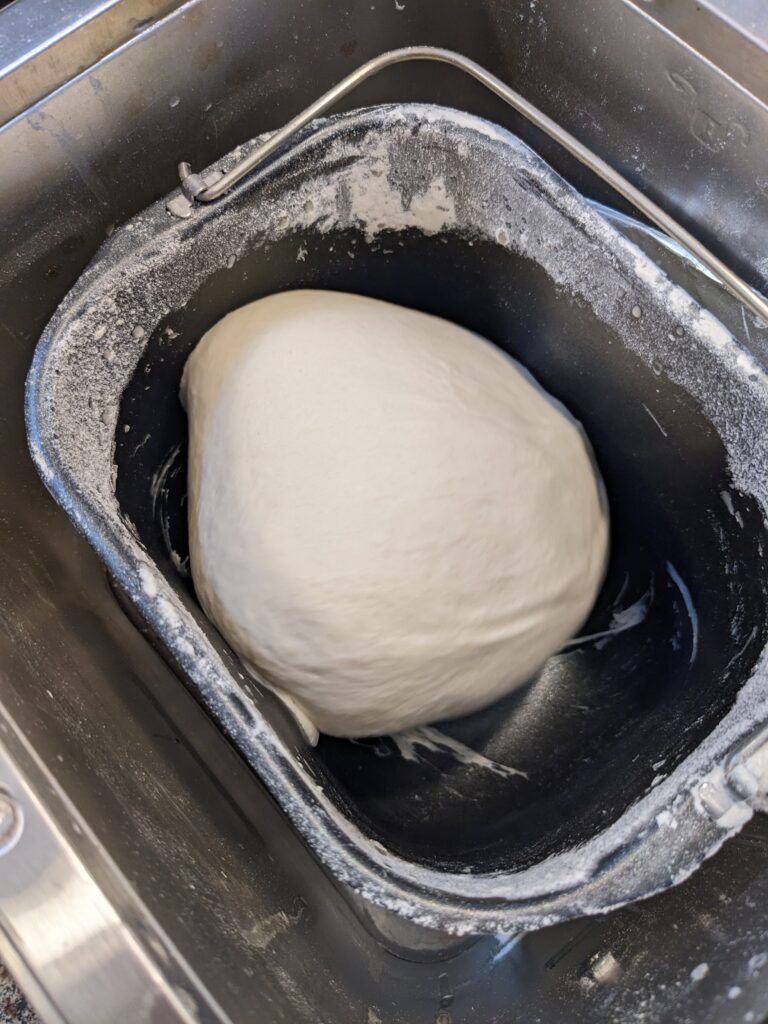
Start by adding 380 grams of warm water into the bowl of a stand mixer (or a large mixing bowl if you’re doing it by hand). I like to use my bread machine for mixing and kneading—it’s so convenient! Add 200 grams of active sourdough starter to the water and mix until fully incorporated. Next, stir in 30 grams of sugar (or honey), one room-temperature egg, and 20 grams of salt. Add 20 grams of softened unsalted butter—make sure it’s soft so it blends easily into the dough. A kitchen scale is an important tool when working with sourdough recipes as most ingredients are in “grams” rather than cups, or spoons. Here’s the one I use (Amazon).
Now, it’s time for the flour. I recommend using bread flour because its higher protein content is perfect for sourdough. More protein means better gluten development, and that makes for a better loaf! Start by adding 3 cups of bread flour, mixing until no dry flour remains. Then, add one more cup at a time until the dough comes together. The exact amount of flour will vary depending on your starter’s moisture and the type of flour, but expect to use about 5-6 cups in total.
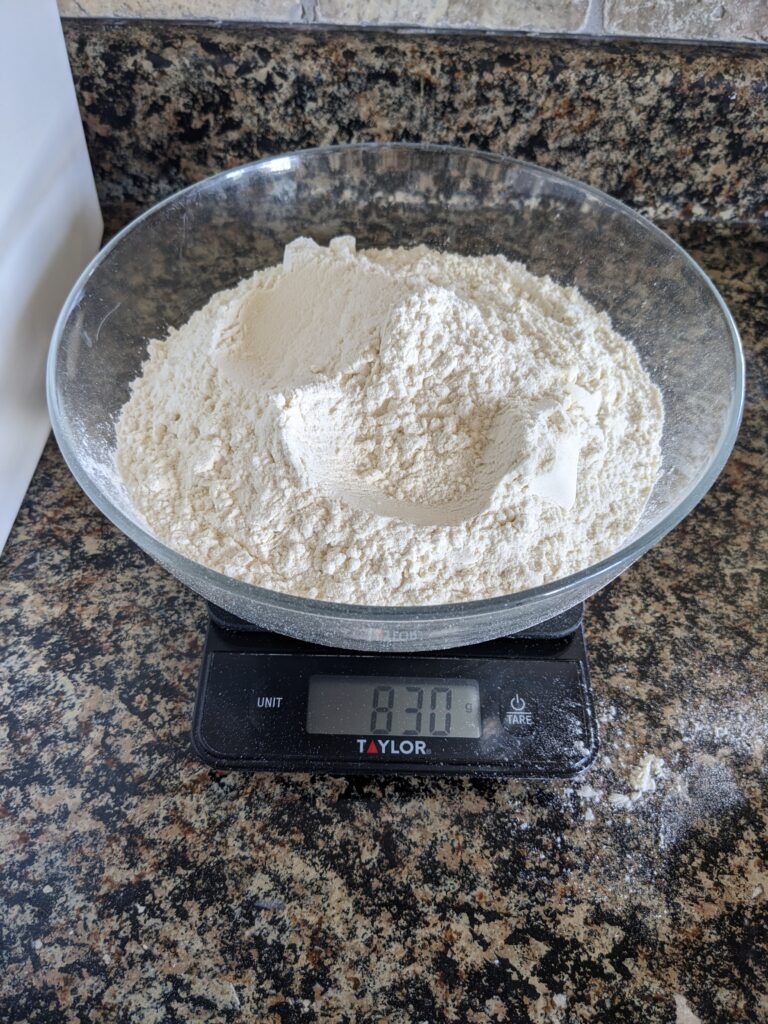
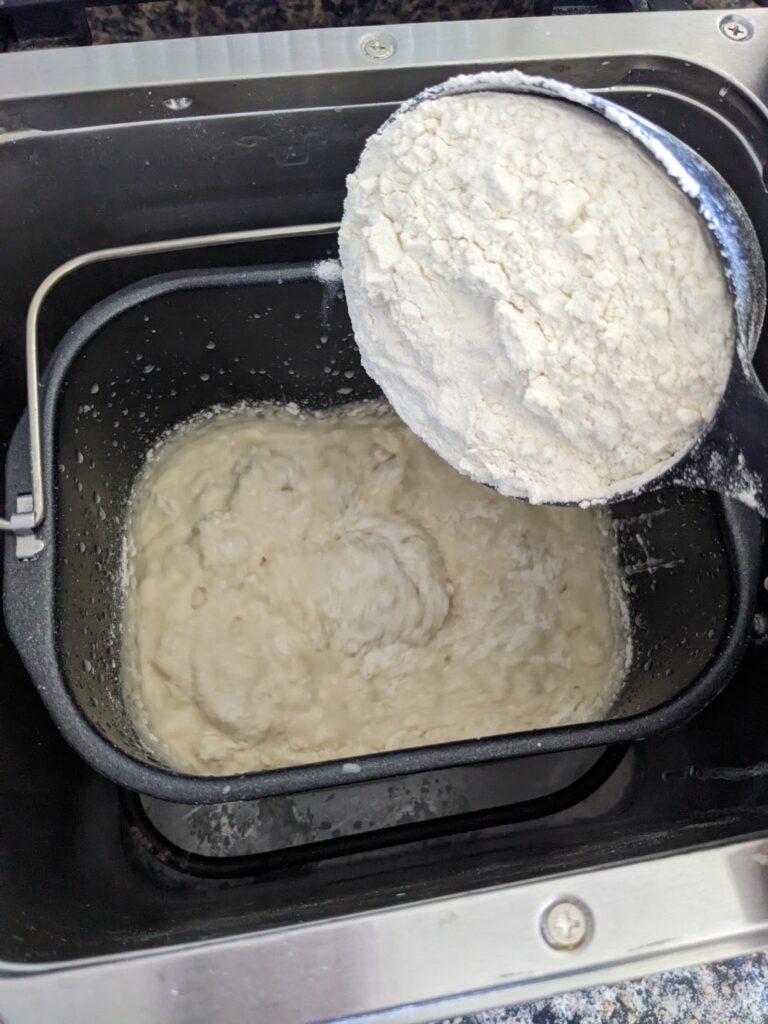
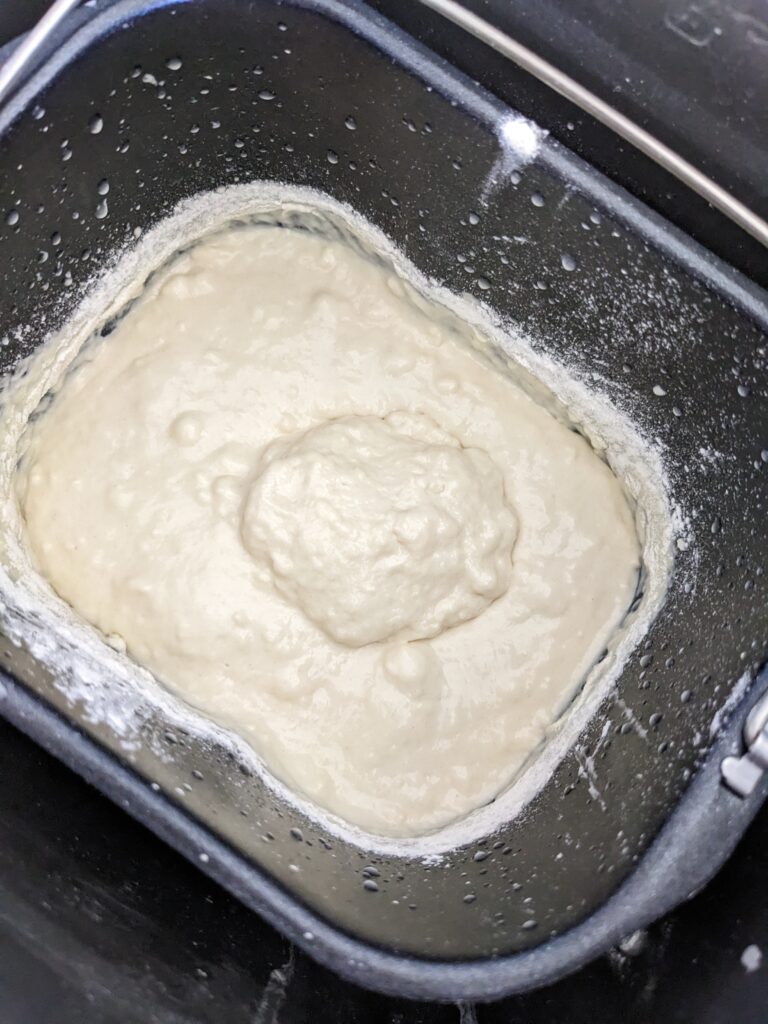
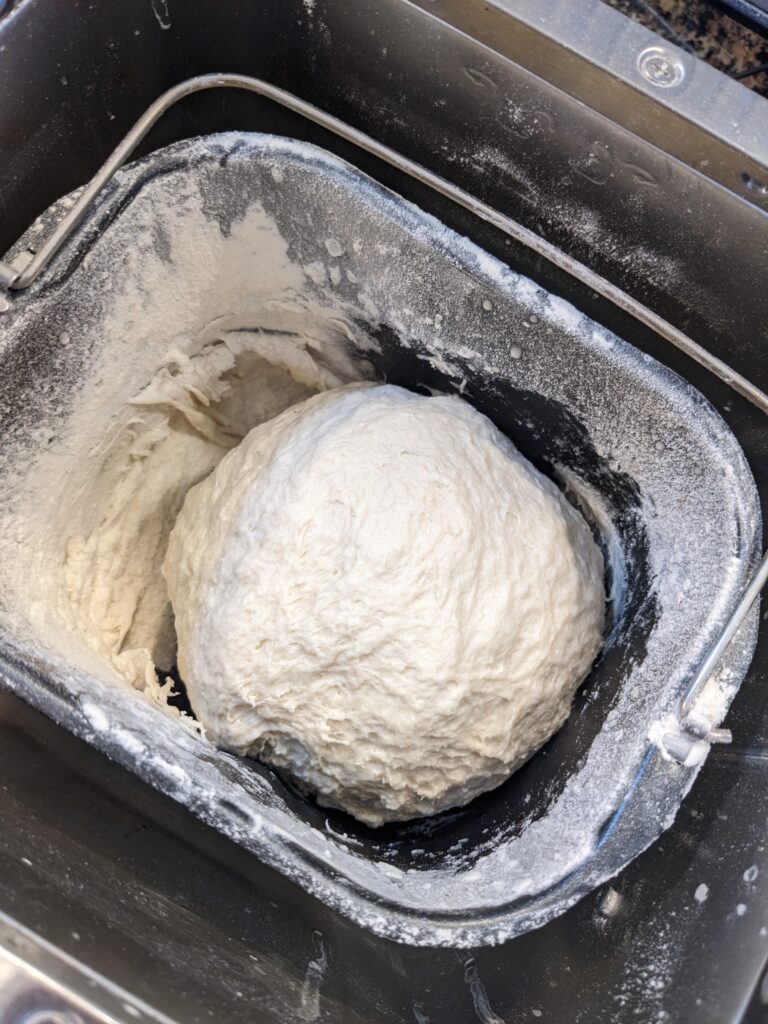
Be careful not to add too much flour—the dough should form a ball, but still feel slightly sticky and not dry.
If you’re using a bread machine, my machine has a “mix” setting that kneads the dough for 20 minutes. After that, I check the dough and run another 20-minute kneading cycle, totaling 40 minutes of kneading. Kneading is crucial for developing the dough’s texture, so don’t rush this step!
Step 2: First Rise
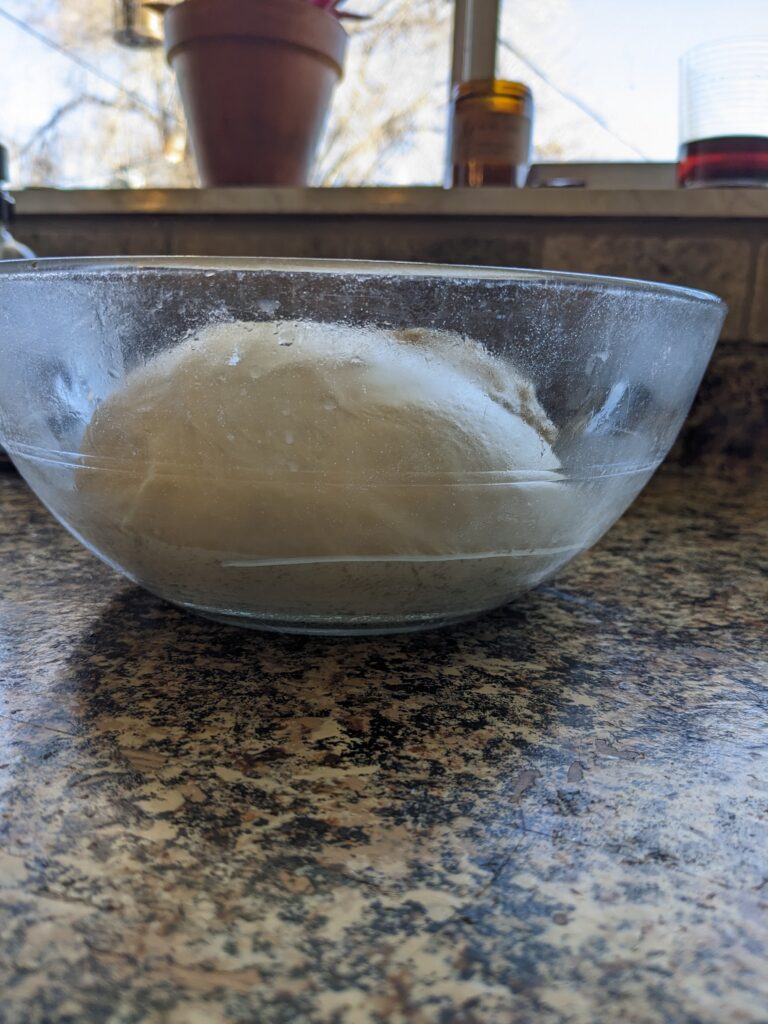
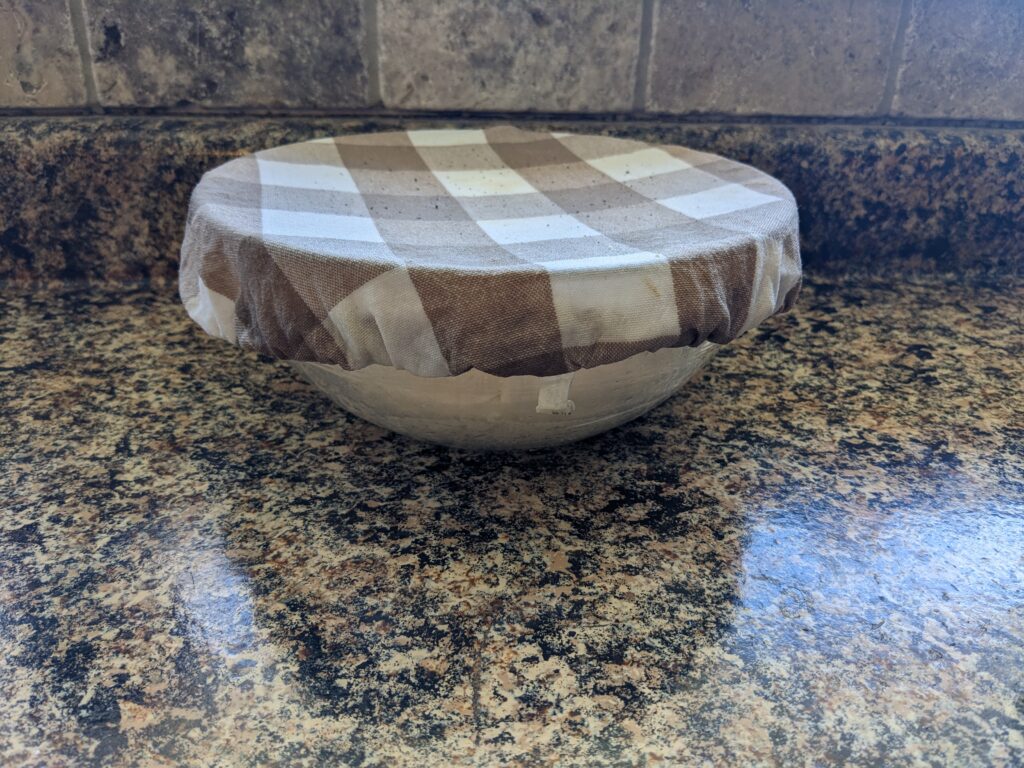
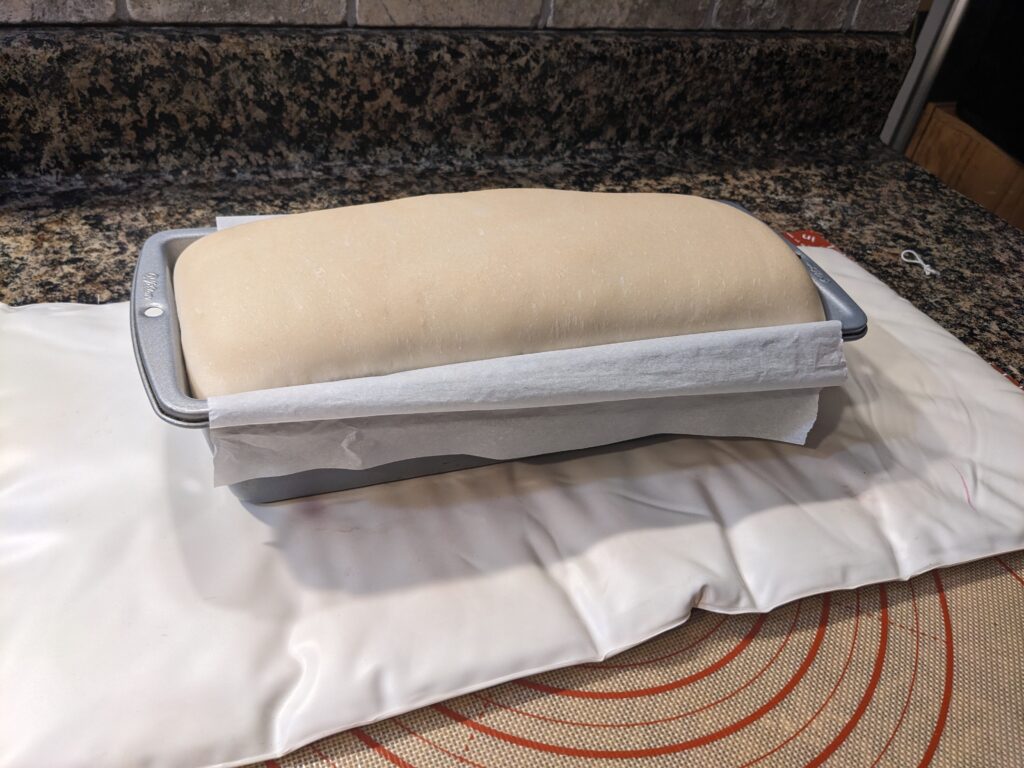
Once kneading is complete, transfer your dough to a clear glass bowl and cover it with a damp towel or bowl cover. I love using these elastic-edged covers (Amazon), but a regular kitchen towel works fine too. You can mark the side of the bowl with a washable marker to track when the dough has doubled in size. This will vary depending on your kitchen temperature. If you’re in a hurry or your house is cool, use a heating pad on the lowest setting to speed up the rise.
Step 3: Shape the Dough
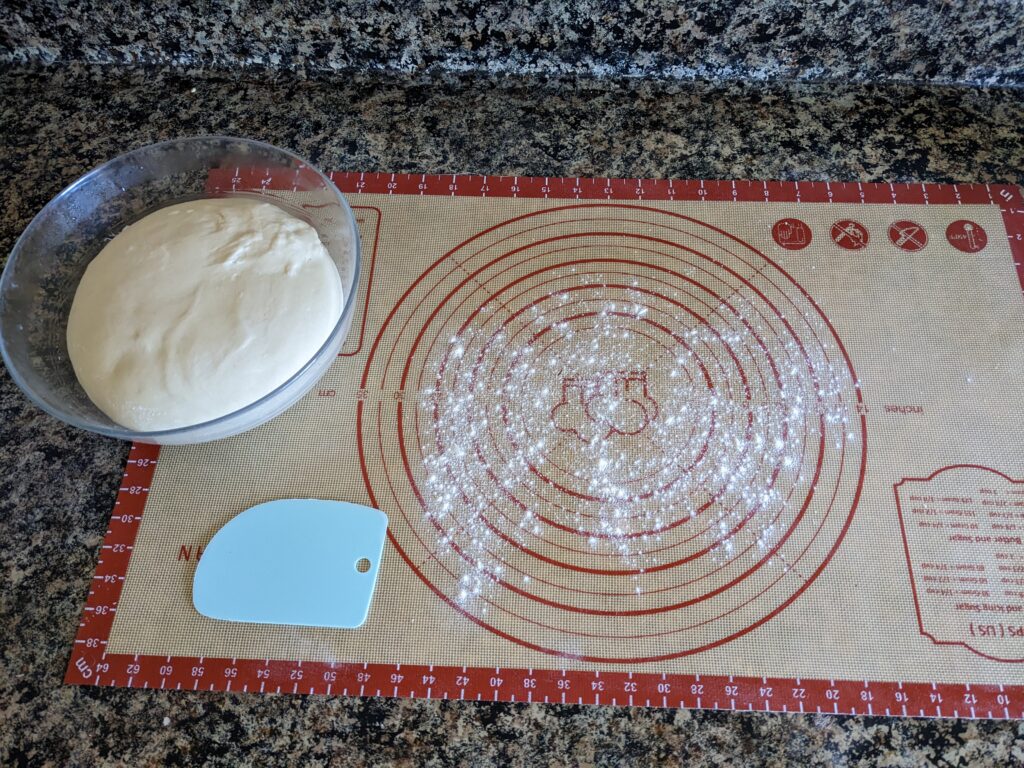
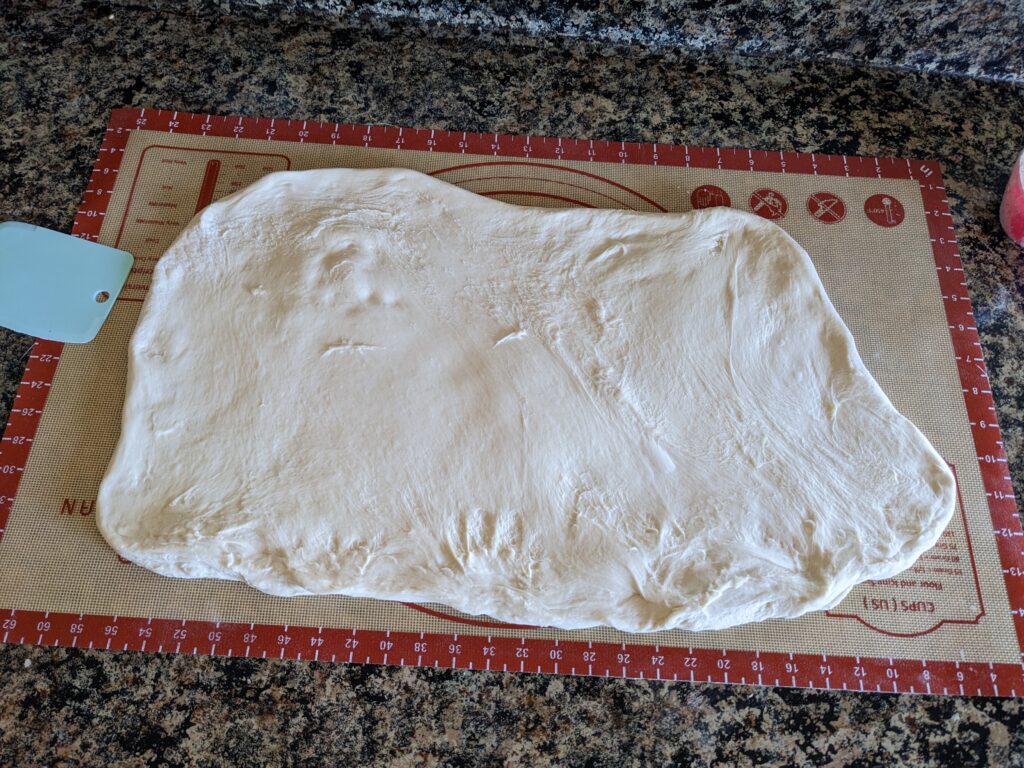
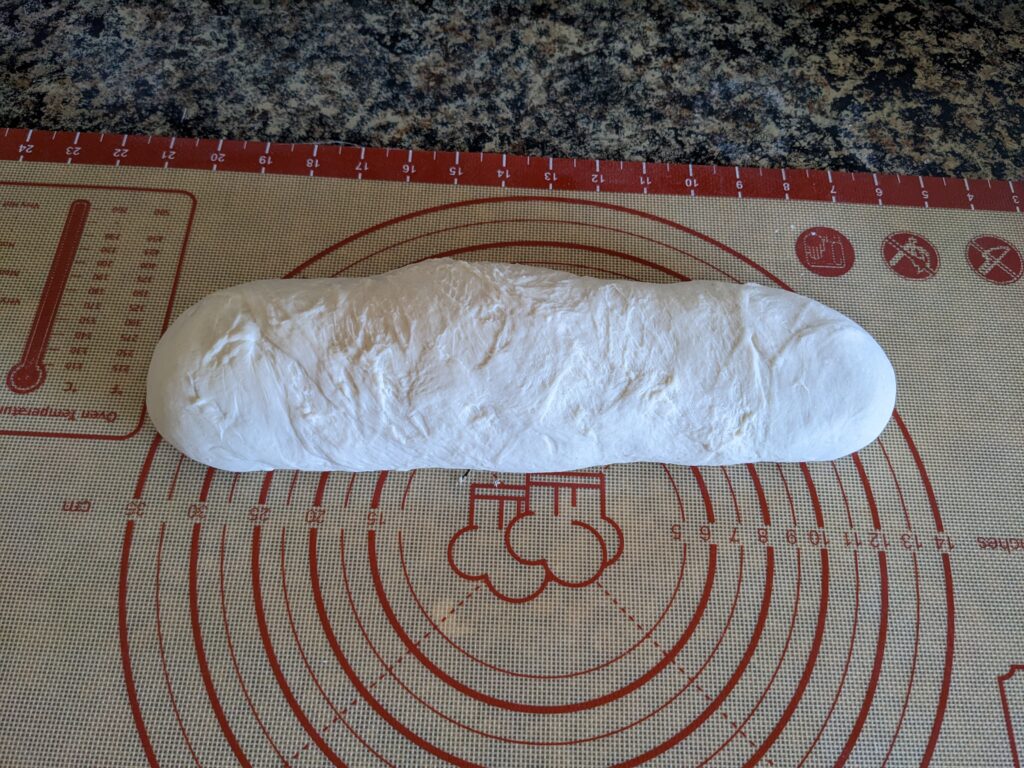
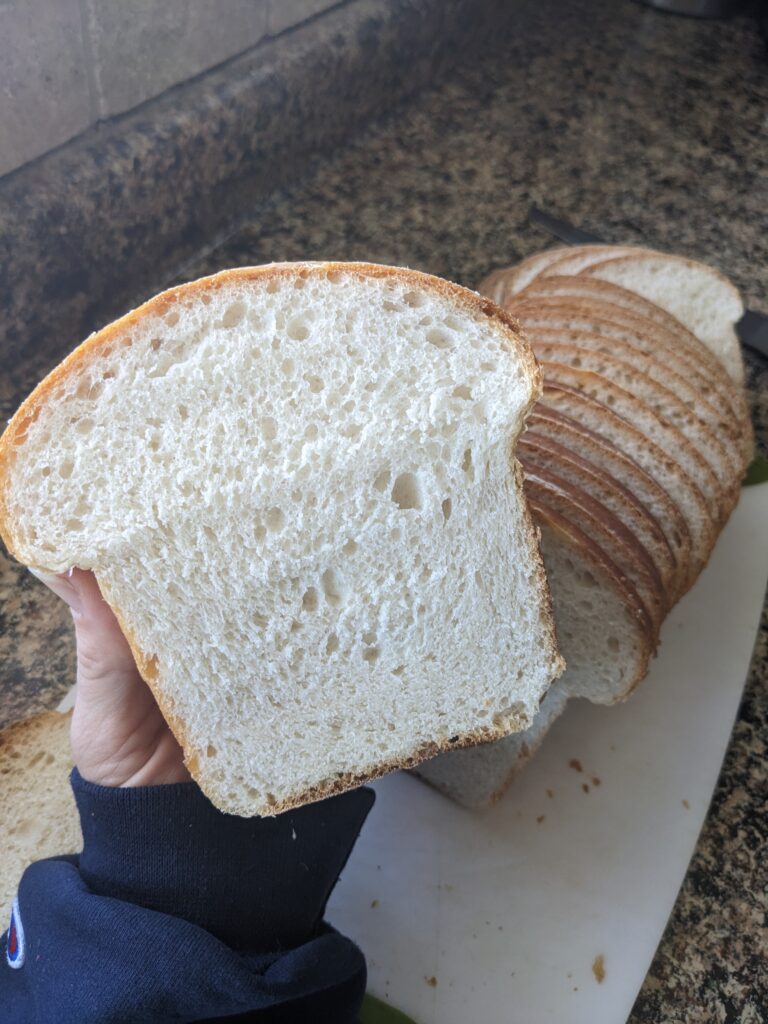
When your dough has doubled in size, turn it out onto a lightly floured surface. I recommend using a bowl scraper to get every last bit of dough from the bowl. Now it’s time to shape the loaf. Stretch the dough into a large rectangle. If you don’t like big holes in your sandwich bread (like me!), pop any large air bubbles. Then, like rolling up a cinnamon roll, roll the dough from the long side. Once you’ve rolled it up, pinch in the seam and tuck in the ends. This tension helps trap air inside, giving the bread an even rise. I love to use this dough mat (Amazon). It makes for a quick and easy clean up!
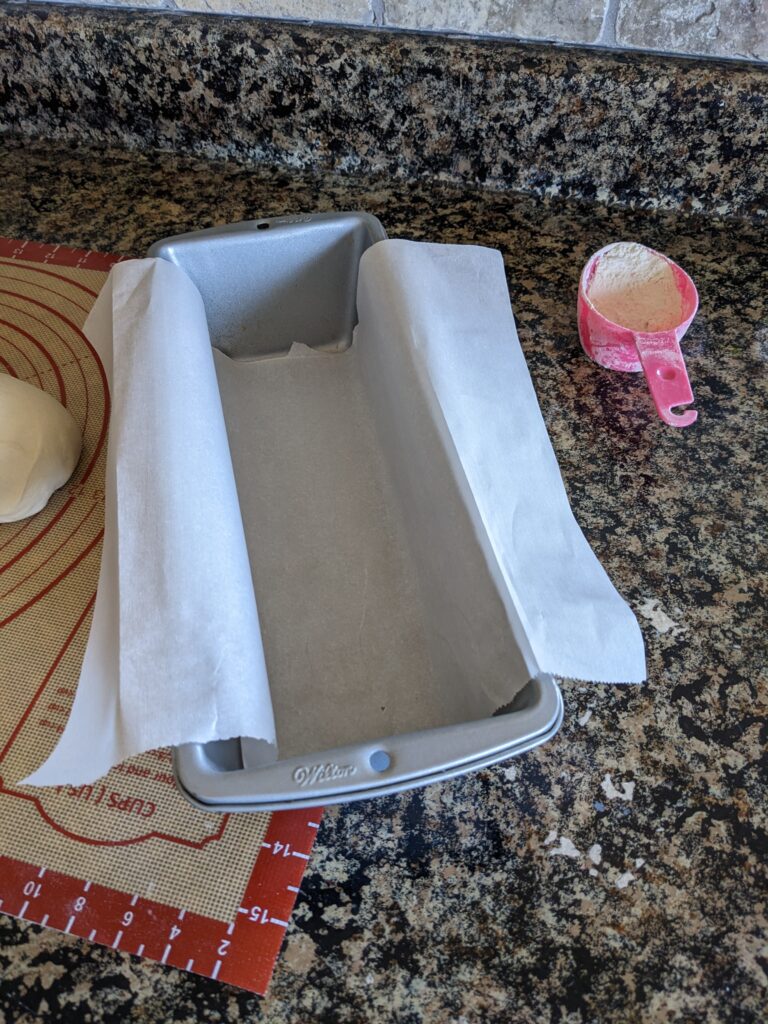
Place the shaped dough seam-side down in a loaf pan. This recipe makes a large loaf, so use a big 13” x 5” pan (Amazon)like this one. If you prefer smaller loaves, you can divide the dough in half before shaping. For easy removal, I line the bottom of the pan with parchment paper, leaving extra to lift the loaf out once it’s baked. Cover the pan and let the dough rise again in a warm spot.
Step 4: Second Rise
Let the dough rise until it’s just above the top of the loaf pan. Again, the rise time depends on your home’s temperature. If needed, use a heating pad to speed things up.
Step 5: Preheat and Score the Dough
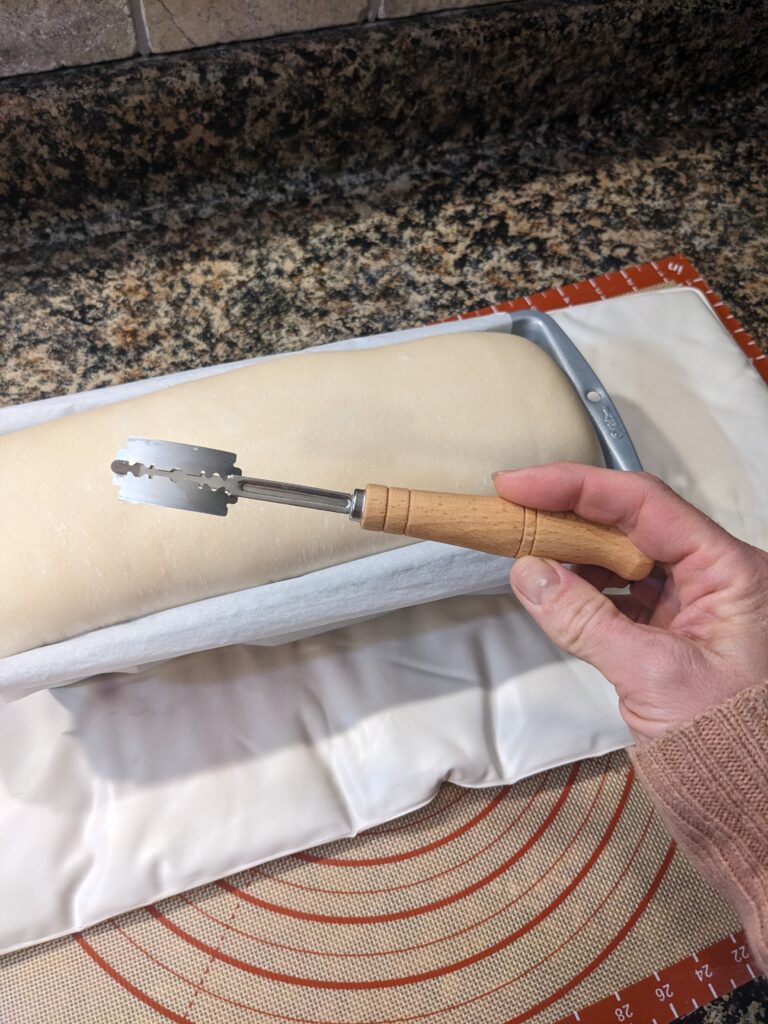
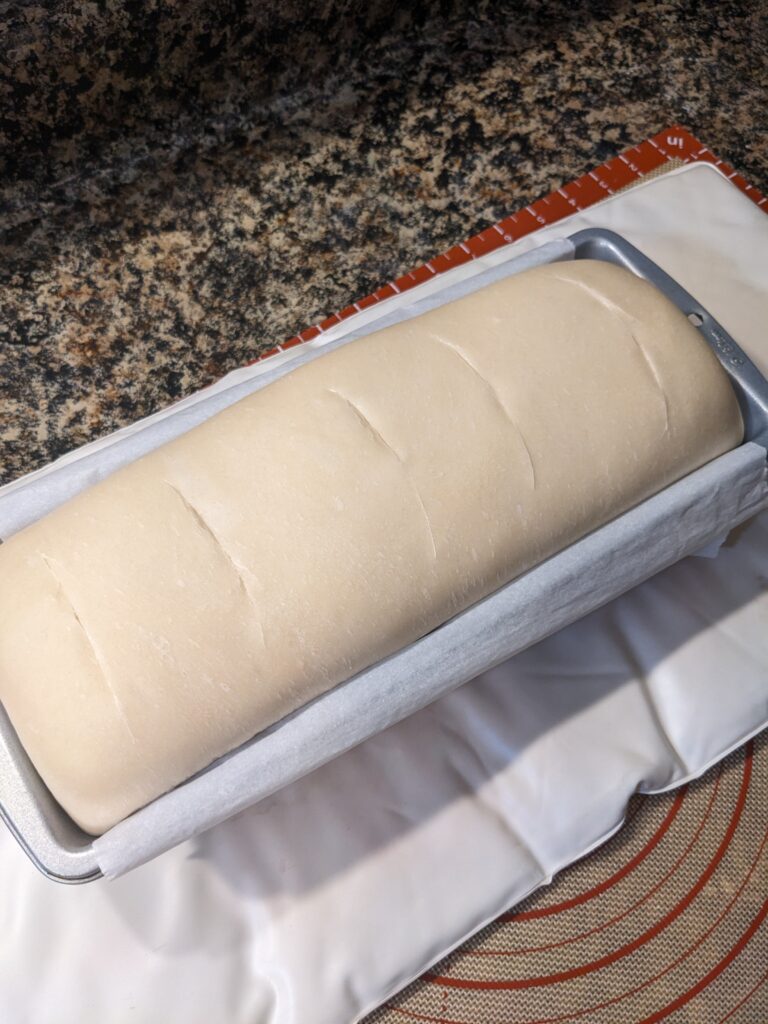
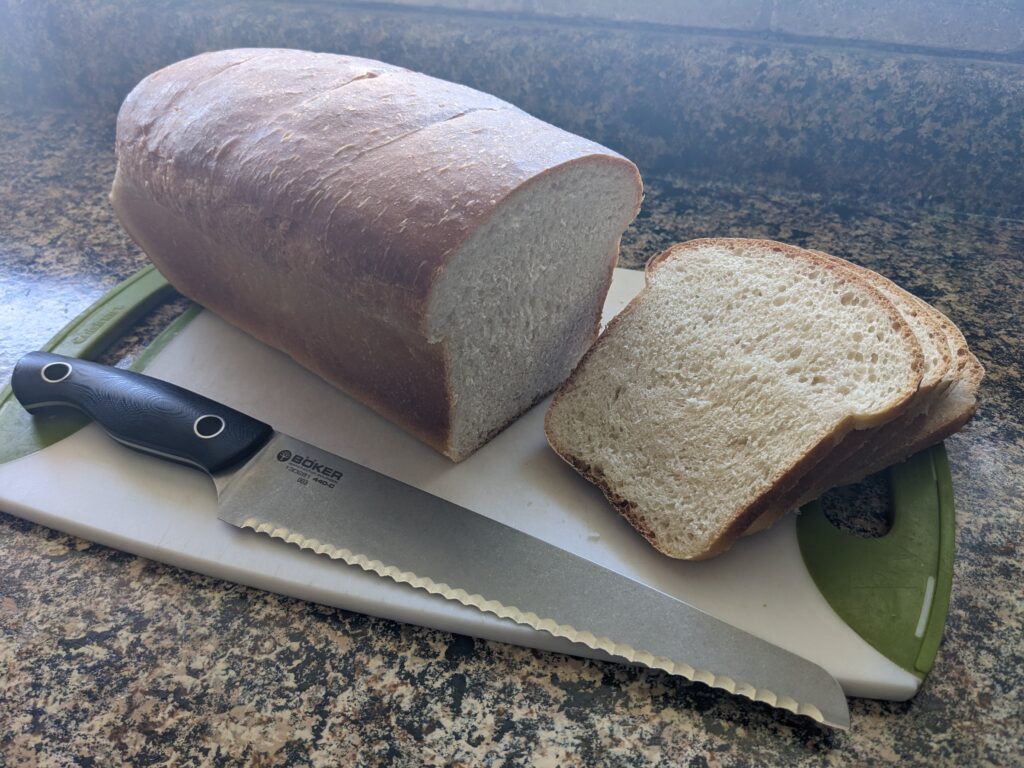
Once the dough has risen enough, preheat your oven to 375°F (190°C). Use a sharp knife or scoring tool (Amazon) to make a few shallow slices along the top of the loaf. Scoring is optional, but it helps control where the bread expands during baking, resulting in a more even rise and a nice, professional look. Without scoring, the loaf might burst unevenly.
Step 6: Bake
Place the loaf in the center of your preheated oven and bake for 25-35 minutes. You want the bread’s internal temperature to reach about 195°F (90°C). Around the last 10 minutes, I like to monitor the temperature with a meat thermometer to make sure it’s fully cooked through.
Step 7: Finish and Cool
In the final minutes of baking, melt 1-2 tablespoons of salted butter (unsalted works too!). Once your bread reaches 195°F, remove it from the oven and lift it out of the pan using the parchment paper. Set it on a cooling rack (keeping the parchment underneath for easy cleanup). Brush the melted butter over the warm loaf to keep the crust soft and chewy.
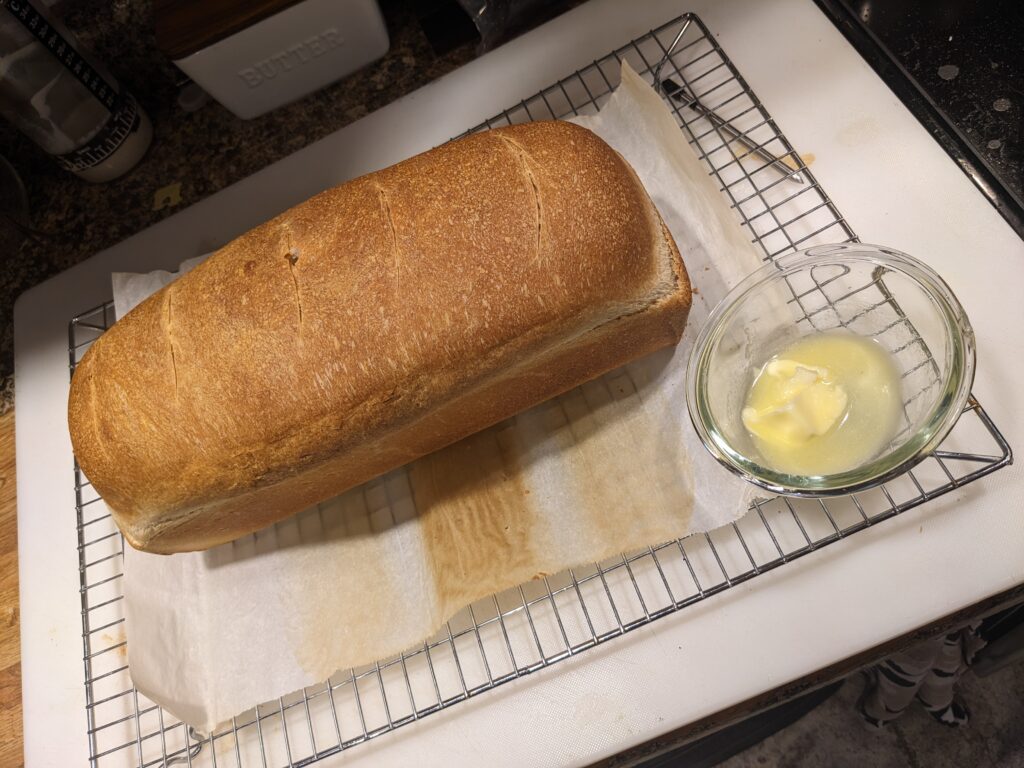
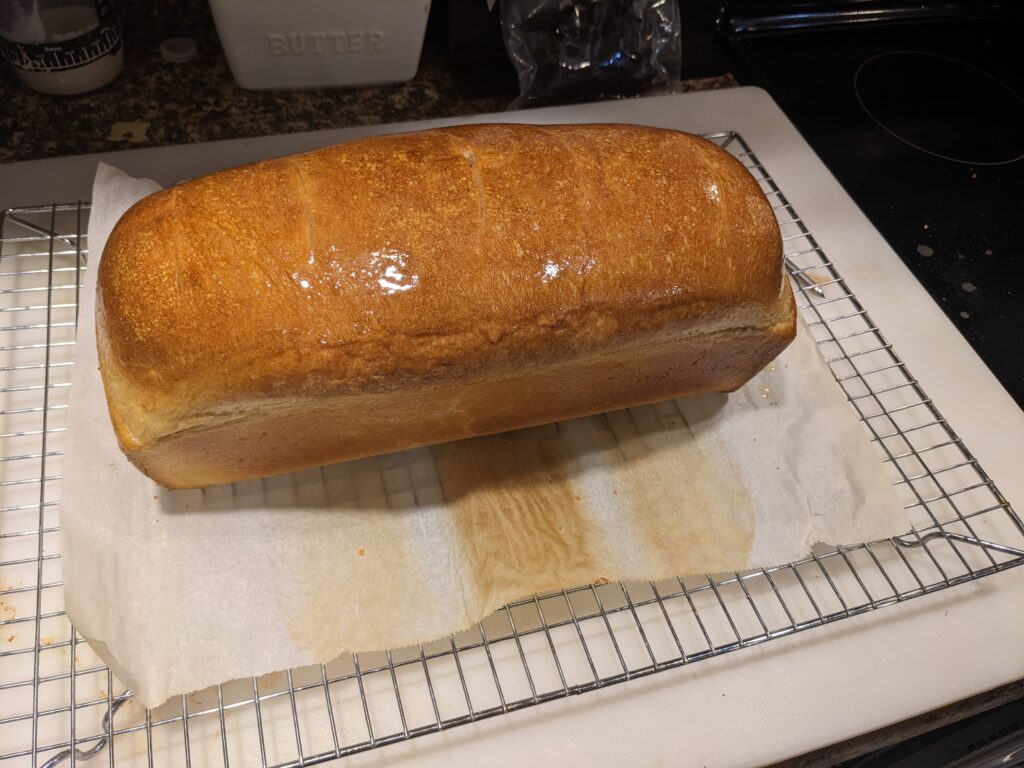
Let the bread cool completely before slicing. I know it’s tempting to dig in right away—the smell is irresistible! But letting the bread cool fully allows the moisture to redistribute, resulting in a perfectly sliceable crumb without any gummy texture.
Enjoy Your Homemade Sourdough!
This loaf has a very mild sourdough flavor, thanks to the lack of a long fermentation process, but it’s still wonderfully tangy. It also freezes beautifully! I like to make and slice a few loaves ahead of time and store them in the freezer. And let’s be real—sourdough makes the best grilled cheese sandwiches!
I hope you give this recipe a try—happy baking!
Easy One-Day Sourdough Sandwich Bread Recipe
Course: RecipesCuisine: American16
servings30
minutes30
minutes230
kcalIngredients
380 grams warm water
200 grams active sourdough starter
1 egg room temperature
30 grams sugar or honey
25 grams unsalted softened butter
20 grams salt
830 grams bread flour
1-2 tablespoons salted butter, melted for brushing after baking
Directions
- Mix Dough: In a stand mixer or large bowl, combine warm water and sourdough starter. Stir in sugar, egg, salt, and softened butter. Slowly add bread flour, mixing until dough forms a ball. (About 5-6 cups of flour total, depending on moisture.)
- Knead: Knead dough (use a stand mixer with a dough hook, bread machine or knead by hand). The dough should be smooth, slightly sticky, and elastic.
- First Rise: Transfer dough to a greased bowl. Cover with a damp towel and let rise until doubled in size (1-2 hours, depending on room temperature).
- Shape: Turn dough onto a floured surface, flatten into a rectangle, and roll tightly. Place dough seam-side down into a greased or parchment-lined loaf pan.
- Second Rise: Let dough rise in the pan until it’s slightly above the rim (about 1 hour).
- Bake: Preheat oven to 375°F (190°C). Score the top of the loaf with a sharp knife. Bake for 25-35 minutes, or until the internal temperature reaches 195°F (90°C).
- Finish: Brush loaf with melted butter. Cool completely before slicing.
Notes
- Make sure you use warm water between 90-100 degrees.
- The total time to make this bread is between 5-8 hours depending on the rise time. I usually start this recipe in the morning as I am making breakfast (between 9-10am) and finish baking it after dinner (between 7-8pm)
- To freeze the bread loaf I usually pre-slice the bread then double bag it. Unfortunately the entire loaf will not fit in a Ziplock freezer bag unless you split it up. I like to keep those large produce bags from the grocery story and place the sliced loaf in that bag then into a second old grocery bread bag with a twisty tie.

