When starting your own seedlings, it’s common practice to sow more than one seed in each pot to ensure that at least one will germinate. With tomatoes, I intentionally sow several seeds in each pot. This not only saves space but also eliminates the need for re-sowing in case some seeds don’t germinate. As I’m growing a lot of tomato plants (around 30), this method is efficient and practical.
 Once the tomatoes have germinated and grown their first true leaves, it’s time to separate them. At this stage, I carefully discard the weaker seedlings and up-pot the healthiest ones into their own individual pots. This is a crucial step in ensuring strong, healthy plants that will thrive when transplanted outdoors. In this post, I’ll walk you through the process of separating and up-potting tomato seedlings, step by step.
Step 1: When to Separate Seedlings
The ideal time to separate tomato seedlings is when they have developed their first true leaves and are large enough to handle. Typically, this occurs 3 to 4 weeks after sowing the seeds, though it can vary depending on your growing conditions and the tomato variety.
Here are a few key indicators that it’s time to separate your seedlings:
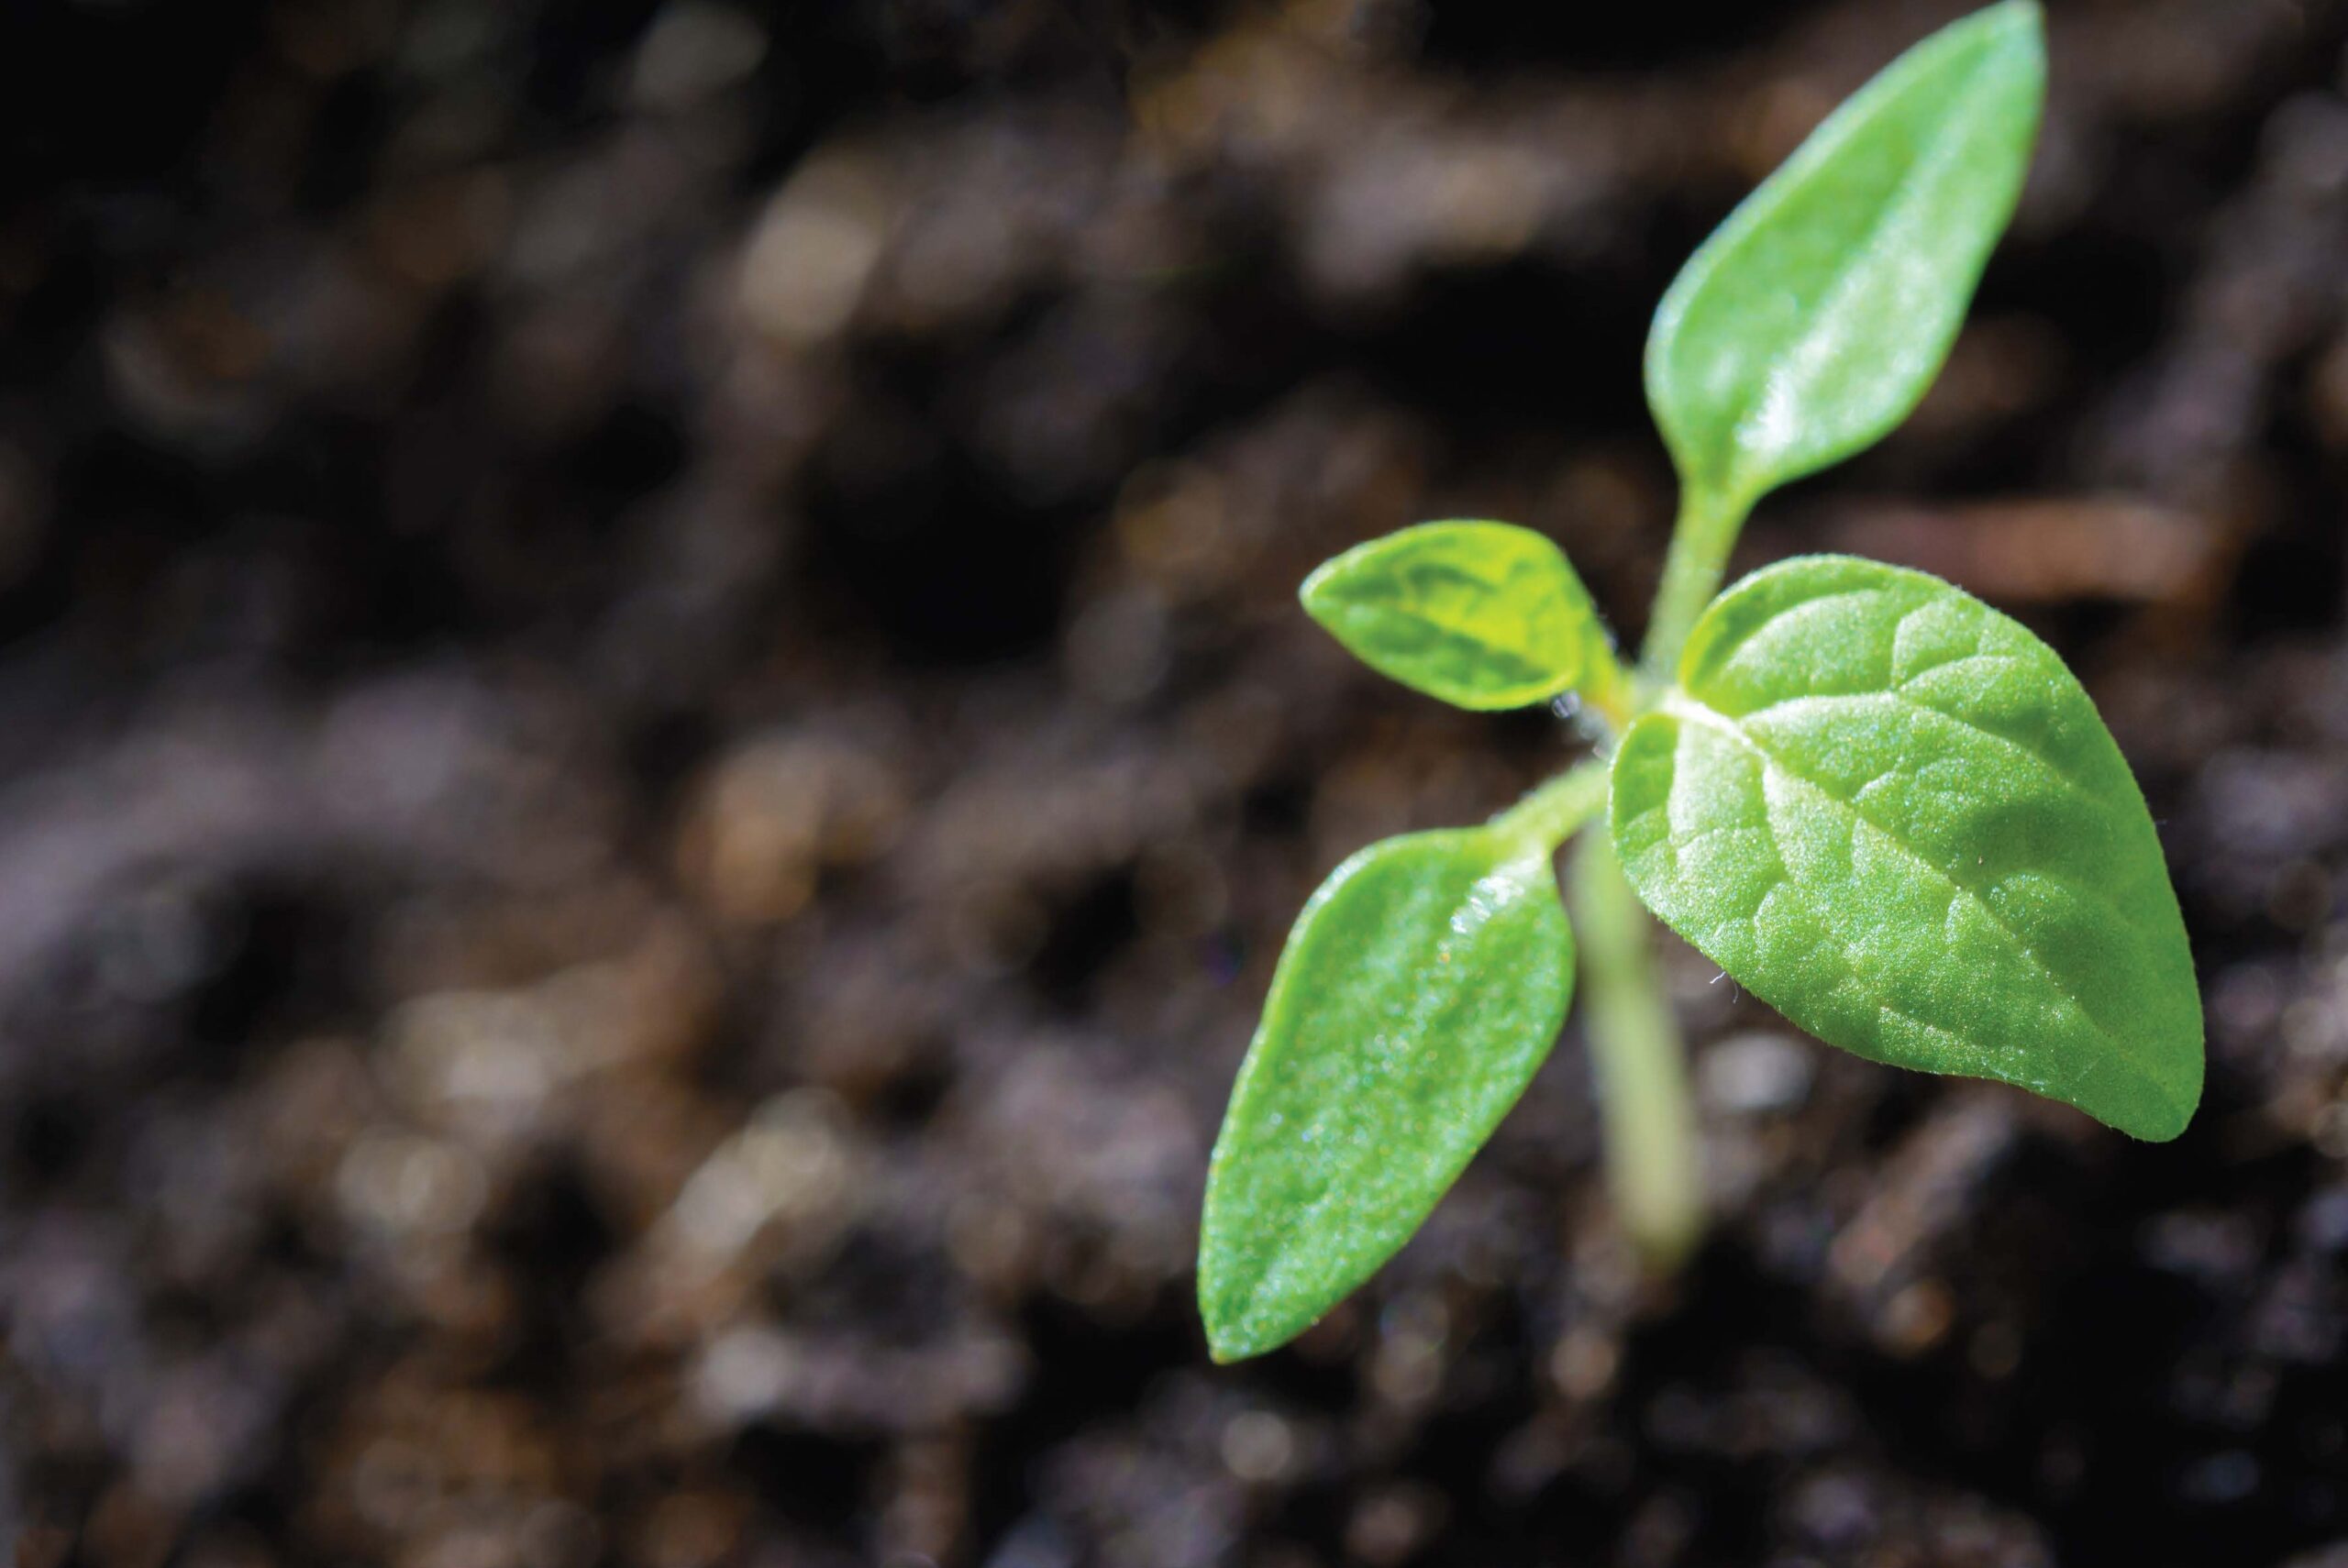
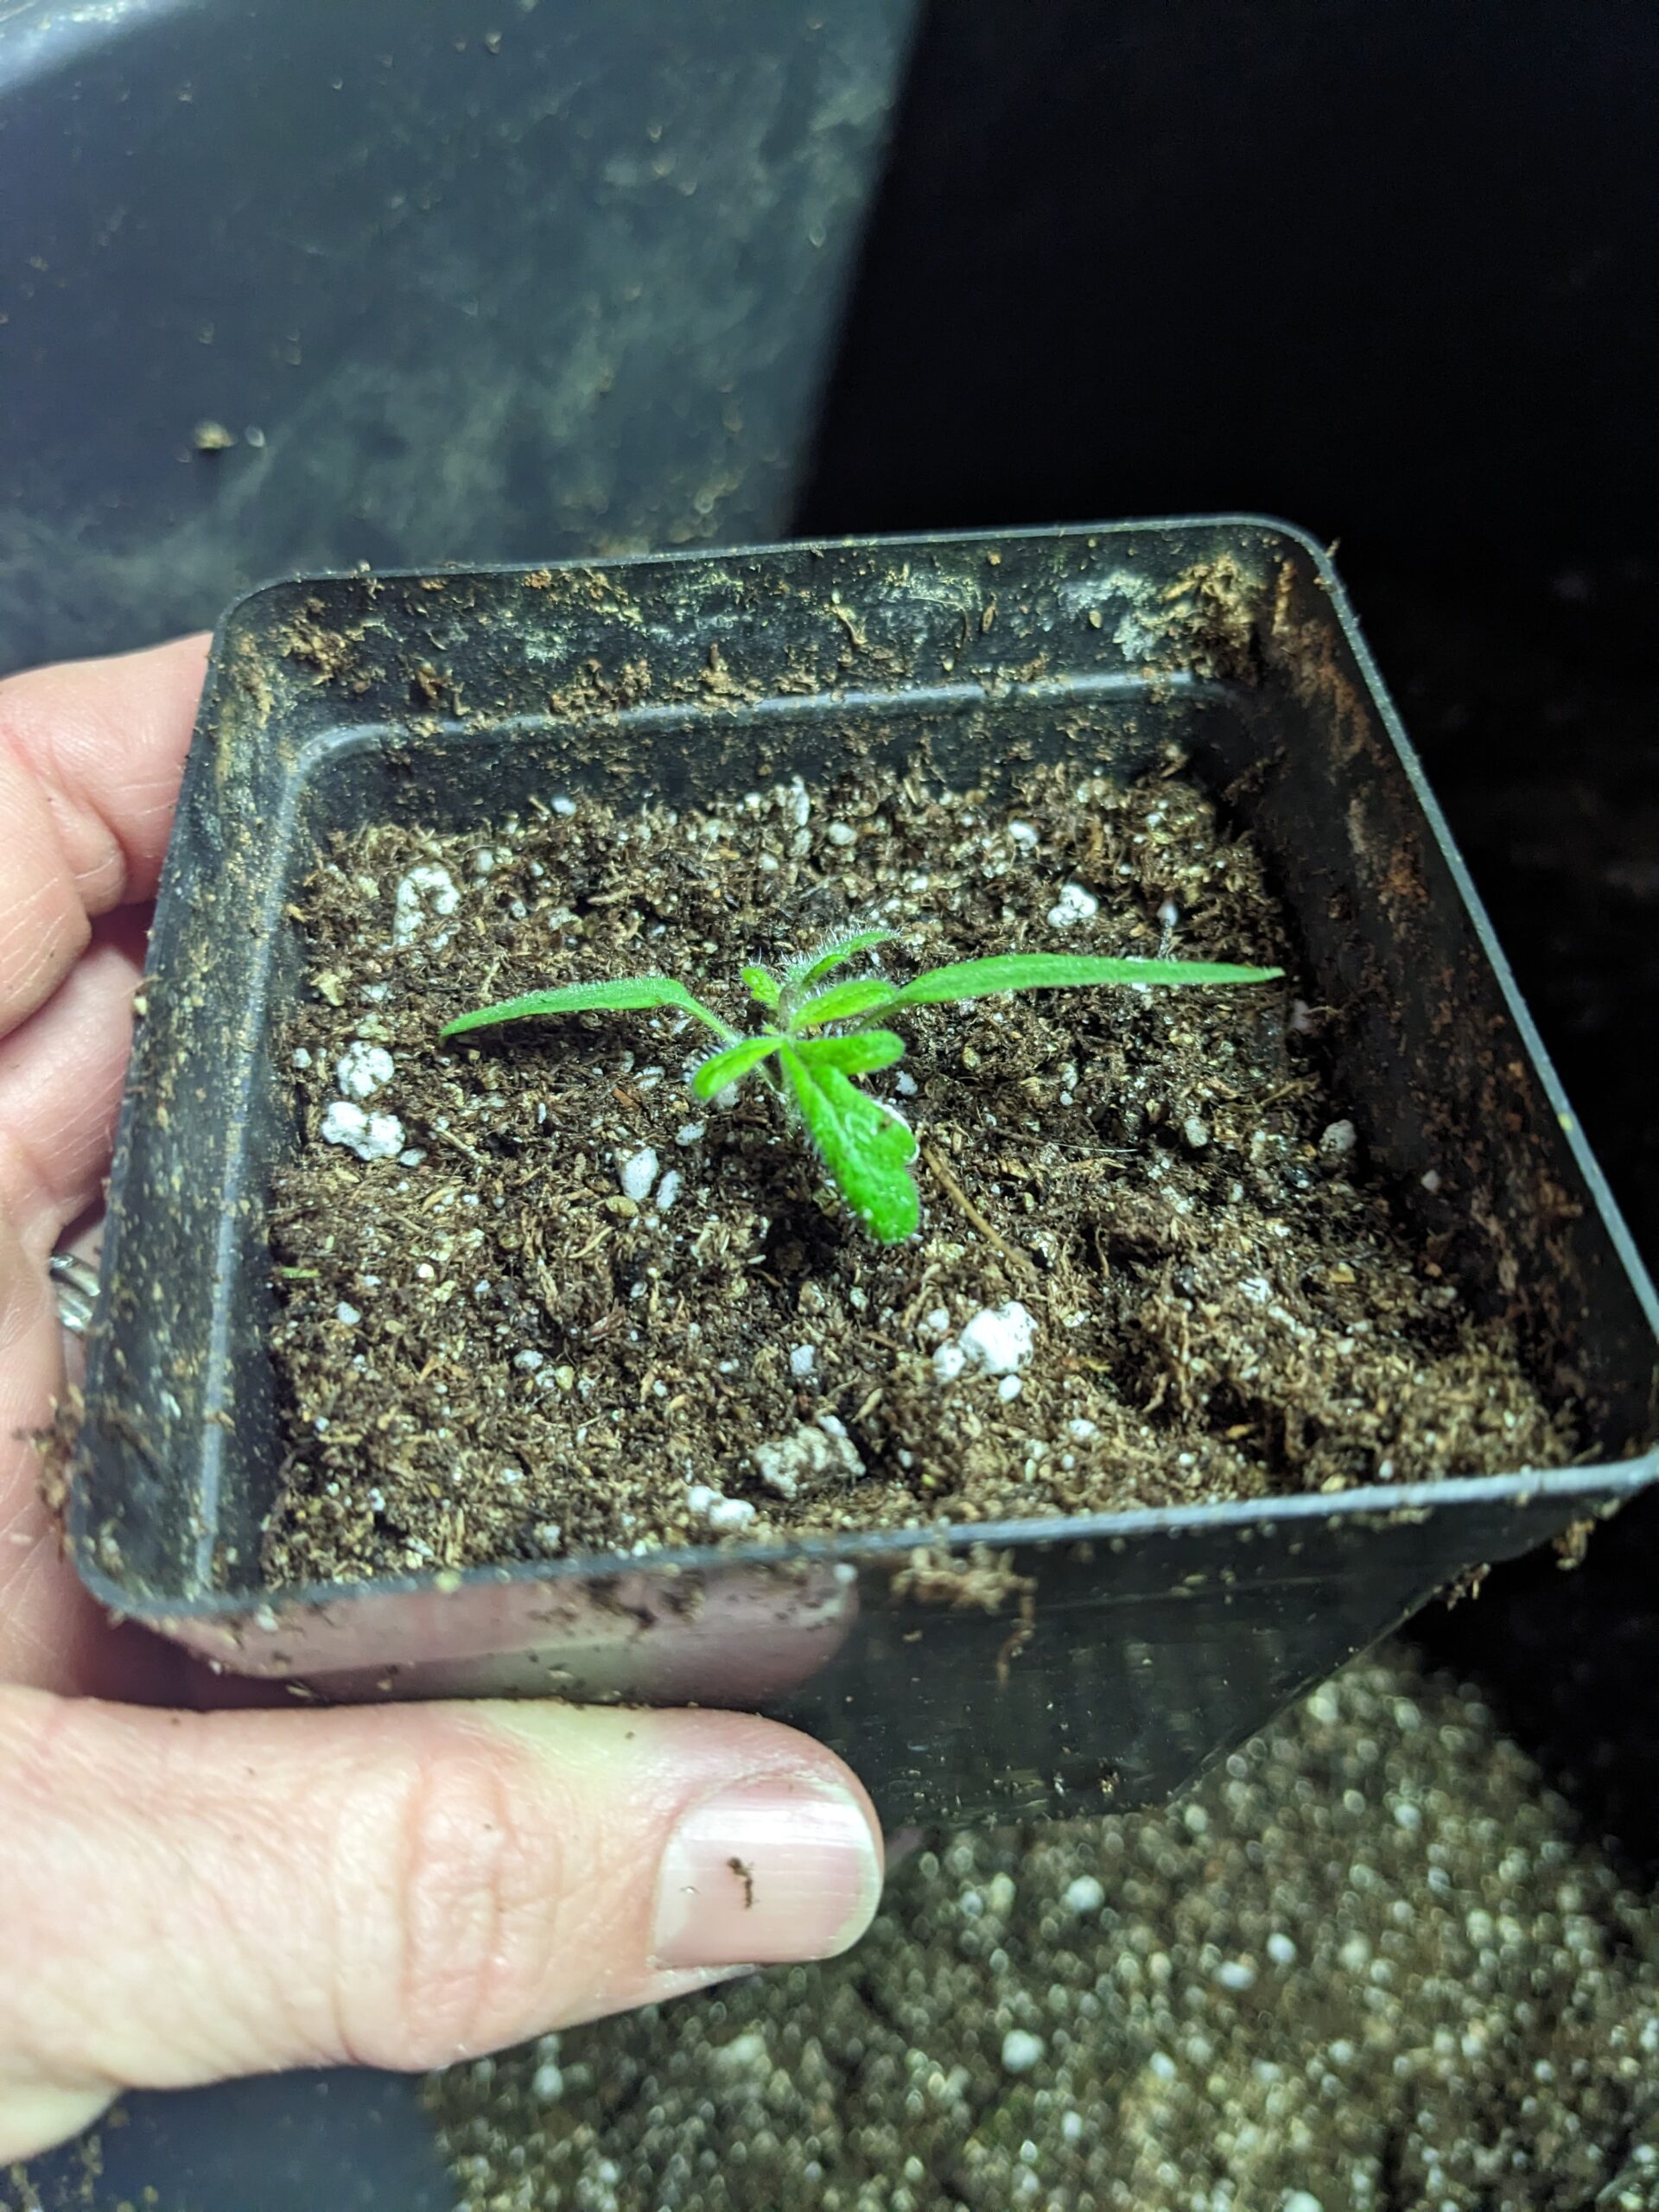
- True Leaves Appear: After the cotyledon (seed leaves) have opened, the first set of true leaves should appear. These leaves are different from the cotyledons and are a sign that your seedlings are maturing and ready for more space.
- Seedlings are Crowded: If your seedlings are growing close together and their roots are starting to become tangled or intertwined, it’s time to separate them. Crowded conditions can stunt their growth, so giving each one space to grow is important.
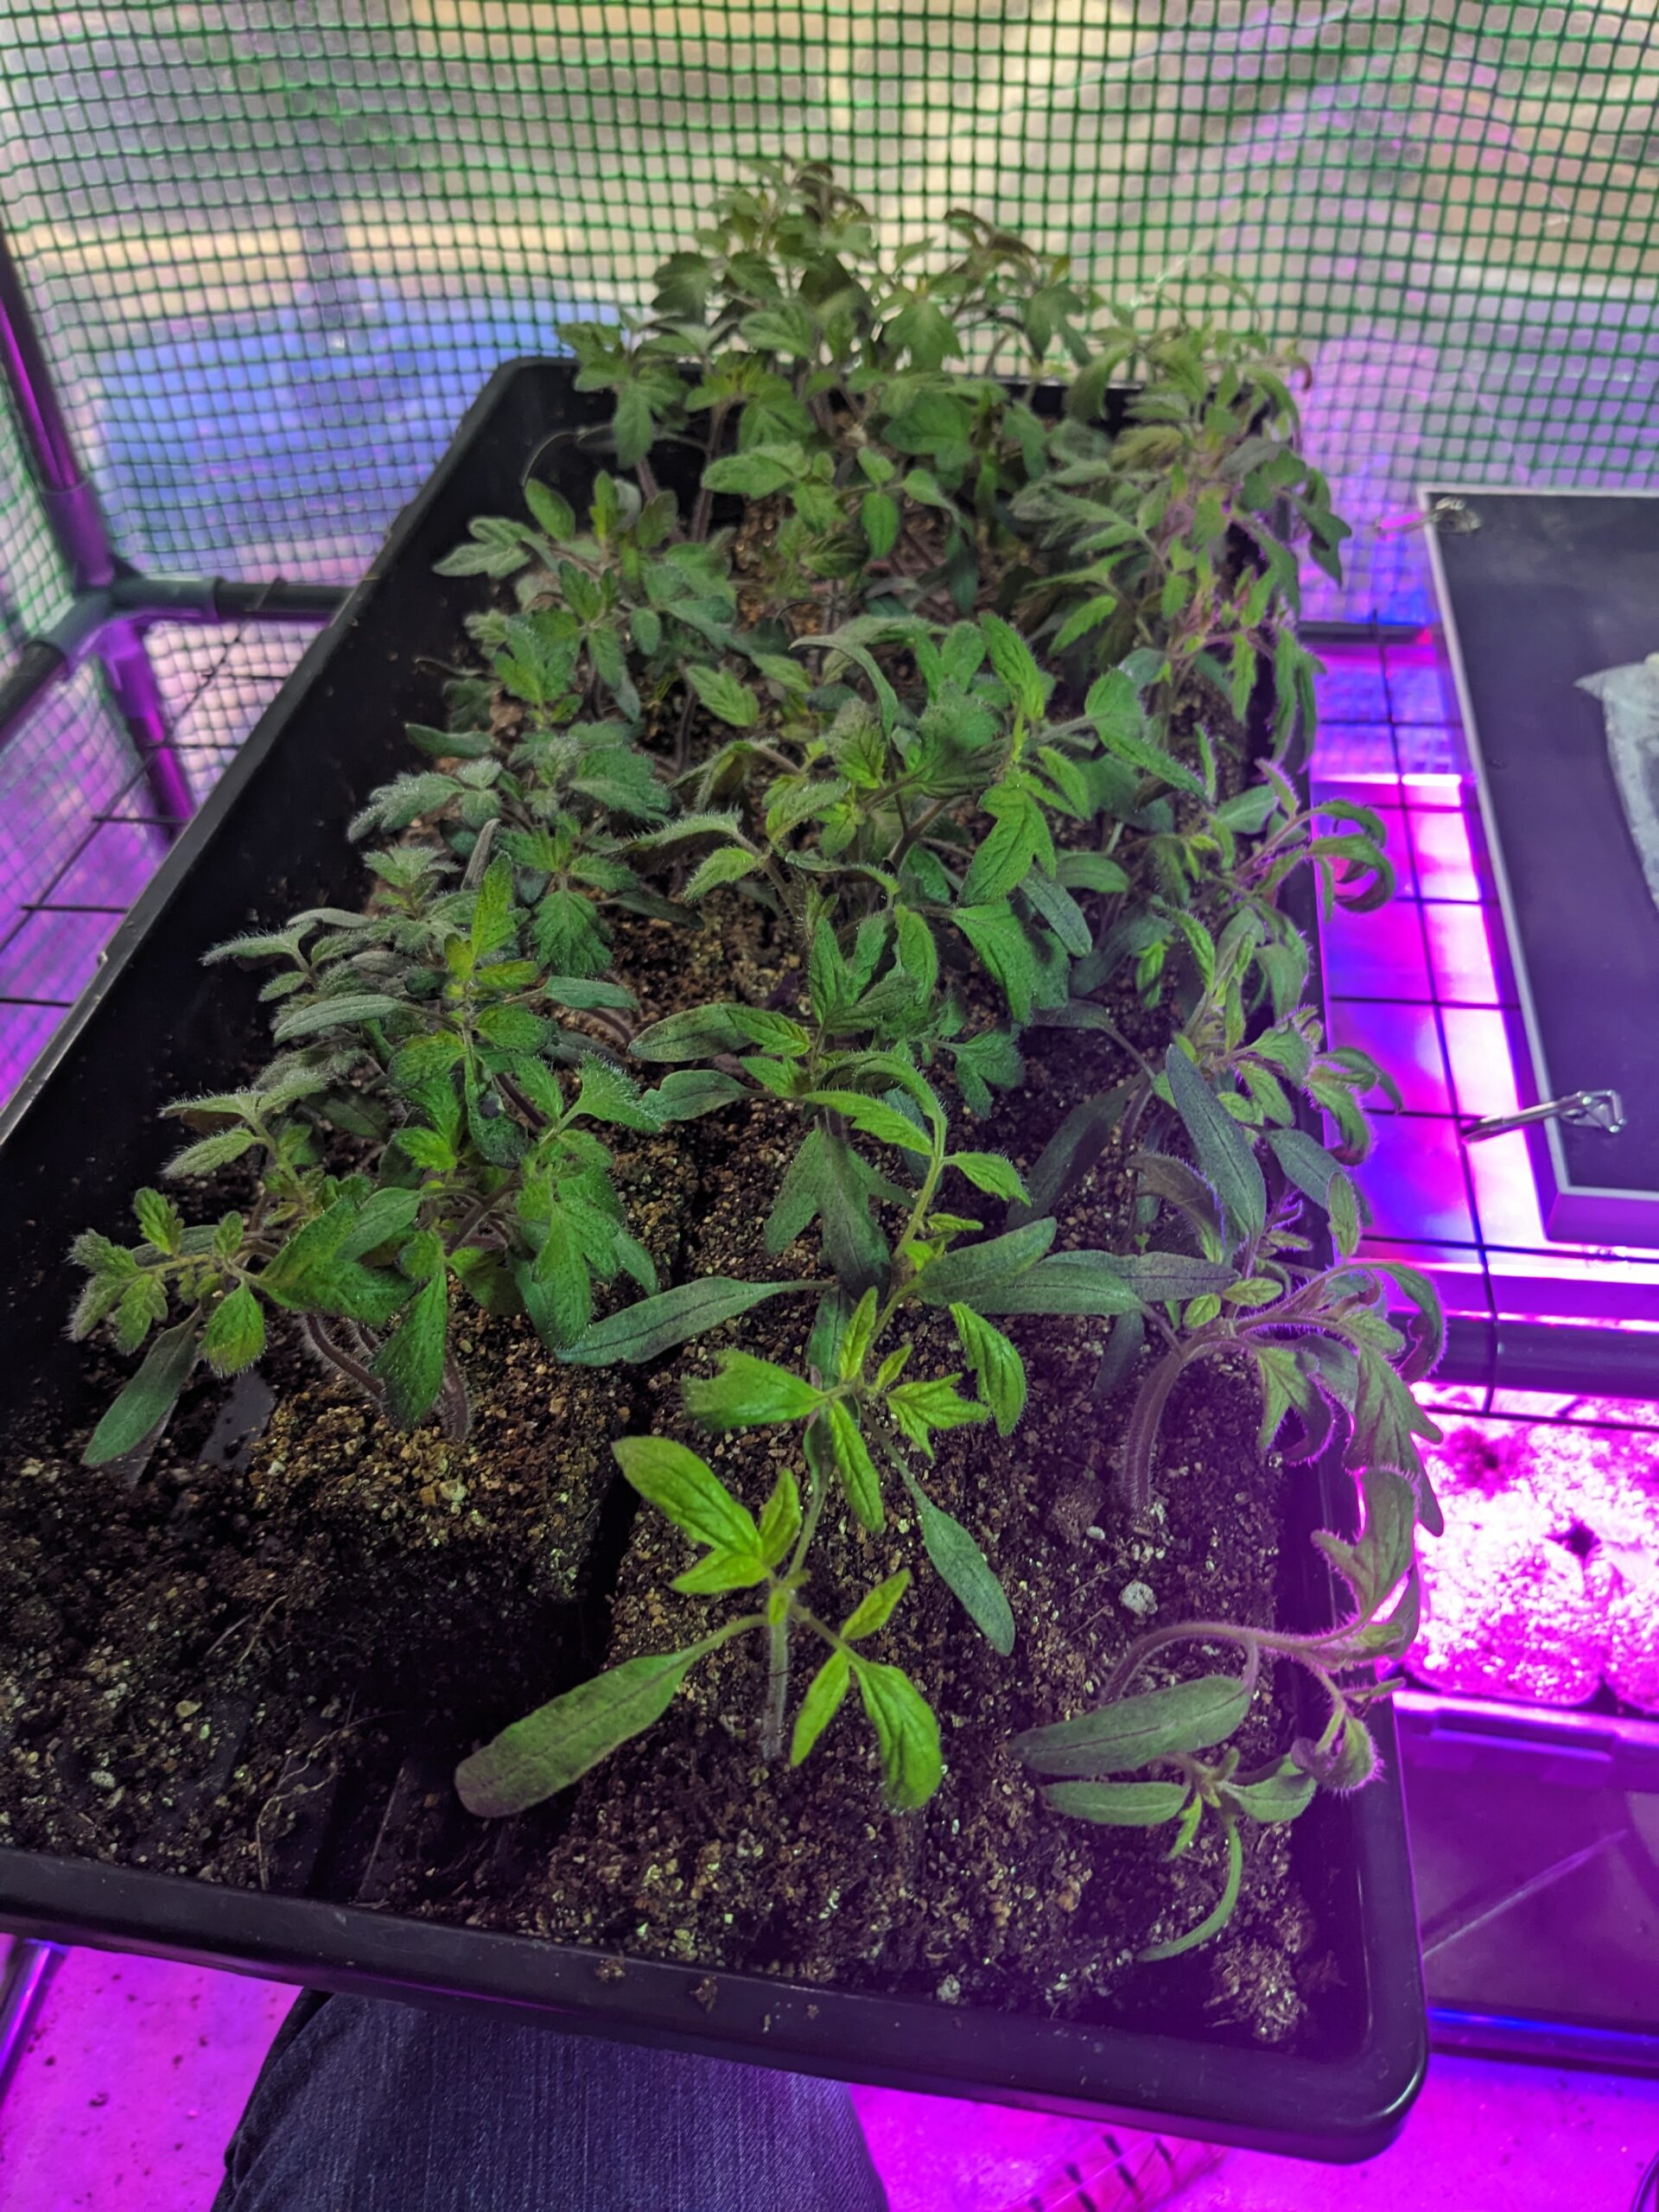
- Root System: You may notice that the roots are starting to push against the sides or bottom of the container. At this point, the seedlings are becoming root-bound, and separating them into individual pots will encourage healthier, stronger growth.
- Size of Seedlings: The seedlings should be sturdy enough to handle. If they are still too small or delicate, give them a little more time to grow before separating them.
By waiting until this stage, you ensure that your tomato seedlings are strong enough to survive the separation process and have the best chance to thrive in their new, larger pots.
Step 2: Preparing for the Process
Before you start separating your tomato seedlings, it’s important to have everything ready. The process can be delicate, so proper preparation ensures that the seedlings remain safe and healthy throughout the process. Here’s what you’ll need and how to prepare:
Prepare Your Work Space
Having an organized and clean workspace can make a huge difference in the ease of the process. Make sure you have:
- A flat, stable surface where you can comfortably work. A table or countertop works well, as it provides enough space to maneuver the seedlings and pots.
- Plenty of light: Ideally, set up your workspace near a bright window or under grow lights. While you’re working, seedlings can get used to the light, and it also ensures that they’re ready to go back under their grow lights once repotted.
- A container for discarded seedlings: Since you’ll be discarding the weaker seedlings, keep a small container or compost bin nearby to quickly dispose of them without cluttering your workspace.
Gather Your Supplies
To make the process smoother, gather the following items before you start:
- New Pots: Select pots that are large enough to give each tomato seedling plenty of room to grow. Typically, 4 to 6-inch pots are ideal for young tomato plants. Make sure the pots have drainage holes to prevent waterlogging and root rot. I love these 4″ pots. They are very sturdy and will last season after season.
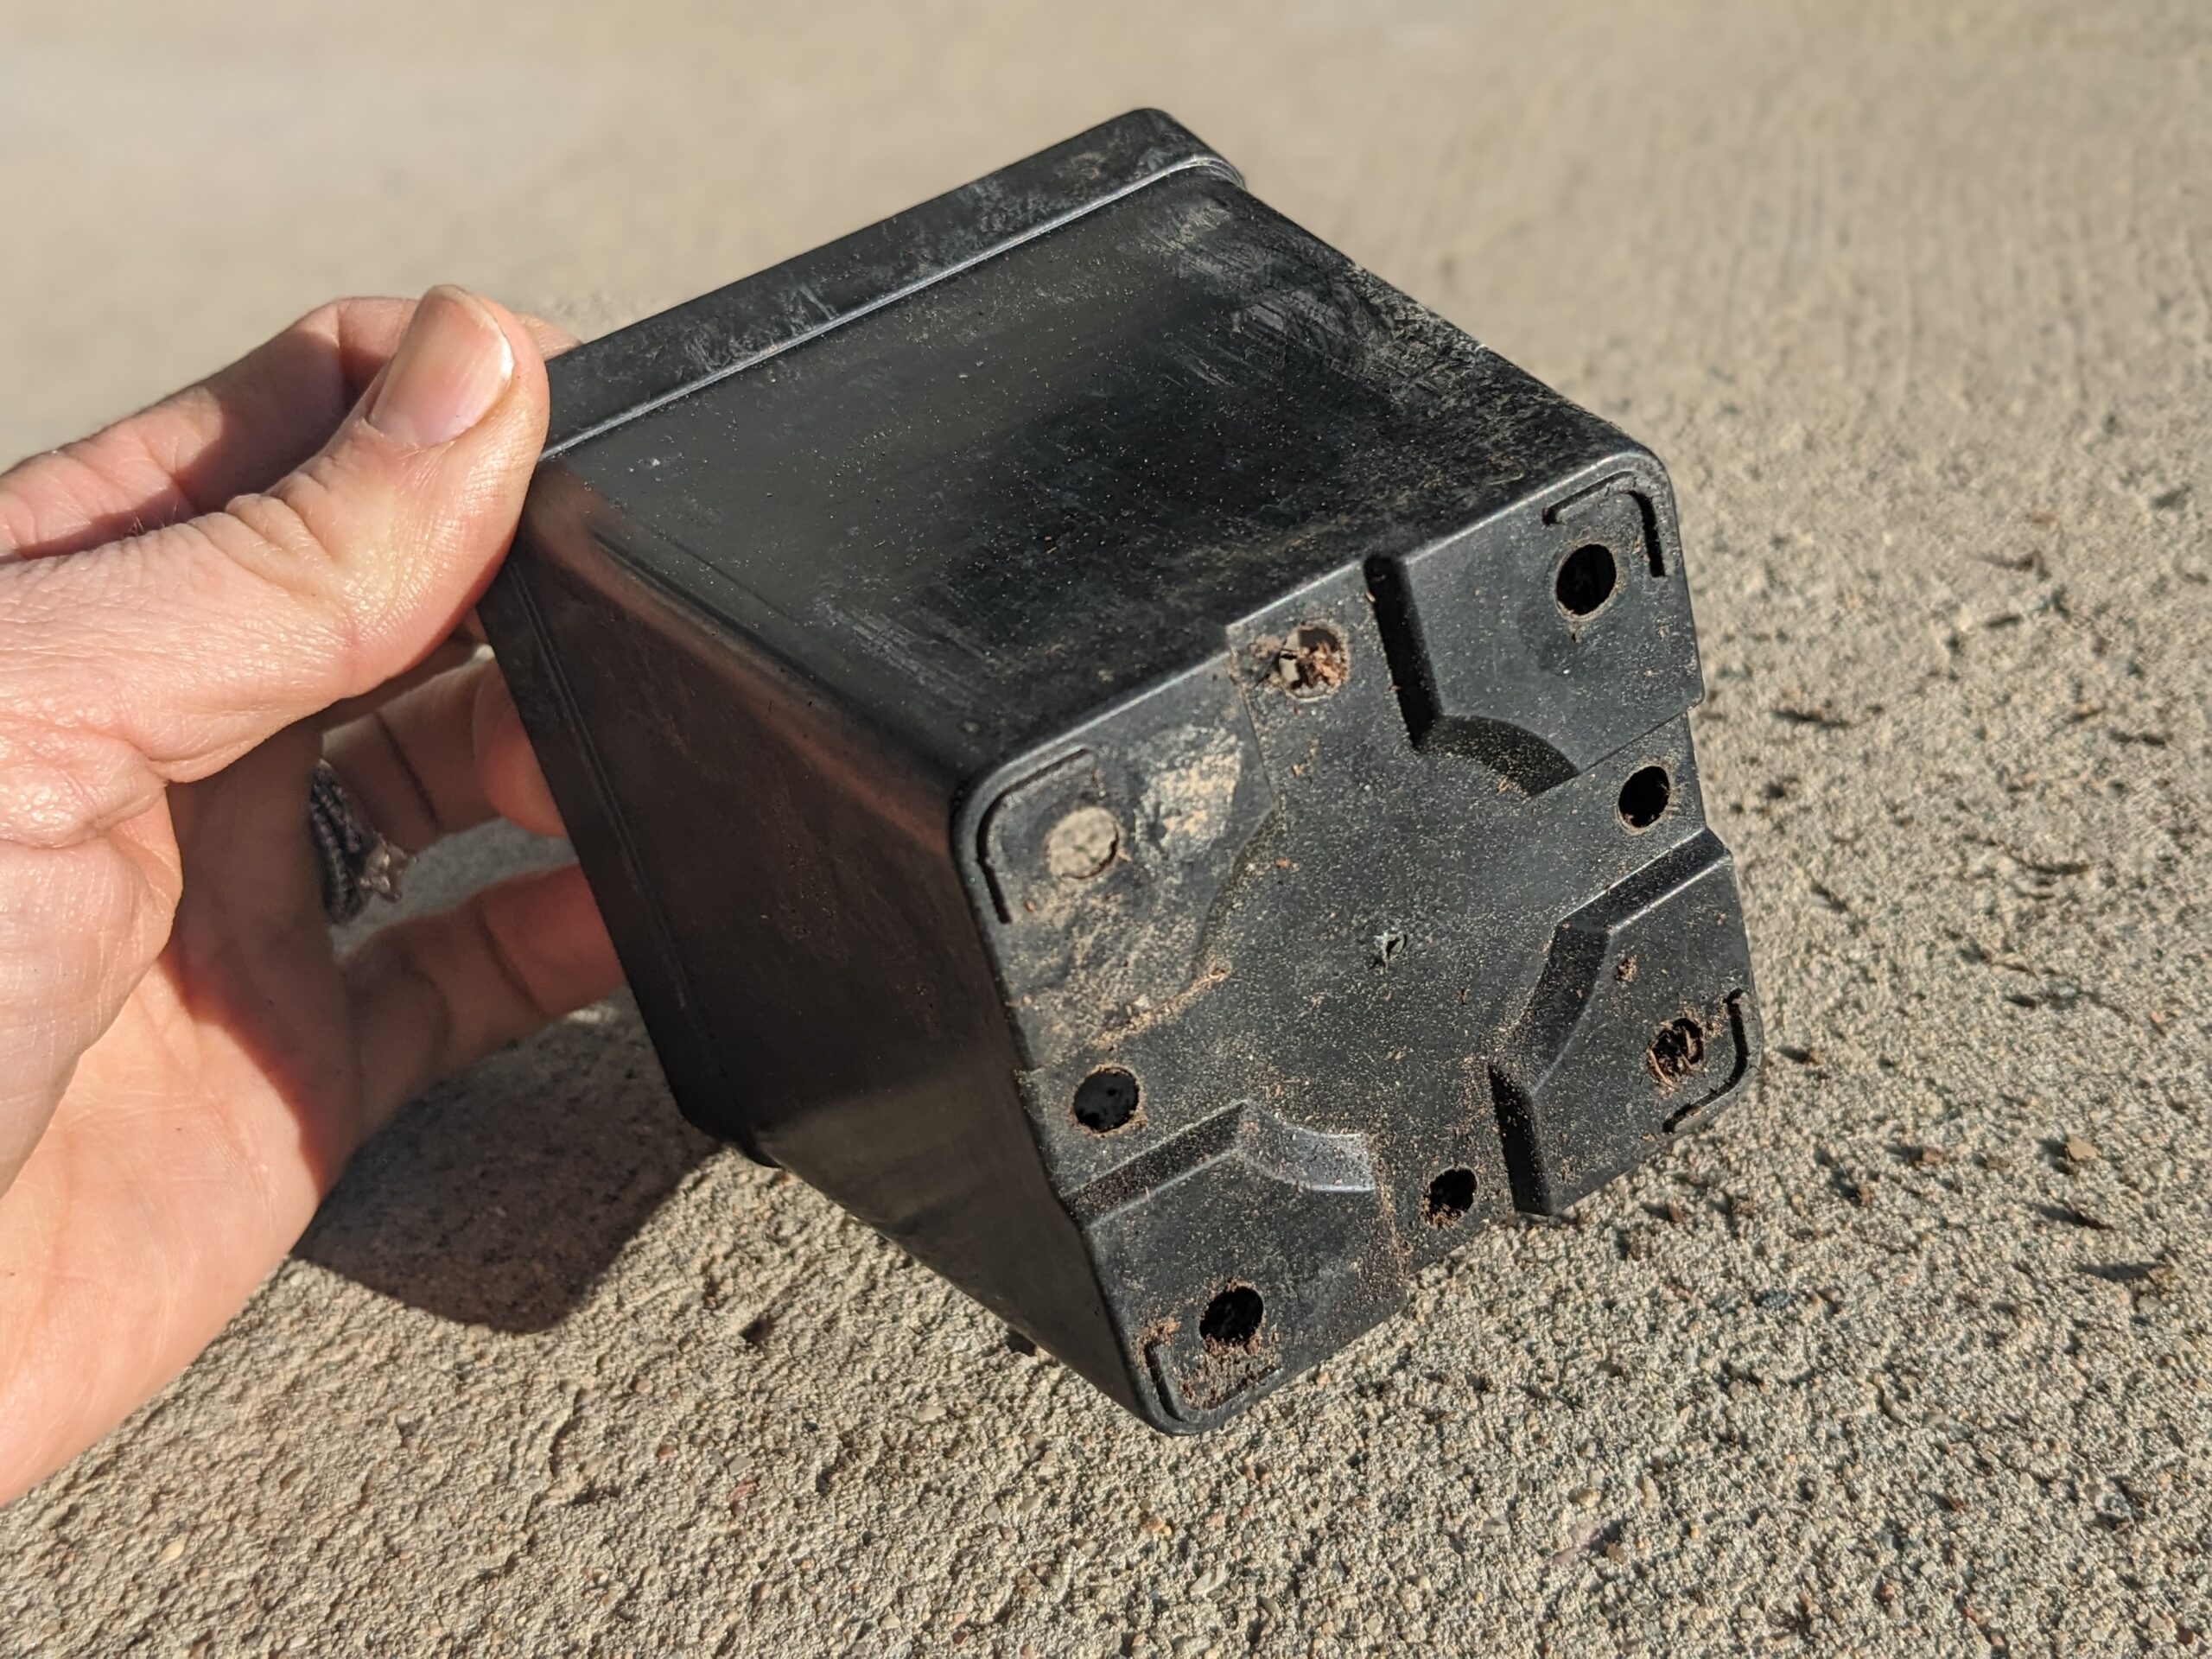 They are a great investment. They also fit great into the 1020 bottom watering trays.
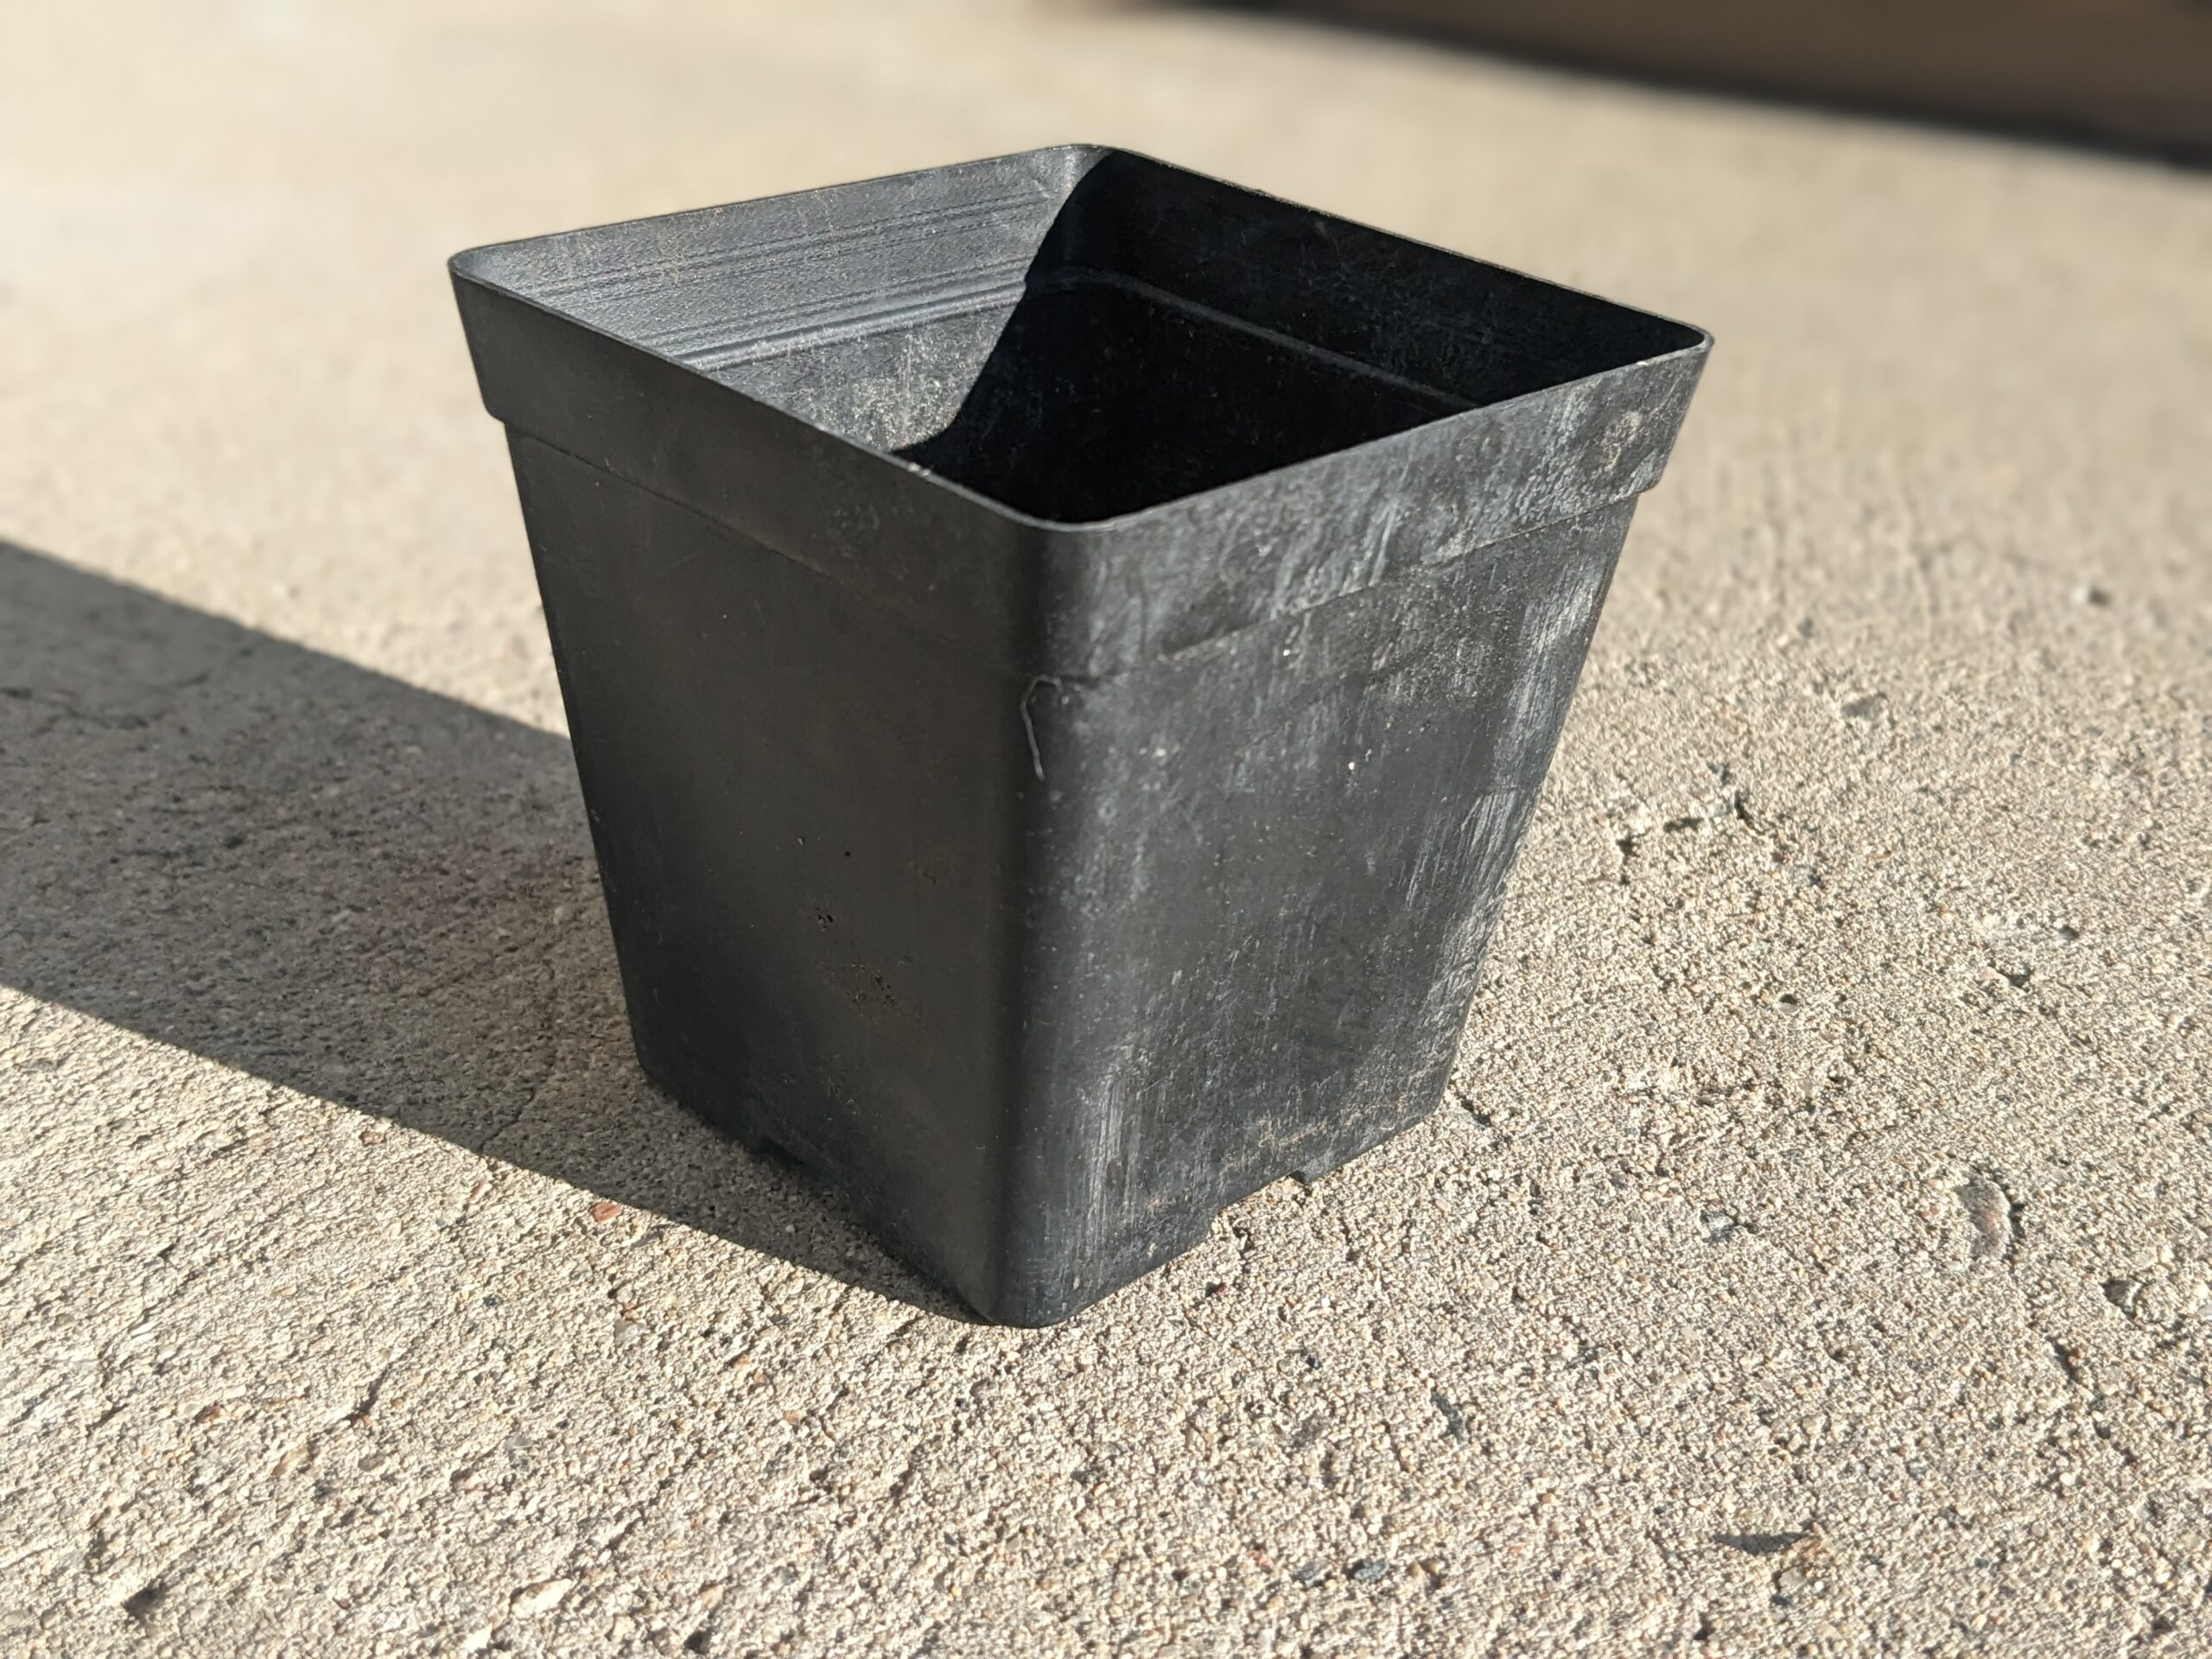
- Quality Potting Mix: A good-quality potting mix that’s lightweight, well-draining, and nutrient-rich is essential. Avoid using garden soil, as it can be too heavy and may harbor pests or diseases. You can also choose a mix specifically formulated for seedlings or vegetables. I typically just use the same seed starting mix that I sowed the seed in initially.
- Watering Can or Spray Bottle: You’ll need something to moisten the soil before and after potting. A gentle watering can or spray bottle is perfect for this, as it allows you to evenly water without disturbing the seedlings.
- Small Gardening Tools (Optional): Tools like a small hand fork or a popsicle stick can help gently loosen seedlings from the tray or container without damaging their roots. However, your fingers will often do the job just fine.
Prepare the New Pots
Next, you’ll need to prepare the new pots where you’ll transplant your seedlings. Here’s how to do it:
- Fill Pots with Potting Mix: Begin by filling each pot with your potting mix about to the top of each pot.
- Moisten the Soil: Before placing the seedlings in, it’s a good idea to lightly water the soil. This helps settle it and ensures that the soil stays moist, which is crucial for the roots after transplanting. Avoid soaking the soil, as it should just be damp to the touch.
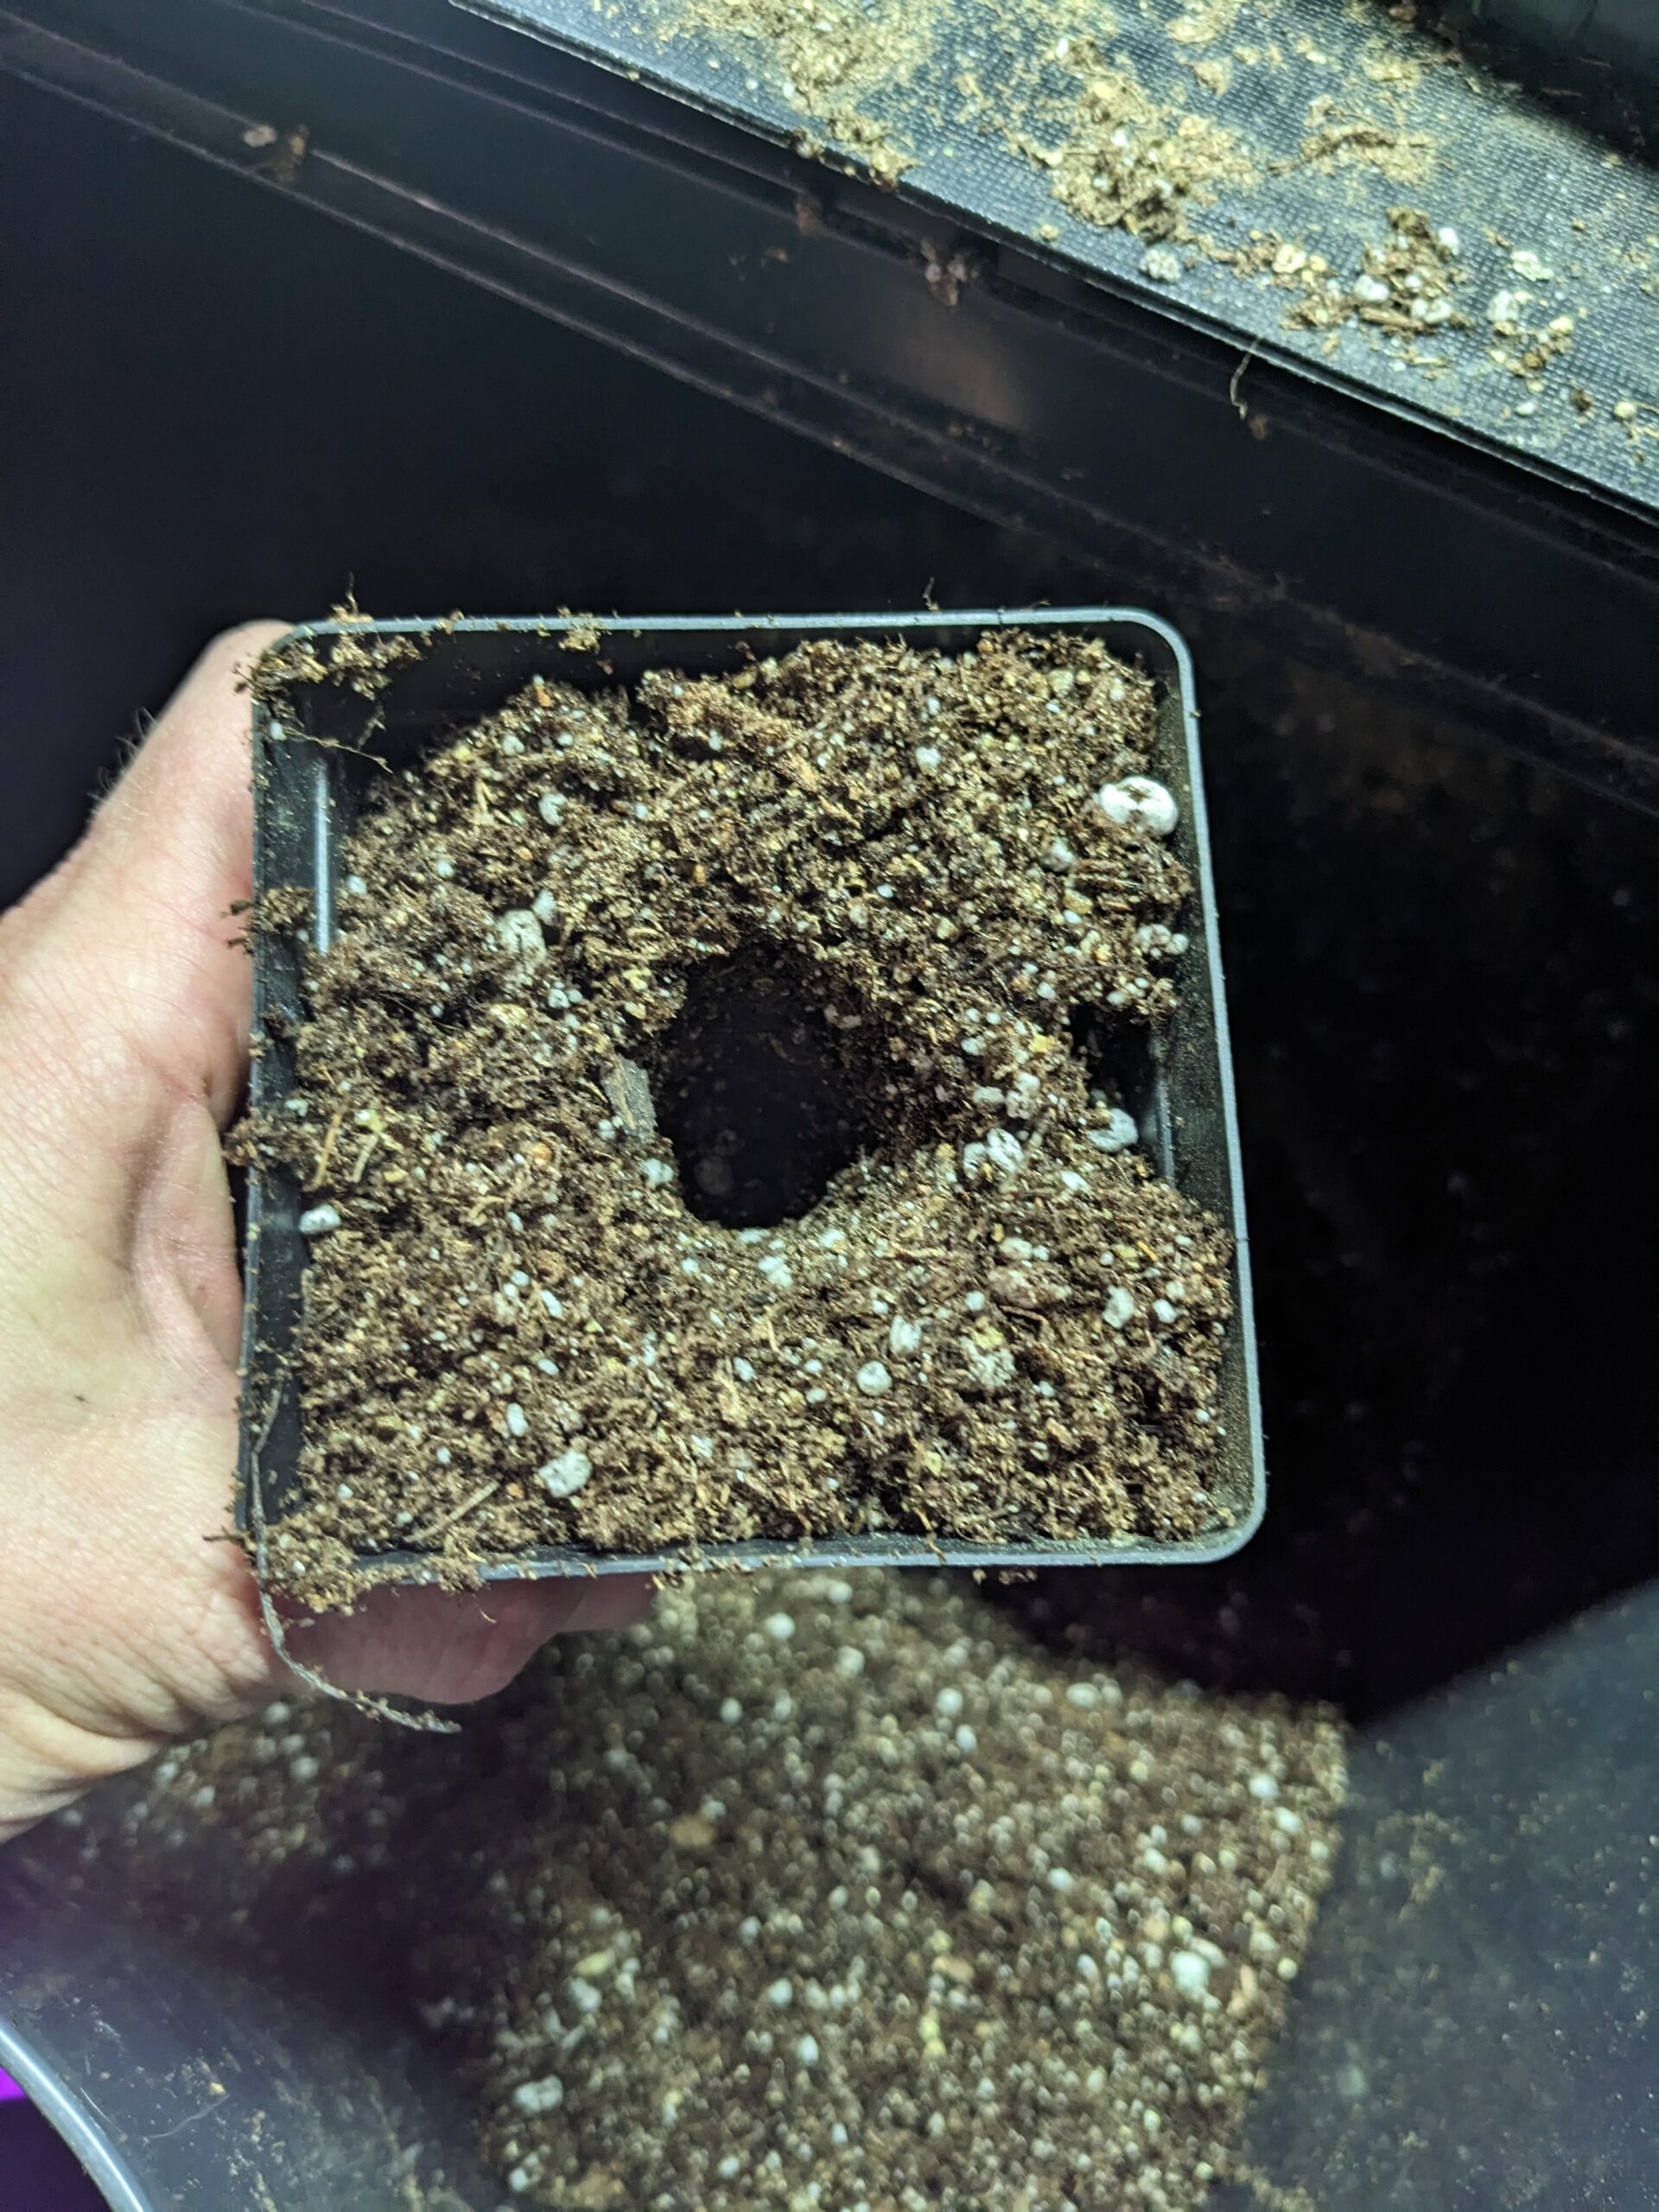
- Make a deep well: With your finger or a dibber tool make a very deep hole in the center of each pot for where you will be putting your separated tomato seedling. I like to use my finger and push all the way in until I can feel the bottom of the pot, then wiggle my finger to make it wide enough to get the roots down in.
A Few Additional Tips:
- Timing: If possible, choose a time to separate your seedlings when you’re not rushed. This process requires patience and gentle handling. Doing it in the morning, when seedlings are generally less stressed, can also help.
- Don’t Skip the Moisture: Moisture is key. Seedlings are delicate, and dry soil can cause stress, making it harder to transplant them. Pre-moistening the soil and ensuring that the seedlings are hydrated beforehand can help them settle in more easily.
By thoroughly preparing your pots, tools, and workspace, you’re setting yourself up for success in the next step of transplanting your tomato seedlings. This will also help minimize transplant shock and allow the seedlings to recover quickly after being separated.
Step 4: Planting the Seedlings
- Place the seedling into the hole, ensuring that the roots are down into the bottom of the hole as much as possible. You want to bury the tomato seedling as deep as possible. The entire root system as well as as much of the stem as possible should be in the hole.
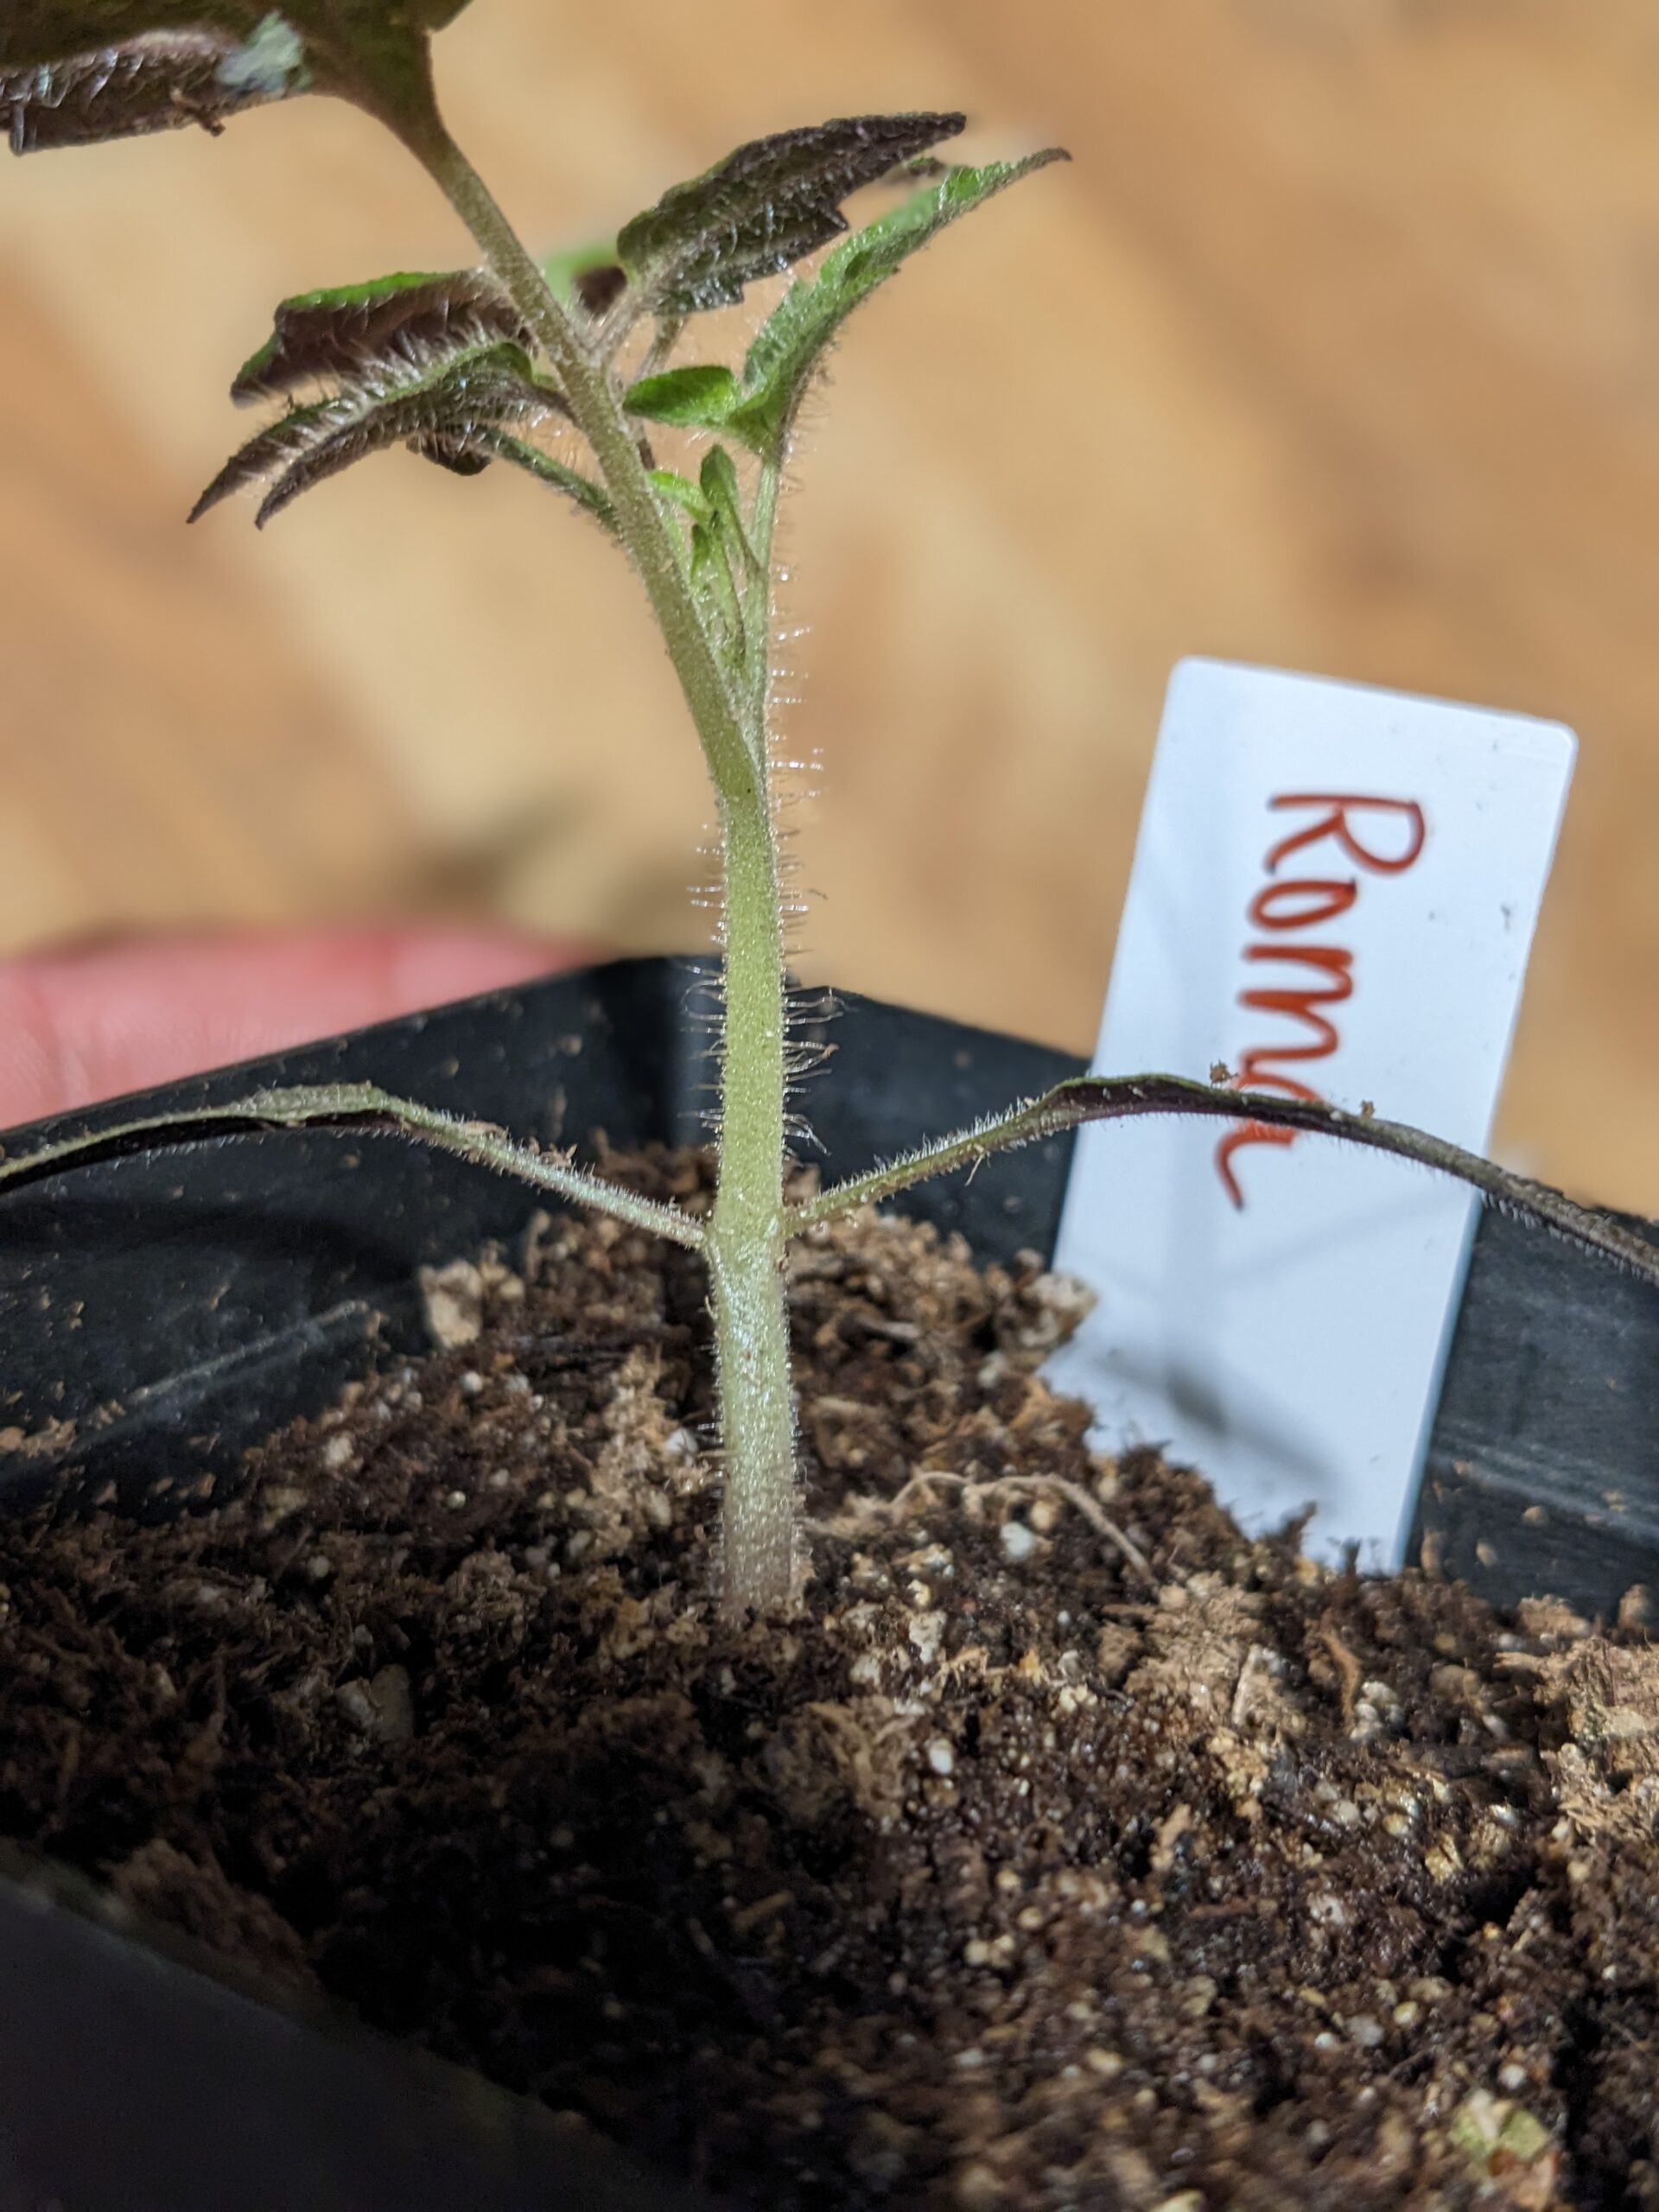 Tomatoes are fascinating plants, if you look closely they have fine hairs along their stems. These tiny hairs are actually capable of developing into roots if they come into contact with soil. The more roots a tomato plant develops, the stronger and more resilient it becomes. To give my plants the best chance to thrive, I like to plant mine with the soil level just below the leaves, encouraging those roots to grow and strengthen the plant.
 - Add any additional soil you need around the base of the plant.
- Gently firm the soil around the base of the plant to hold it in place.
- Don’t forget to label each seedling after planting!
Step 5: Watering and Post-Planting Care
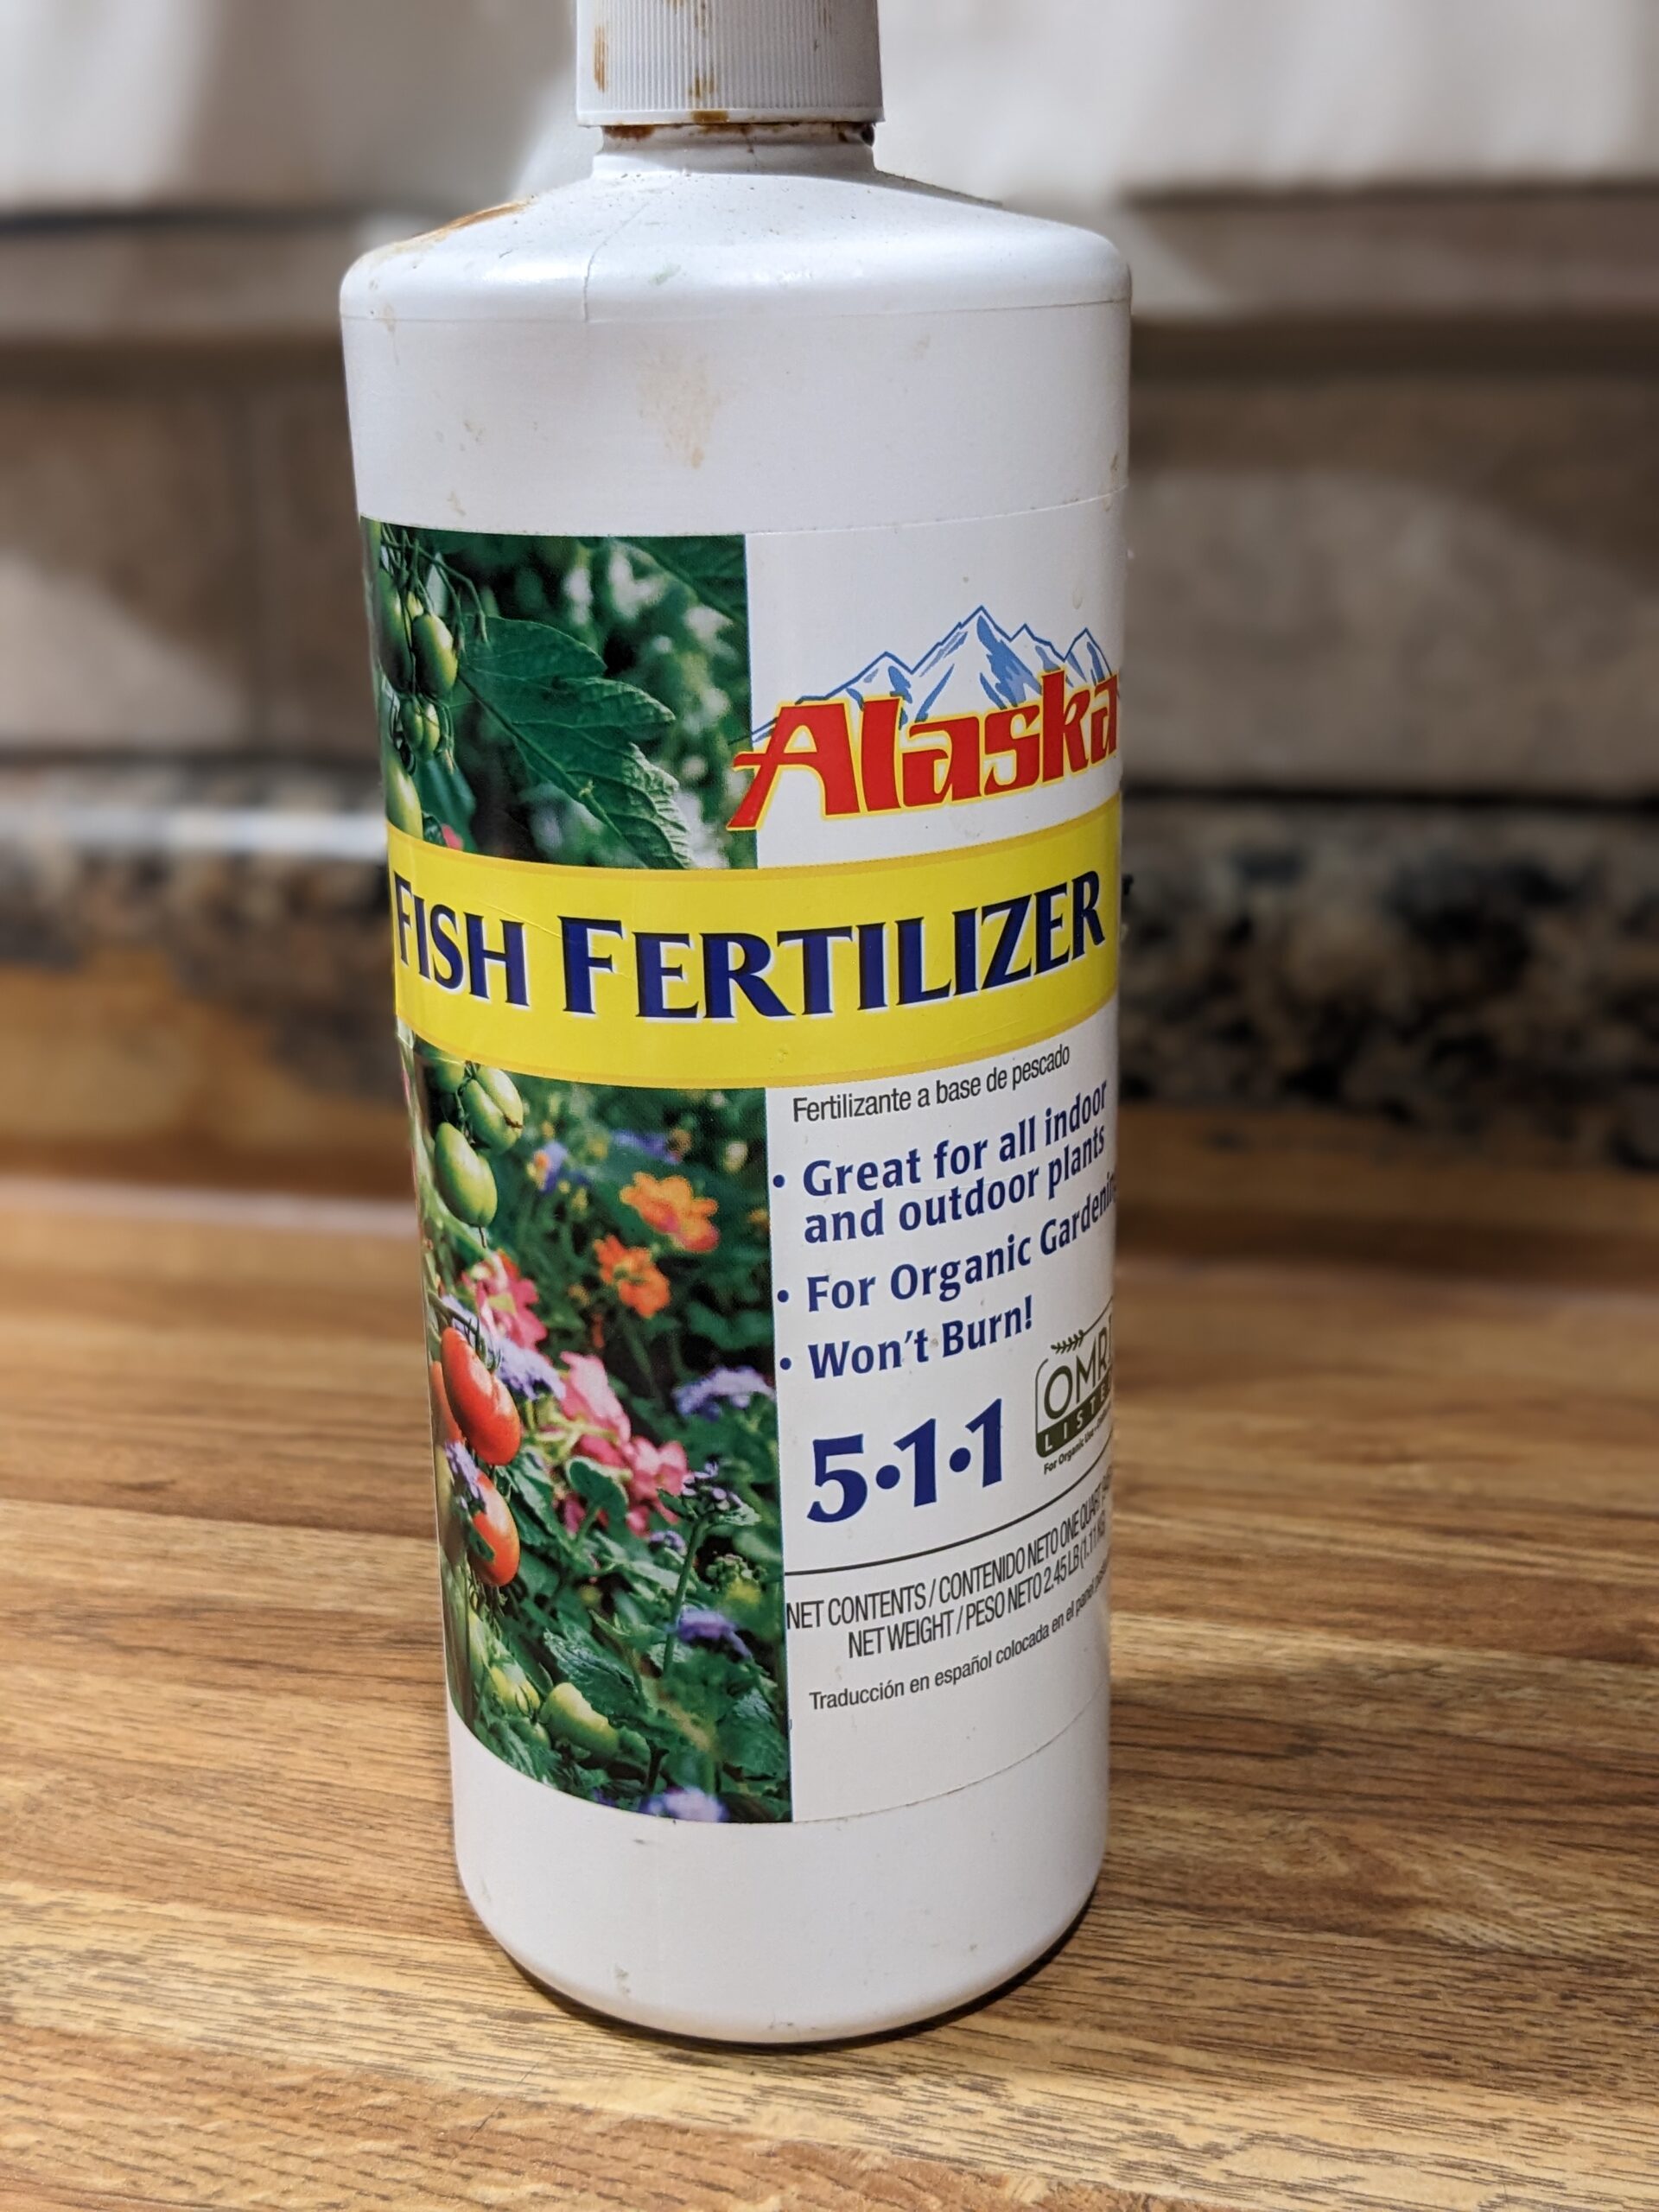
- After up-potting the seedlings, make sure to water them thoroughly, ensuring the soil is evenly moist without becoming waterlogged. Since the soil was pre-moistened before filling the pots, top watering shouldn’t be necessary at this stage. Once I’ve finished up-potting all of my tomatoes, I go through and bottom water all the trays. Since I’m using a sterile seed-starting mix, it’s important to start feeding the plants at this point. I prefer using a fish fertilizer, which I mix directly into the water for easy application.
- Keep the seedlings in a bright, warm area (ideally around 70°F/21°C).
Separating and up-potting tomato seedlings is a crucial step in ensuring strong, healthy plants. By giving each seedling more space and fresh soil, you’re encouraging robust root development, which ultimately leads to more resilient plants with better yields. This process helps prevent crowding and stress, allowing your tomatoes to thrive as they grow.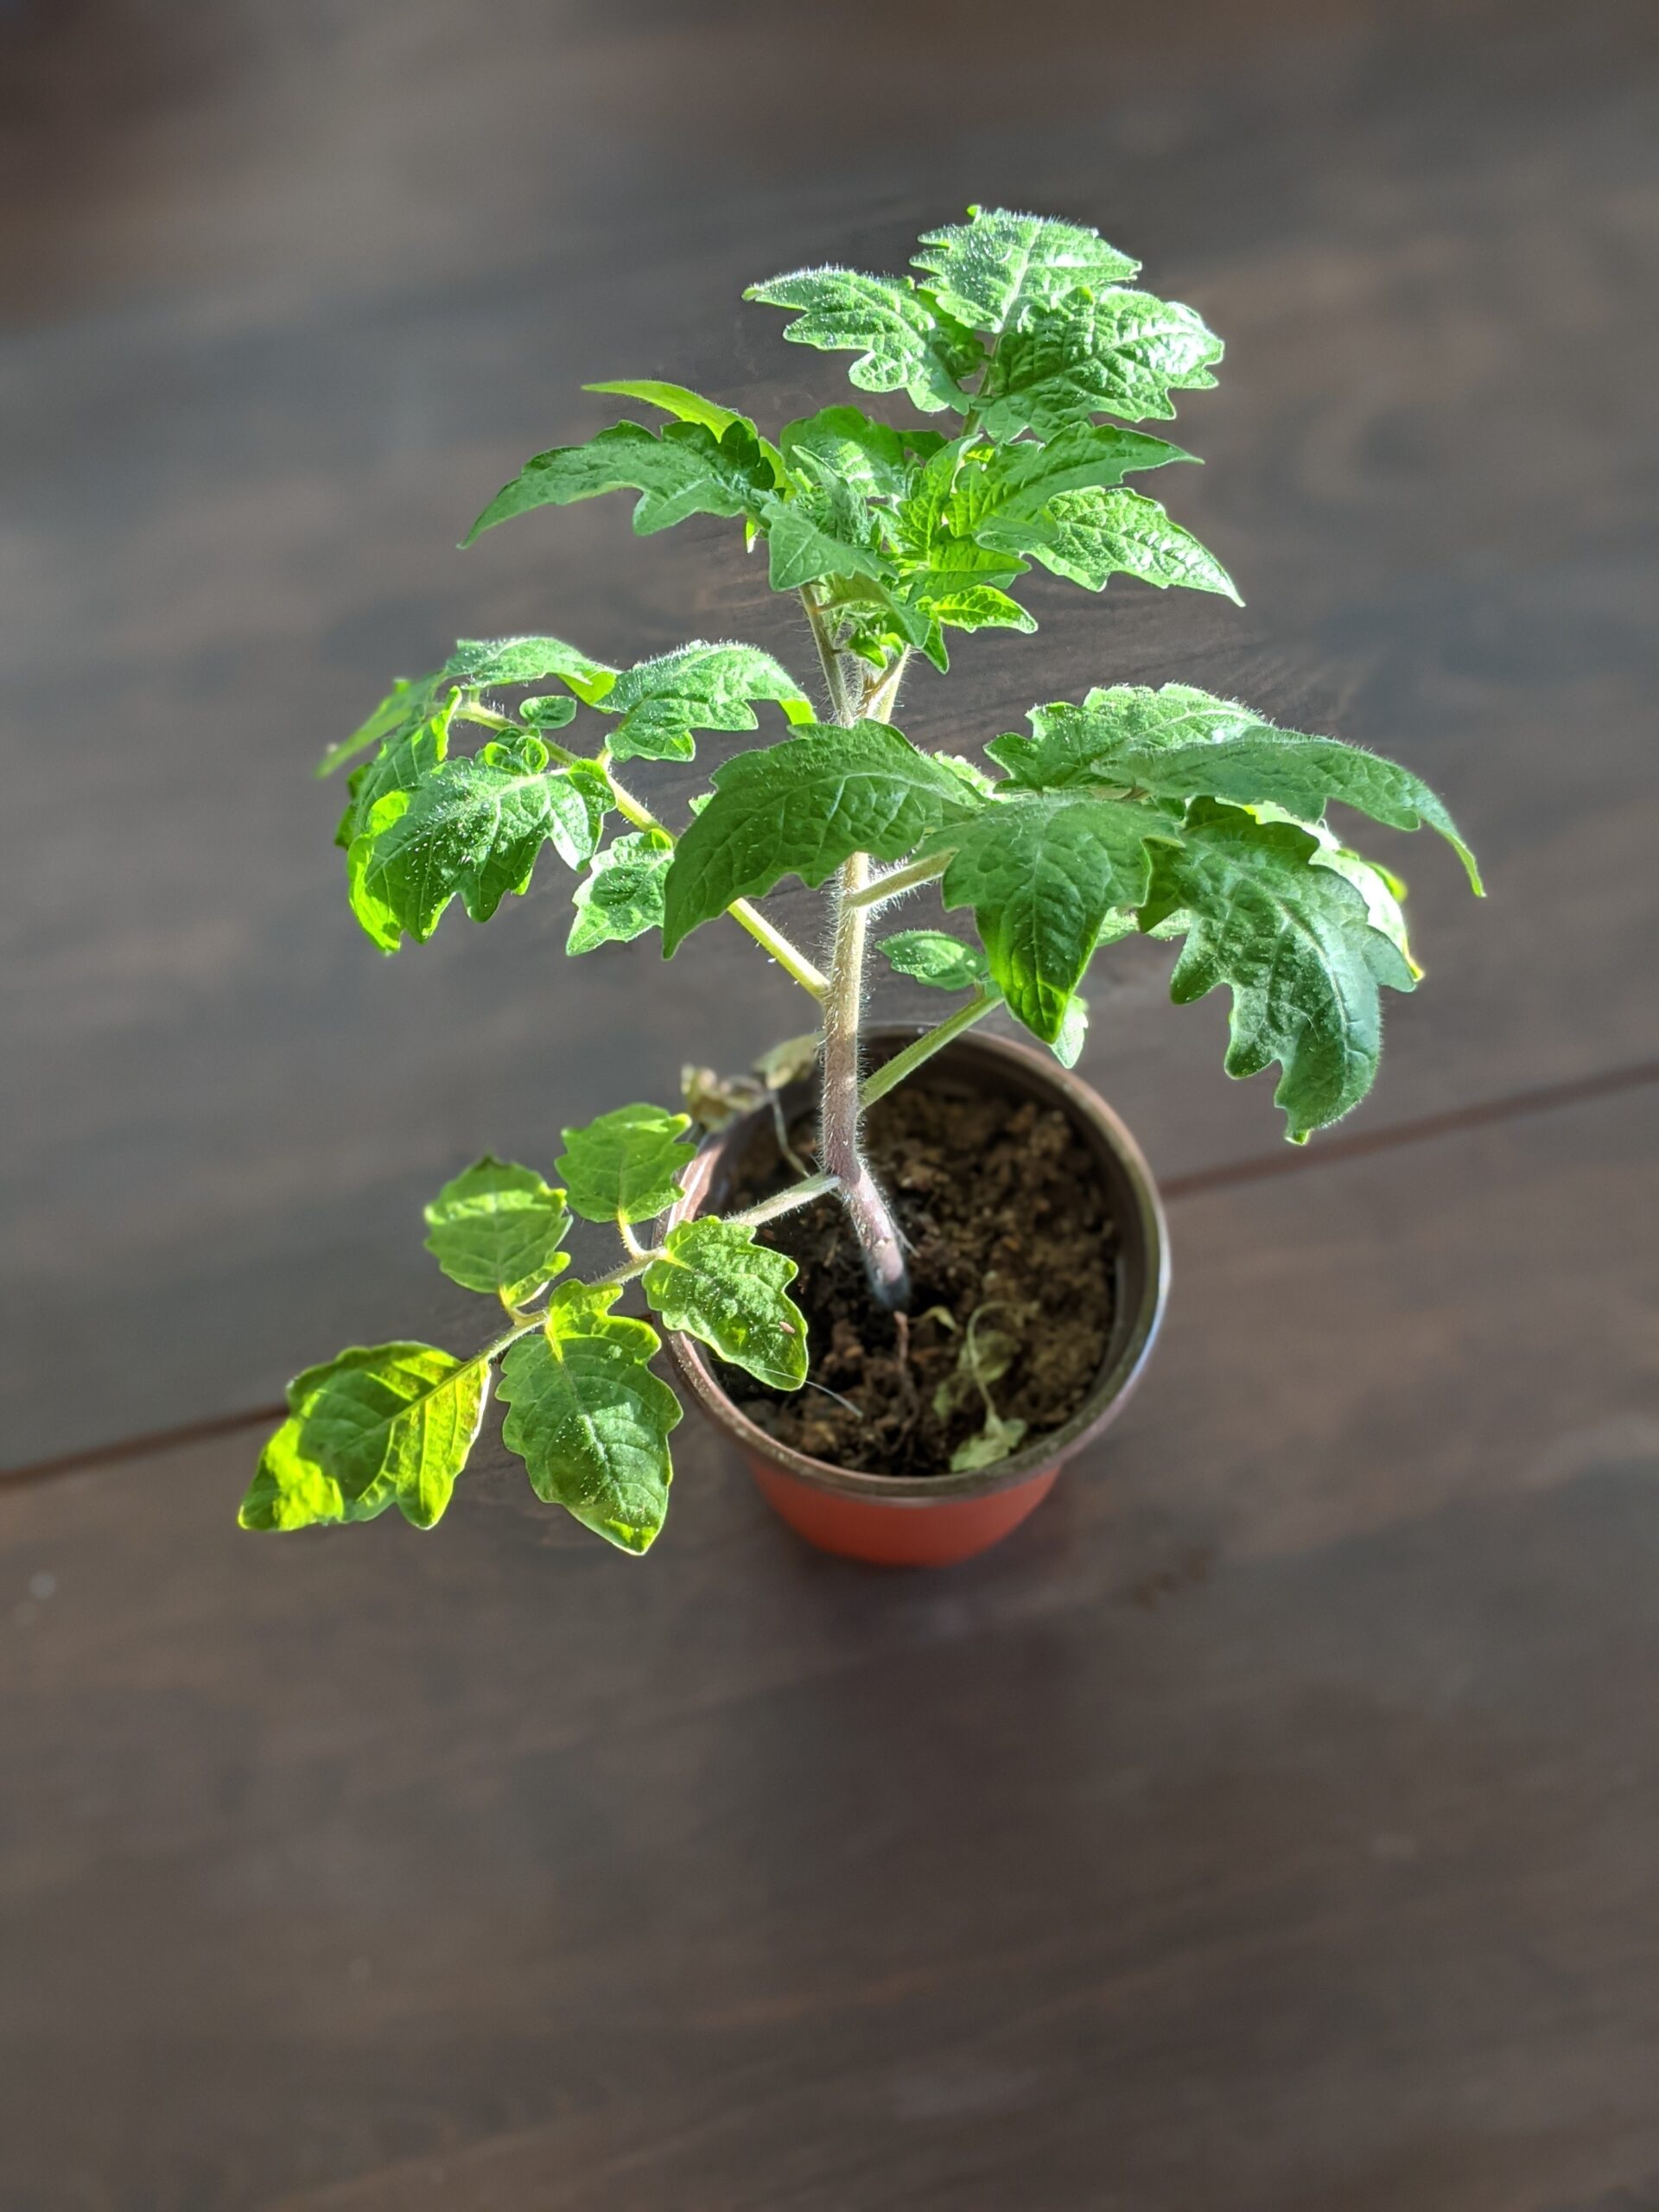
As you continue caring for your seedlings, be sure to monitor their growth closely and make adjustments as needed. With the right attention and care, your tomato plants will be on their way to becoming strong, vibrant, and ready to produce delicious fruit!